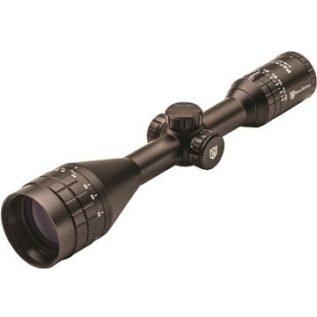
 Nikko Stirling Scope - Panamax - 4-12x50mm - HMD
  Nikko Stirling Scope - Panamax - 8-24x50mm - HMD
  Kowa C-771 TSN-773 Spotting Scope Stay On Case
 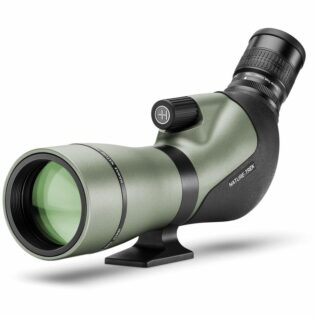 Hawke Nature-Trek 16-48X65 Spotting Scope
 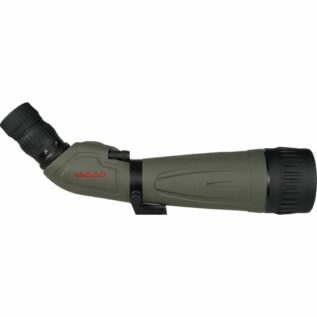 Tasco 20-60x80mm Spotting Scope
 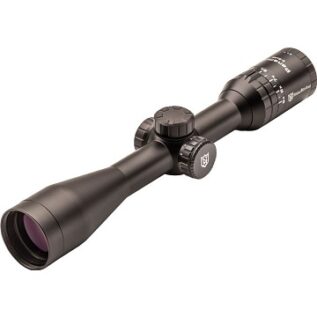 Nikko Stirling Scope - Panamax - 3-9x40mm - HMD
 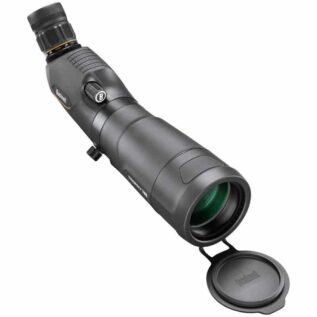 Bushnell Trophy Xtreme 20-60x65 Spotting Scope
  Kowa TSN-AR66HL 50mm Adapter Ring
  Kowa TSN-AR66Z 50mm Adapter Ring
  Kowa TSN-AR500 TSN-500 37,5mm Adapter Ring
  Kowa C-601 TSN-601 Stay On Case
  Kowa C-882 TSN-884 Stay On Case
  Kowa C-553 TSN-553 Stay On Case
  Kowa C-554 TSN-554 Stay On Case
  Kowa TSN-CM2 Nikon F Camera Adapter Ring
  Kowa TSN-CM2 M4/3 Camera Adapter Ring
  Kowa TSN-CM2-SE Sony SE Camera Adapter Ring
  Kowa TSN-CM2 Canon EOS Camera Adapter Ring
  Kowa TSN-CM2 Pentax K Mount Camera Adapter Ring
  Kowa TSN-PA8 Digiscoping Adapter
  Kowa TSN-PA7A Digiscoping Adapter
  Kowa Prominar MFT 25mm F1.8 Black Lens
  Kowa Prominar MFT 12mm F1.8 Green Lens
  Kowa Prominar MFT 8.5mm F2.8 Silver Lens
 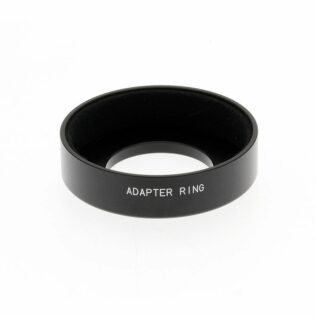 Kowa TSN-AR11WZ 55mm Smartphone Adapter Ring
 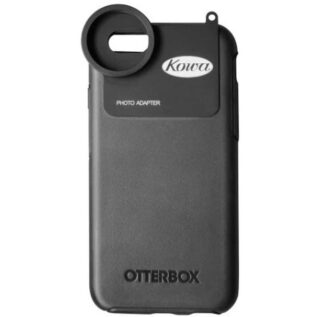 Kowa FW-HSIPX Iphone X Smartphone Adapter
 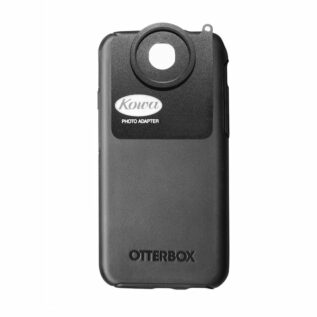 Kowa TSN-GAS10 RP Samsung Galaxy S10 Smartphone Adapter
  Kowa TSN-GA4S Samsung Galaxy S5 Smartphone Adapter
  Kowa TSN-GA4S Samsung Galaxy S4 Smartphone Adapter
  Kowa TSN-IP7 iPhone 7 Smartphone Adapter
  Kowa TSN-IP6 iPhone 6 Smartphone Adapter
  Kowa TSN-IP5 iPhone 5 Smartphone Adapter
  Kowa TSN-EC1A Eyepiece Conversion Ring
 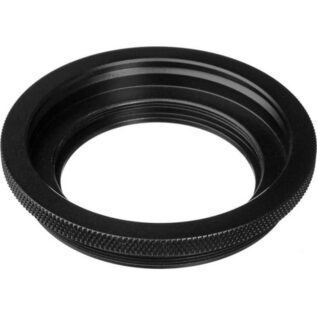 Kowa TSN-CR3 Conversion Ring
 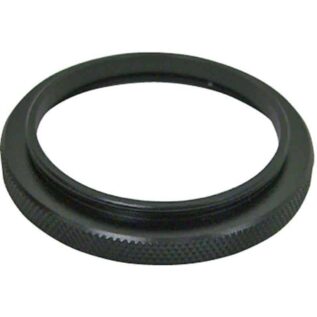 Kowa TSN-VA2-CR Conversion Ring
  Kowa TSN-DA4 Digiscoping Adapter
 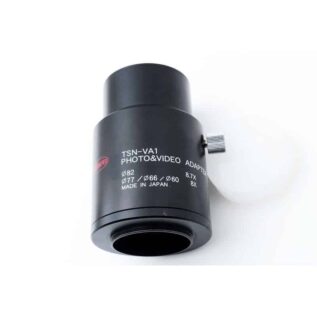 Kowa TSN-VA1 Digiscoping Digital Camera Adapter
  Kowa TSN-AR Series 43mm Camera Adapter Ring
  Kowa TSN-AR Series 37mm Camera Adapter Ring
  Kowa TSN-AR Series 28mm Camera Adapter Ring
  Kowa TSN-DA1 Digiscoping Digital Camera Adapter
  Kowa TSN-EX16 1.6x Eyepiece Extender
  Kowa TSN-PA6 DSLR Camera Digiscoping Adapter
  Kowa TSN-DA10 Digiscoping Adapter For TSN-99/88/880/770
  Kowa TSN-554 15-45x Straight Spotting Scope
  Kowa TSN-553 15-45x Angled Spotting Scope
  Tactacam Spotter LR Spotting Scope Camera
  Hawke Endurance ED 25-75X85 Spotting Scope
 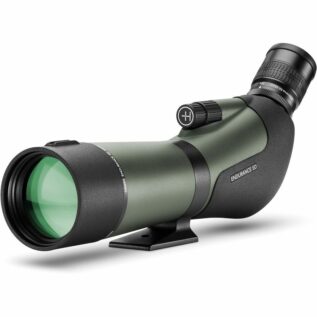 Hawke Endurance ED 20-60X68 Spotting Scope
 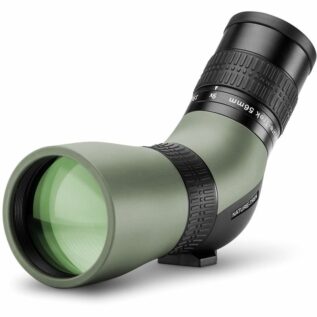 Hawke Nature-Trek 9-27x56 Spotting Scope
 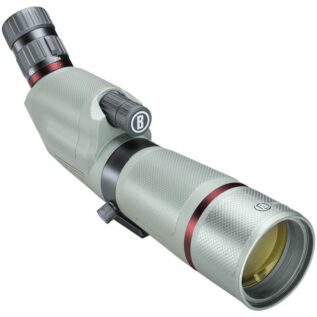 Bushnell 20-60x65 Nitro Spotting Scope
  Bushnell 20-60x80 Engage DX Spotting Scope
  Vortex Viper HD Reticle Eyepiece - Ranging MRAD Reticle
 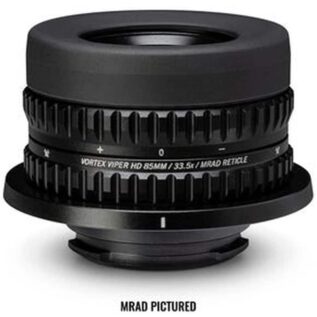 Vortex Viper HD Reticle Eyepiece - Ranging MOA Reticle
 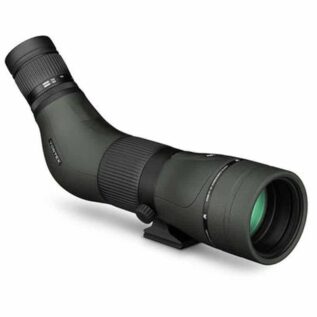 Vortex Diamondback HD 16-48x65 Spotting Scope - Angled
 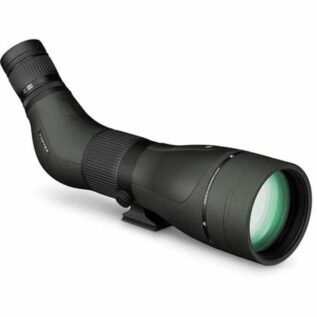 Vortex Diamondback HD 20-60x85 Spotting Scope - Angled
 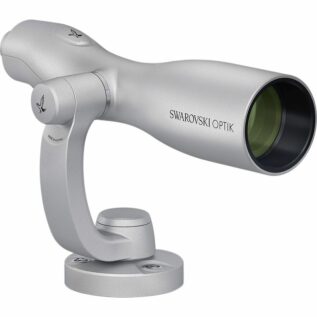 Swarovski ST Vista 30x95mm Spotting Scope
 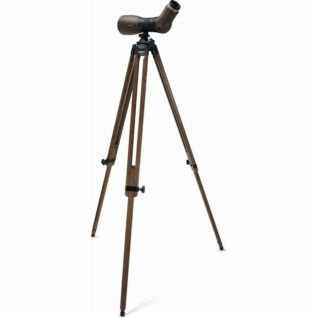 Swarovski ATX Interior 25-60x85mm Spotting Scope with Wooden Tripod
  Tasco 20-60x60mm Spotting Scope
 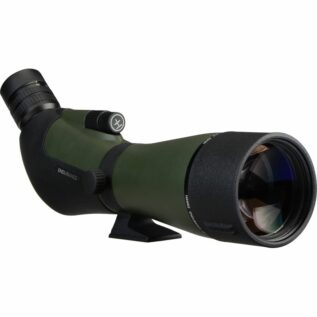 Hawke Endurance 20-60x85mm Spotting Scope
 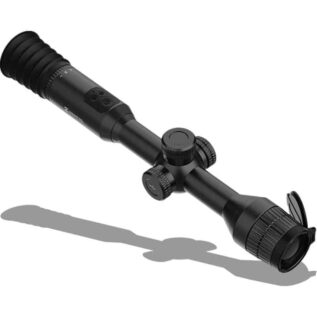 HikMicro Stellar SH35 35mm Thermal Scope
 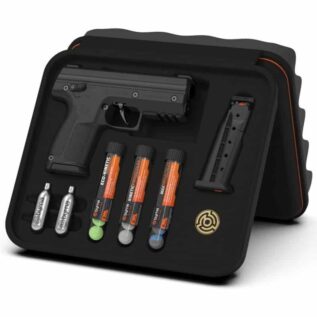 BYRNA Black SD Non Lethal Pistol Ready Kit
 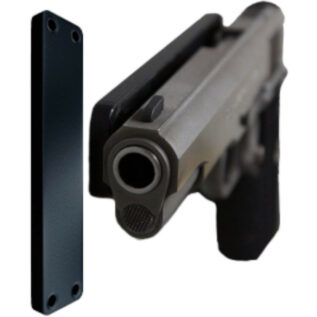 DEFCON Tactical Magnetic Gun Mount - 20KG Gun Magnet
 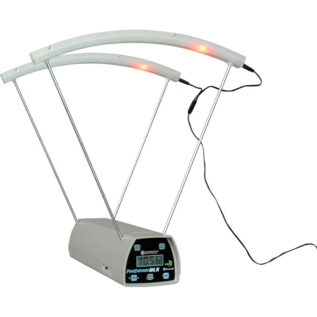 ProChrono DLX Chronograph
 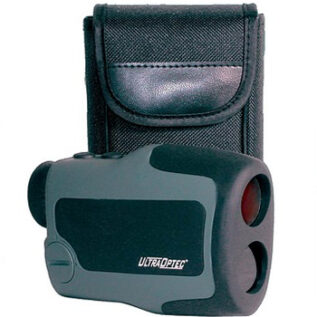 UltraOptec LR1 Laser Rangefinder
 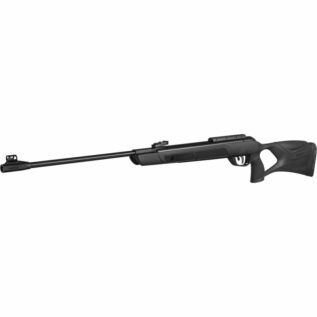 Gamo G-Magnum 1250 5.5mm Air Rifle
 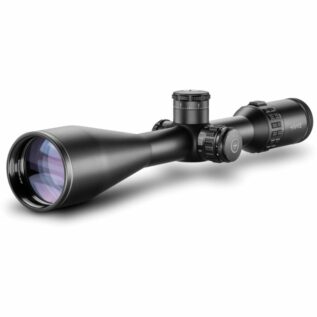 Hawke Sidewinder 30 SF 8-32x56 SR Pro II Riflescope
  Hawke Reflex 3 MOA Wide View Weaver Red Dot Sight
 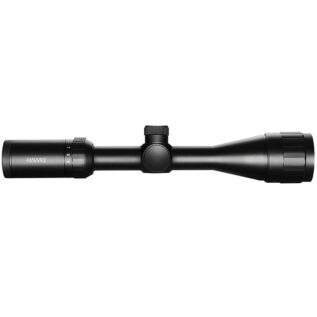 Hawke Vantage 4-12x40 AO Mil Dot Riflescope
 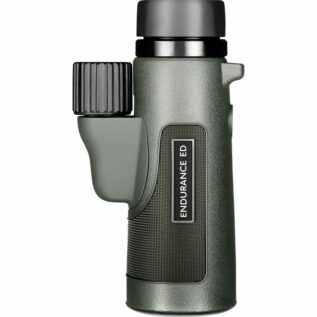 Hawke Endurance 10x42mm ED Monocular
 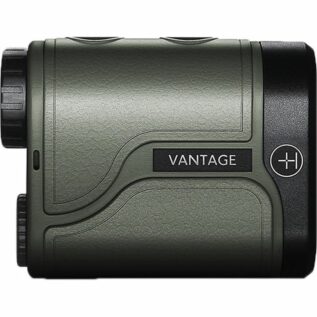 Hawke Vantage 900 Laser Rangefinder
  Hawke Green Frontier 10x42mm ED-X Binocular
 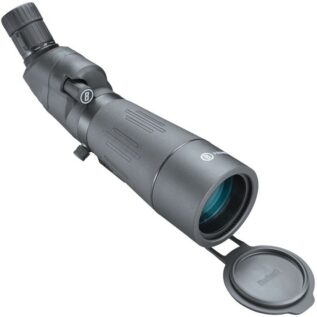 Bushnell Black Prime 20-60x65mm Angled Spotting Scope
  Rudolph Binocular - Rangefinder 8x42
  Rudolph Binocular - HD 8x32
  Rudolph Binocular - HD 10x42
  Honey Badger Leaf Folding Knife - Large/Black
 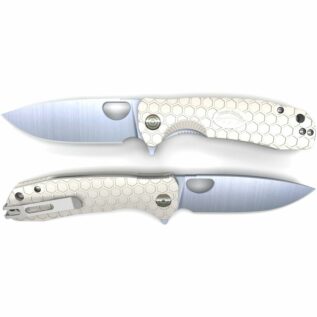 Honey Badger Flipper Folding Knife - White/Large
 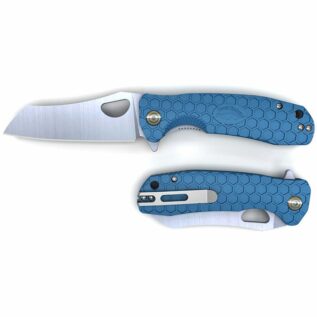 Honey Badger Wharncleaver Folding Knife - Blue/Medium
 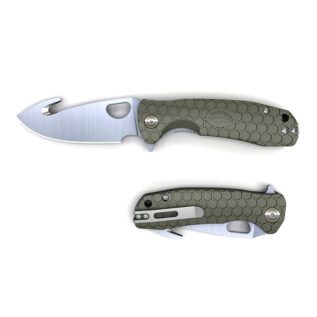 Honey Badger Hook Folding Knife - Green/Large
 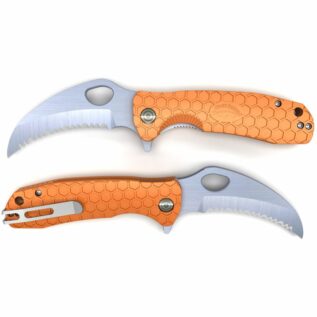 Honey Badger Claw Serrated Folding Knife - Orange/Large
  Honey Badger Large Hook Folding Knife - White
 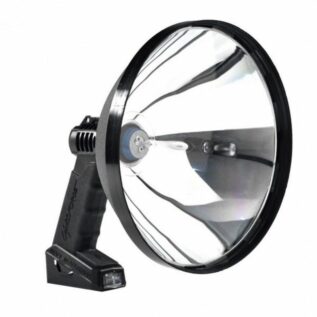 Lightforce Handheld Spotlight - Enforcer Halogen - 240mm - 100W
 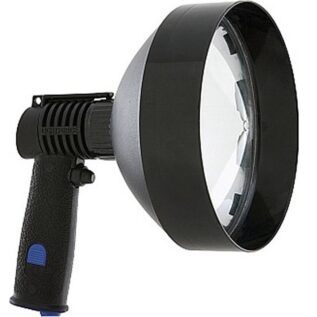 LightForce SpotLight - Hand Held Marine Striker 170 12V 100W
  LightForce SpotLight - Hand Held Marine Lance 10 12V 75W
 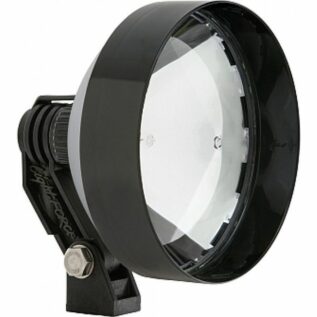 LightForce SpotLight - Blitz Remote Mounted 240mm With 12V 100W Xenophot Lamp
 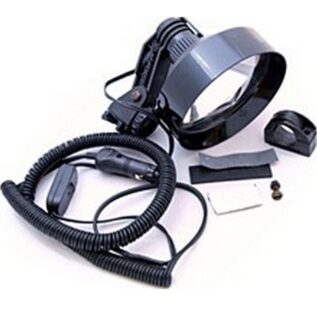 LightForce SpotLight - Nighthunter Scope Mounted 170mm With 12V 100W Xenophot Lamp
  LightForce SpotLight - Hand Held or Firearm Mounting - LED Flashlight Red
  LightForce SpotLight - Hand Held Enforcer Variable Power 240mm 100W with Coiled Cord
 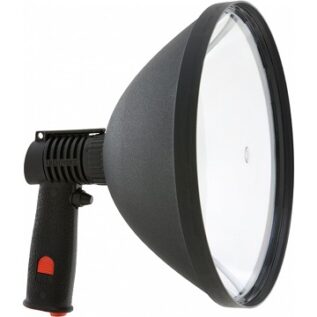 Lightforce Spotlight - SL240 Blitz - Handheld
 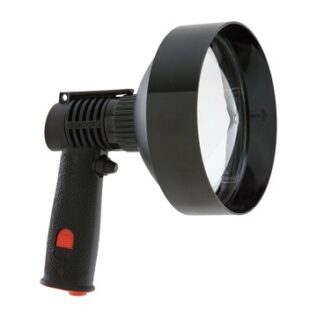 Lightforce Spotlight - SL170 Striker - Handheld
 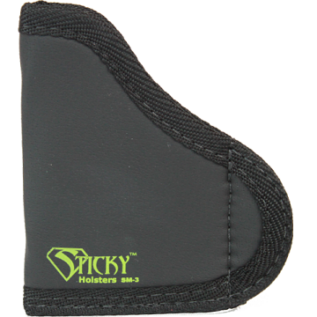 Sticky Holsters Holster - SM-3
 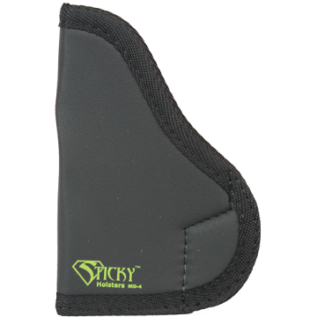 Sticky Holsters Holster - MD-4
 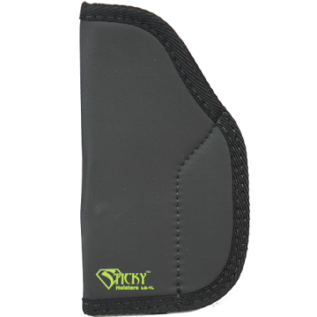 Sticky Holsters Holster - LG-1 (Long)
 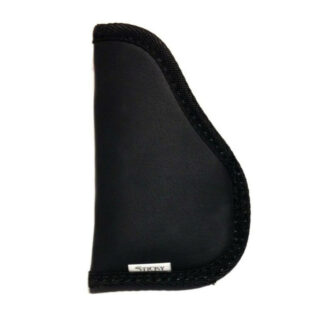 Sticky Holsters Large Kydex Sleeve
  Sticky Holsters MD-4 Gen 1 Holster
  Sticky Holsters Holster - MD-4 (Modified for Laser)
 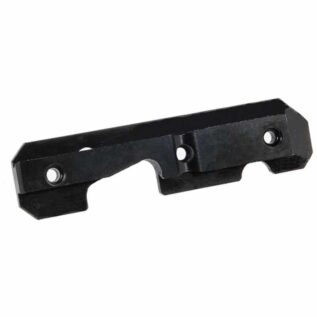 Leapers UTG AK47 Steel Dovetail Side Plate
 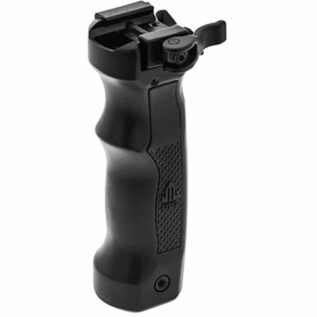 Leapers UTG D Grip Quick Release Deployable Bipod - Black
  Leapers UTG Picatinny Over Bore Bipod - 7"-11"
 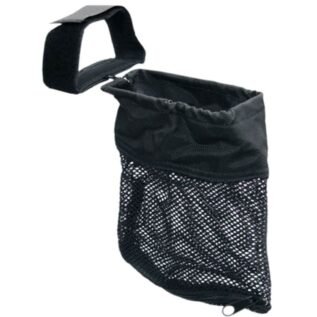 Leapers UTG AR15 Shell Catcher
 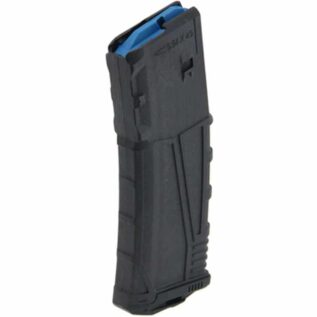 Leapers UTG PRO .223/5.56 AR15 30 Round Polymer Magazine - Black
 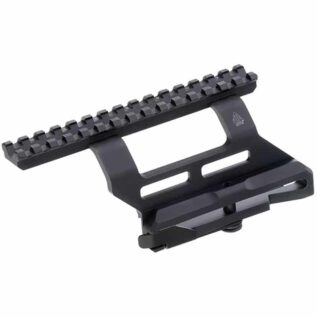 Leapers UTG PRO Quick-detachable AK Side Mount
 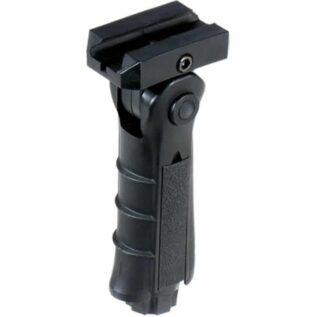 Leapers UTG Ambidextrous 5-position Foldable Foregrip - Black
  Leapers UTG Instant Target Aiming BULLDOT Compact Laser - Green
  Leapers UTG Ambidextrous Compact Pistol Laser - Green
  BOGgear DeathGrip 360 Shooting Chair
  BOGgear Chair Pod Hunting Rest
 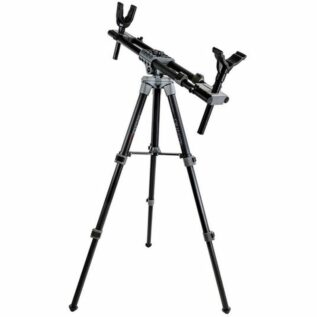 BOGgear Field Pod Hunting Rest
 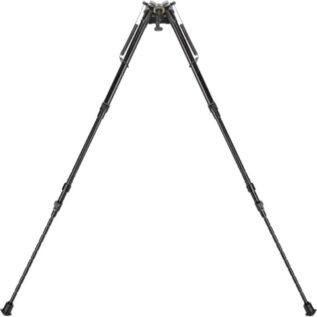 Caldwell 13.5-27" XLA Sling Swivel Stud Pivot Bipod
 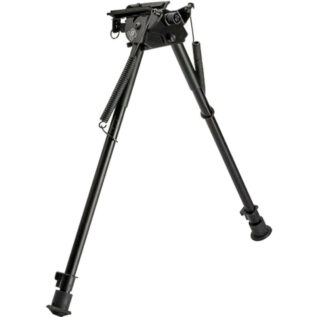 Buffalo River 9-13" Harris Swivel Style Bipod
  Ampro Bipod Picatinny Adaptor
  Caldwell Gen2 Ballistic Precision Chronograph
 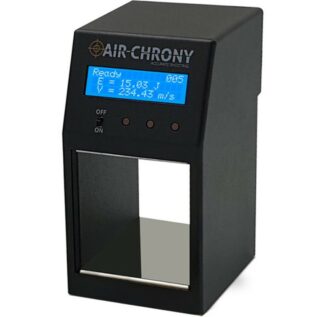 Air Chrony MK3 Ballistic Chronograph
 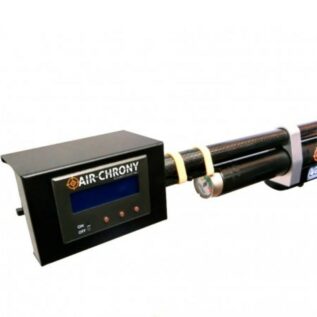 Air Chrony MK1 Ballistic Chronograph
 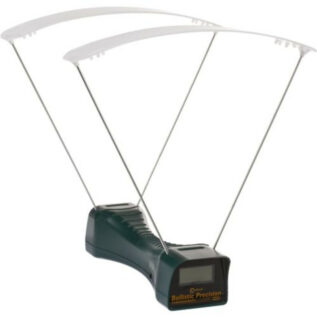 Caldwell Ballistic Precision Chronograph
  Air Chrony Star 42 Tripod
  Vortex Diamondback HD 15x56 Binoculars
  Vortex Hunter Rings 1 Inch - Medium
  Vortex Hunter Rings 1 Inch - High
  Vortex 40-46mm Defender Flip Cap Eyepiece Cover
 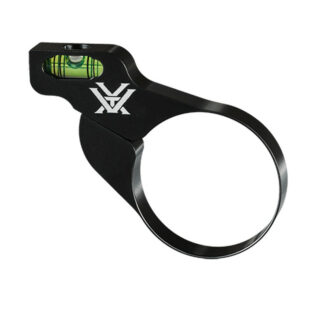 Vortex 34mm Lo Pro Scope Bubble Level
  Vortex Razor Red Dot Glock 9mm Dovetail Mount
 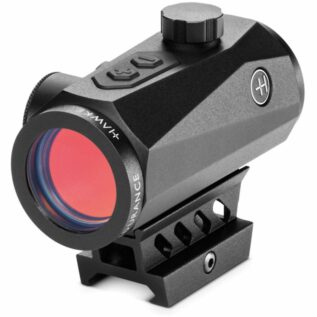 Hawke Endurance MOA 1x30 Weaver Red Dot Sight
 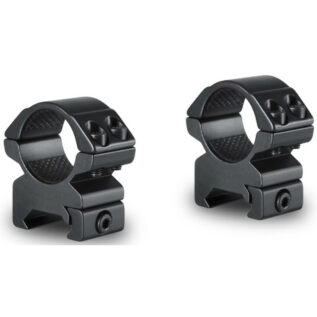 Hawke Match Mount 2 Piece Weaver 25mm Medium
  Hawke Match Mount 2 Piece(9-11mm) 30mm High
  Hawke Laser and LED Flashlight - Foregrip
  Hawke Mount - 9-11mm - High (2 Piece)
  Lynx 5134N 1" .22 High Ringset
  Lynx Riflescope - LX2 - 5-20x50 - M20
  Lynx Riflescope - LX 6-24x42D - Hold-Over
  Rudolph PH Shooting Sticks
  Rudolph Pivot Bipod - 6-9"
  Rudolph 30mm Medium Steel Ring Set
  Rudolph V1 2.5-15x50mm D2 IR Riflescope
 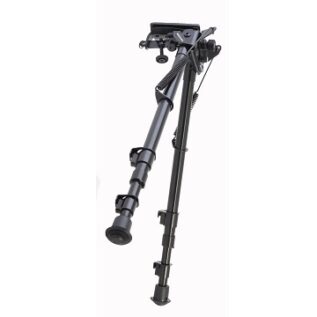 Rudolph Pivot Bipod - 13-27"
 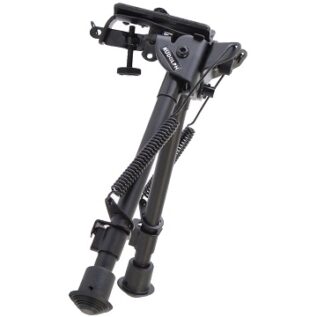 Rudolph Pivot Bipod - 9-13"
 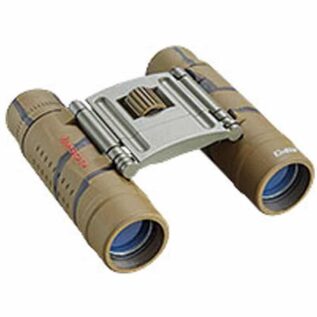 Tasco Essentials 10x25 Compact Roof Binoculars - Brown Camo
  Bushnell Prime Low Glow Trail Camera
 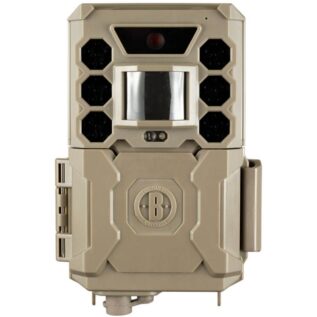 Bushnell Core 24MP No Glow Brown Trail Camera
 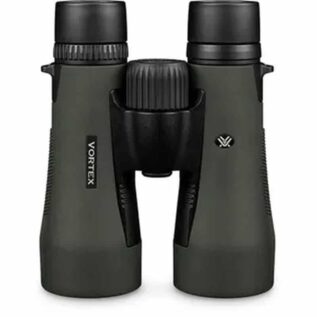 Vortex Diamondback HD 10x50 Binoculars
  Burris 1/2-Inch Picatinny Riser
  Leapers UTG Universal Dovetail to Picatinny/Weaver Rail Adaptor
 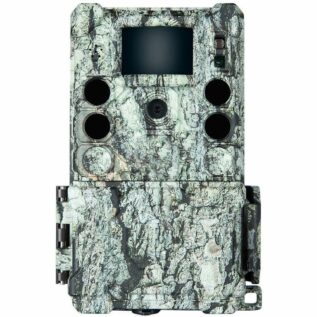 Bushnell Core S-4k No Glow Trail Camera
 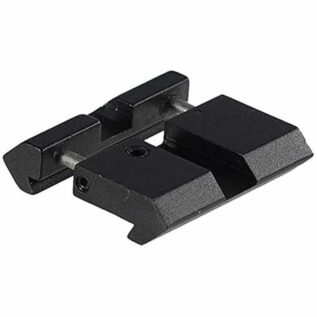 Leapers UTG .22/Airgun to Picatinny/Weaver Low Pro Snap-in Adaptor
 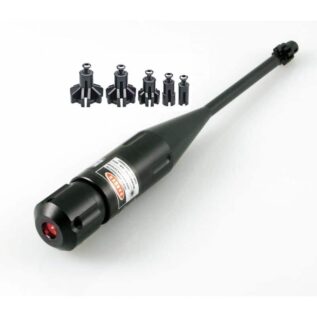 Bushnell Laser Bore Sighter .22-.50 Caliber
 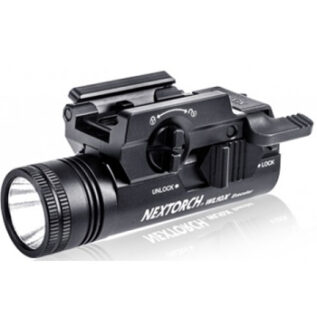 Nextorch WL10X Gunlight
 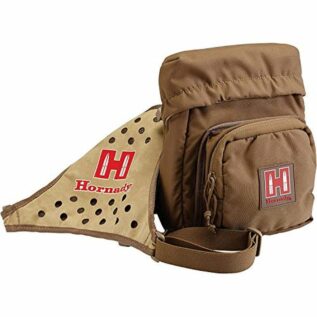 Hornady 99128 Bino Case
 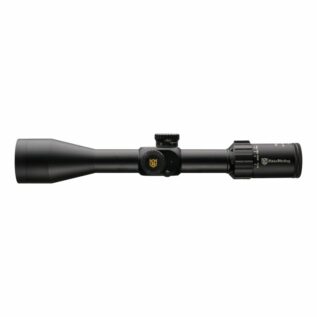 Nikko Stirling Diamond Long Range 6-24x50
  Leapers UTG Absolute Co-Witness Super Slim Picatinny RMR Mount
  Tasco World Class 4-12X40 30/30 Aiming Riflescope
  Nikko Stirling 30mm Medium Weaver Steel Mount
  Nikko Stirling 1" Low Weaver Steel Mount
  Nikko Stirling 1" Medium Weaver Steel Mount
  Nikko Stirling 1" High Weaver Steel Mount
  Nikko Stirling 2 Piece Steel Picatinny
  iProtec IP6108 Universal Gun Light Clamp Mount
  Hawke Riflescope - Vantage - 3-9x40 - 30/30
  Gamo G3-9x40 WR 1PM Riflescope
  Tasco 3-9X40 AO Riflescope
  Hawke Vantage SF 3-12x44 1/2 Mil Dot Riflescope
  Hawke Vantage 3-9x50 AO Mil Dot Riflescope
  Hawke Vantage 3-9x40 AO Mil Dot Riflescope
  Nikko Stirling Riflescope - Airking 4x32 AO
  Burris Red Dot Sights - FastFire 2 - 21mm x 15mm
  Bushnell Match Pro ED 5-30x56 Riflescope
  Tasco Rimfire 3–9x40mm Riflescope
  Hawke 11” Neoprene Scope Cover
  Burris Fullfield E1 6.5-20x50mm SFP Riflescope - Ballistic Plex
 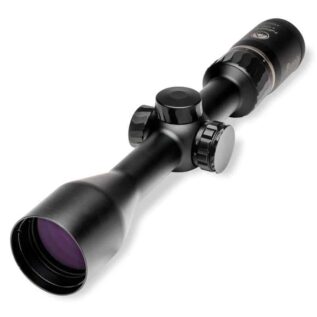 Burris Fullfield IV 3-12x42mm SFP Riflescope - Ballistic E3
 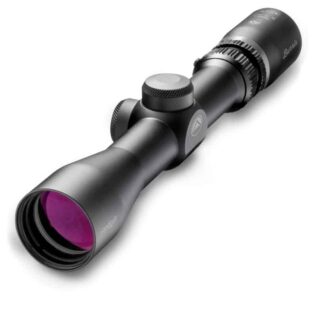 Burris 2-7x32mm MOA SFP Handgun Scope - Ballistic Plex
  Bushnell Banner 2 3-9x50 SFP Riflescope - DOA QBR
  Bushnell Legend 6-18x50 Riflescope - DOA QBR
 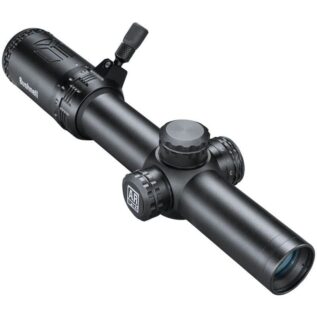 Bushnell AR Optics 1-8x24 SFP Riflescope - Illuminated BDC
  Vortex Strike Eagle 1-6X24 Riflescope - AR-BDC3 MOA
  Kahles Riflescope Sunshield - 56mm
  Nightforce 100 MOA/29 MRAD Wedge Prism Assembly
  Nightforce 56mm Objective Flip Up Lens Caps
  Hawke Sidewinder 30 SF 6-24x56 20x Half Mil Riflescope
 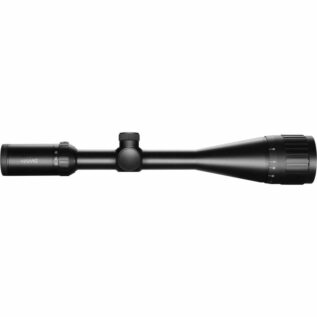 Hawke Vantage 4-12x50mm AO Mil Dot IR Riflescope
 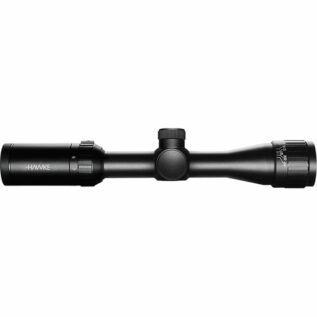 Hawke Vantage 2-7x32mm AO Mil Dot Riflescope
 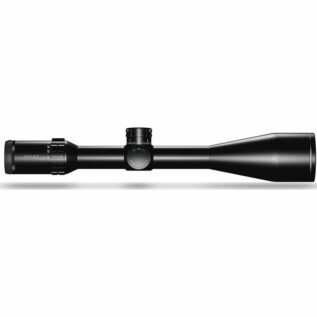 Hawke Frontier 5-30x56 SF IR Mil Pro 20x Riflescope
 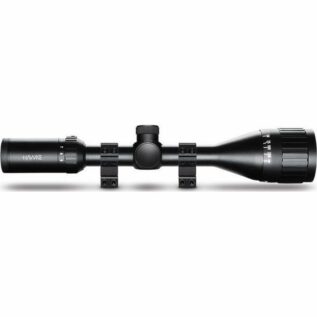 Hawke Fast Mount 3-9x40 AO Mil Dot Riflescope
 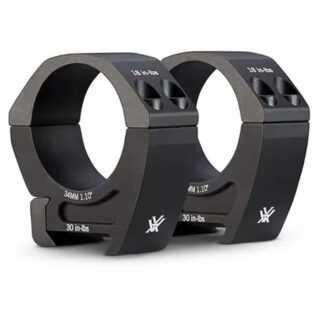 Vortex 34mm Medium 1.10-Inch Riflescope Pro Rings
 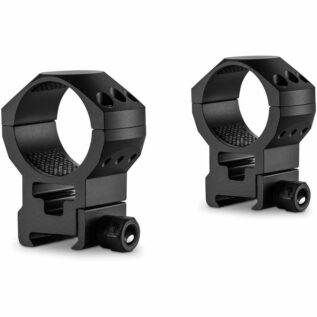 Hawke Tactical Match 34mm 2 Piece Weaver High Ring Mounts
 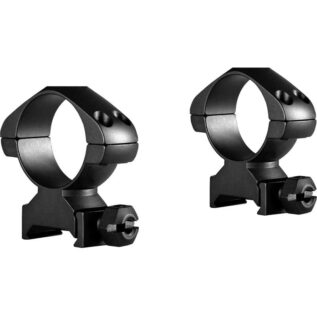 Hawke Precision Steel 30mm 2 Piece Weaver High Ring Mounts
 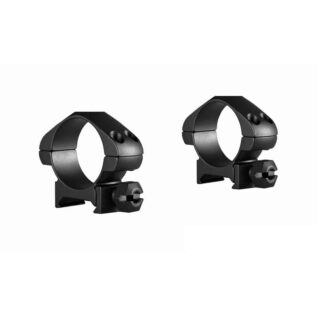 Hawke Precision Steel 30mm 2 Piece Weaver Low Ring Mounts
 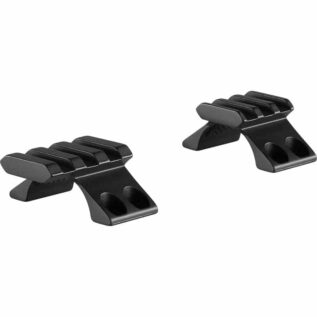 Hawke 30mm Picatinny Ring Caps
 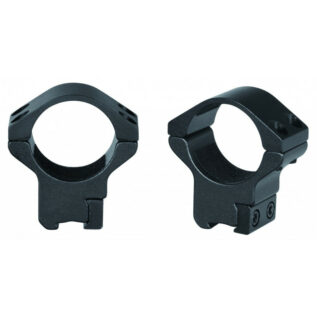 Gamo TS-300 30mm Medium 2 Piece Mount
  Hawke Mount - 9-11mm - Medium (1 Piece)
 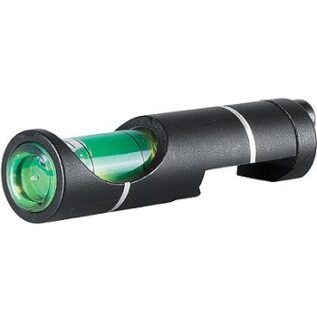 Hawke Bubble Level - Weaver
  Hawke Bubble Level - Universal Airgun - 9mm-11mm
  Rudolph 30mm Extended Aluminum Mount
  Warne #SV172-176 Switchview Quick Adjustment Lever
  Tasco Propoint 1x25mm Reflex Sight
  Vortex Crossfire Red Dot Sight
  Vortex AMG UH-1 Gen II Holographic Sight
  Kahles Helia RD Red Dot Sight - Picatinny Mount
  Gamo 30mm Quick Shot BZ Red Dot Sight
  Bushnell RXU-200 Ultra-Compact Reflex Sight
 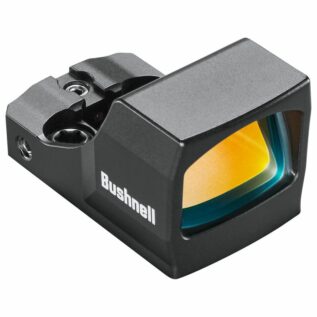 Bushnell RXC-200 Compact Reflex Sight
 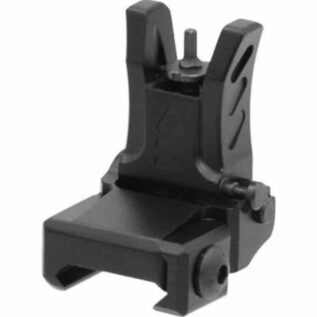 Leapers UTG Model 4 Low Profile Handguard Flip-Up Front Sight
 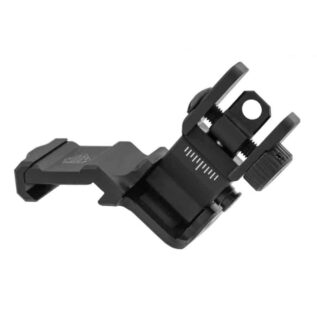 Leapers Accu-Sync 45 Degree Angle Flip Up Rear Sight
 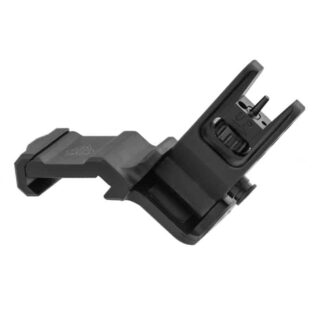 Leapers Accu-Sync 45 Degree Angle Flip Up Front Sight
  Leapers UTG Super Slim Keymod Hand Stop/Barricade Rest Kit
  UTG 3.9" Red/Green Circle Dot Reflex Sight
  TruGlo XR24 3MOA 24x17mm Micro Red Dot Sight
  TruGlo TruBrite Multi-Reticle Dual-Colour Open Dot Sight
 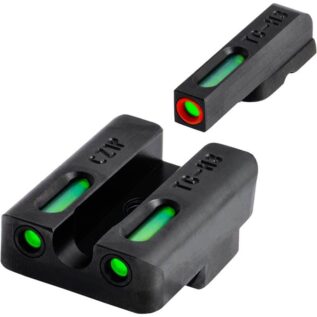 TruGlo TFX Pro Tritium CZ 75 Orange Focus Lock Sight Set
  TruGlo TFX Tritium Glock White Focus Lock Sight Set
 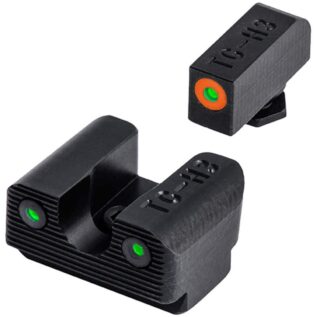 TruGlo Tritium Glock Orange Focus Lock Sight Set
 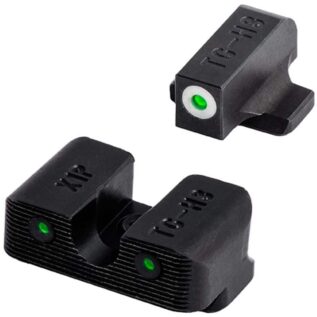 TruGlo Tritium Glock White Focus Lock Sight Set
 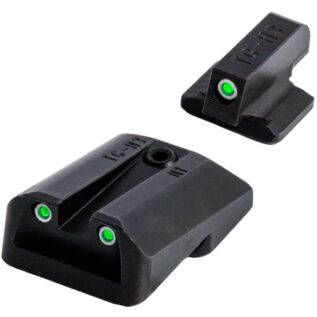 TruGlo Tritium Glock 42/43 Sight
  TruGlo Glo-Dot Pro Dual Colour Universal Fibre Optic Sight
  TruGlo Gobble-Dot Dual Colour Universal Fibre Optic Sight
  TruGlo Glo-Dot Dual Colour Universal Fibre Optic Sight
  Hawke Wide View Weaver Reflex Sight - Circle Dot Reticle
 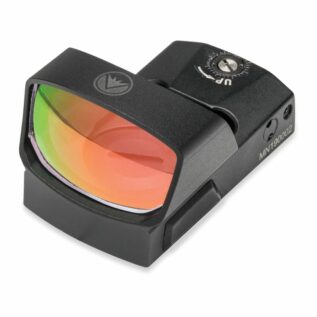 Burris FastFire IV Reflex Multi Reticle Red Dot Sight
 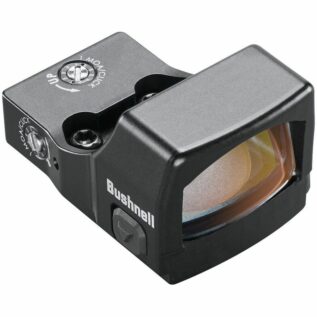 Bushnell RXS-250 Reflex Sight - 4 MOA Dot
 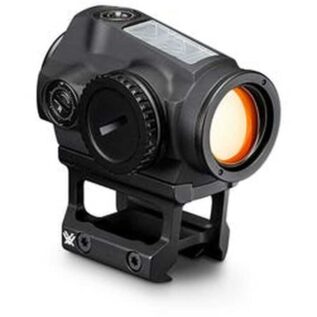 Vortex SPARC Solar Red Dot Sight
 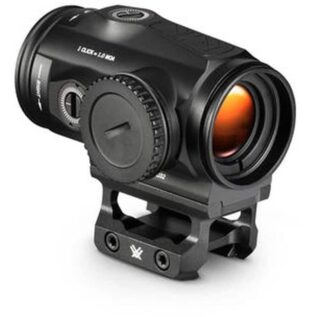 Vortex Spitfire HD Gen II 3x Prism Red Dot Sight
  Hawke Vantage 1x30 Weaver Red Dot Sight
  iProtec IP6008 O2 Green Laser Sight Kit
  Leapers UTG W/E Adjustable Compact Green Laser With Rings
  Leapers UTG Sub-Compact 200 Lumen Picatinny Pistol Light
 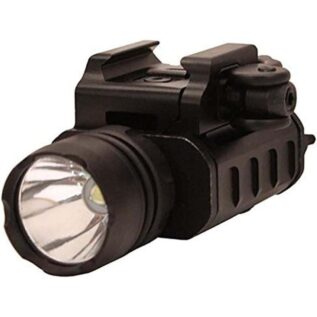 Leapers UTG 400 Lumen Compact LED QD Weapon Light
  Leapers UTG Instant Target Aiming BullDot Compact Green Laser
  Leapers UTG Sub-Compact Red Laser
 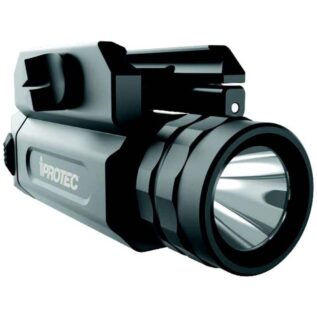 iProtec RM230 Rail-Mount Firearm Light
 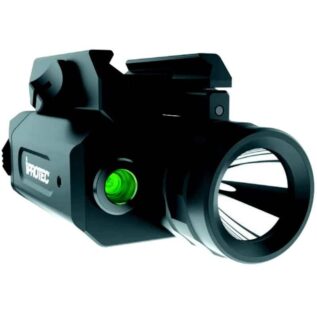 iProtec RM230LSG 230L Green Laser Light
 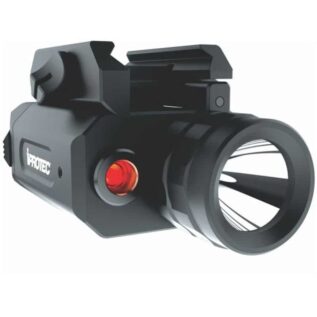 iProtec RM230LSR Rail-Mount Red Laser Light
  Hawke Micro Reflex 3 MOA Weaver Red Dot Sight
  Hawke Endurance MOA 1x25 Weaver Red Dot Sight
  Hawke Vantage MOA 1x20 Weaver Red Dot Sight
 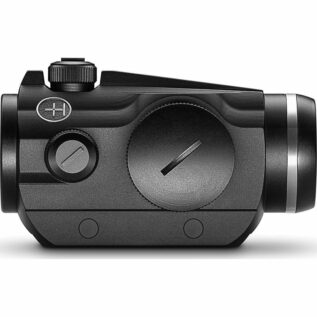 Hawke Vantage 1x25 9-11 Red Dot Sight
  Fobus Glock Polymer Scope Mount
  Litra Filter Set
  Litra Double Mount
  Litra Cold Shoe Ball Mount
  Litra Flashlight
  iProtec IP6119 Q-Series Subcompact Pistol Red Laser Sight and LED Light
  iProtec IP6105 Elite 110 Gun Light with Laser
  Bushnell 16130 Large Featherlight Bino Case
  Steiner Comfort Binocular Harness
 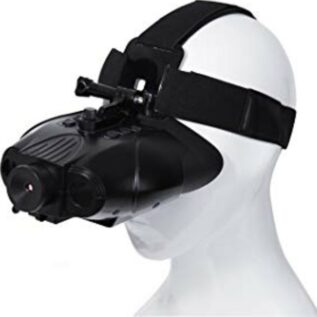 XVision Hands Free Deluxe Night Vision Binoculars
 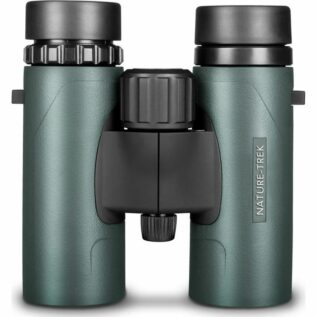 Hawke Nature-Trek 10x25mm Compact Binocular
  Steiner Wildlife 10x42mm Binoculars
 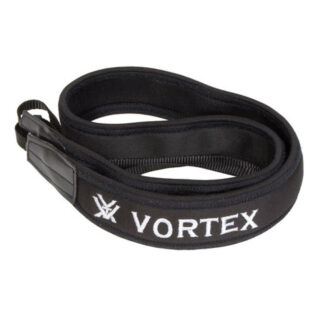 Vortex Archer's Binocular Strap
  Vortex Lens Cleaning Kit
  UltraOptec Series 1 10x50 Binoculars
  Leica Binocular - Geovid 8x56 HD-B
  Vortex Guide BinoPack Binocular Case
 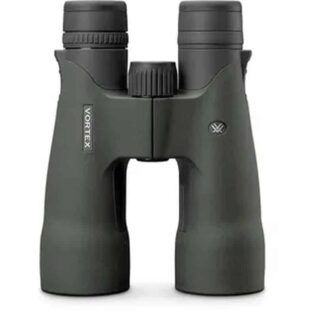 Vortex Razor UHD 10x50 Binoculars
  Steiner Predator 10x42 Binocular
  Steiner Binocular Eye Piece
  Bushnell Vault Modular Optics Protection System Binocular Pack
 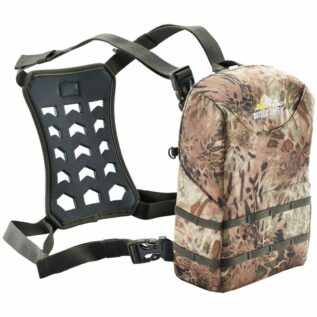 Butler Creek XX-Large Featherlight Bino Case
  Butler Creek X-Large Featherlight Bino Case
  Bushnell Powerview 2 8x21 Binoculars
 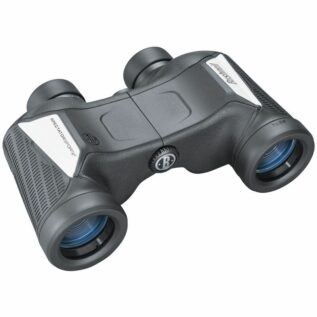 Bushnell 7x35 Spectator Sport Binoculars
 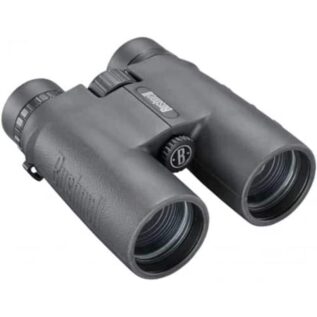 Bushnell Pacifica Guide 10x42 Binocular
 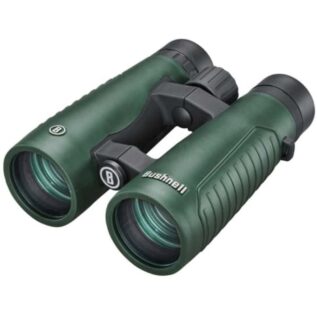 Bushnell Excursion 10x42 Binoculars
 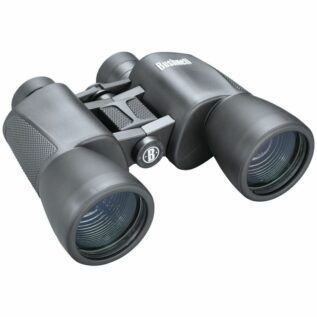 Bushnell Powerview 10x50 Binoculars With Harness
 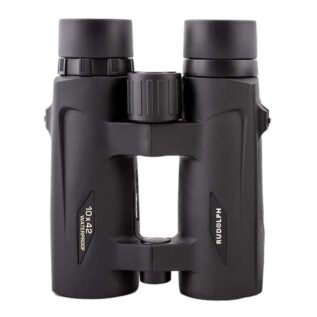 Rudolph 10x42mm HD Binocular
  Kowa BD56-12XD 12x56mm Binocular
  Kowa BD56-8XD 8x56mm Binocular
 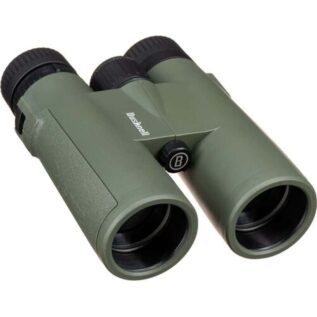 Bushnell 210142RG 10x42 All-Purpose Binoculars
 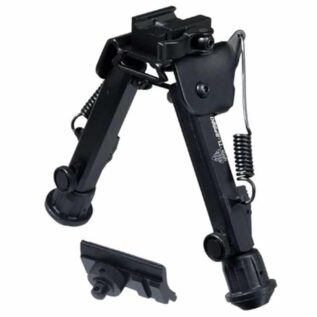 Leapers UTG Quick Detach Super Duty Bipod - 6.0"- 8.5"
  Ram Gen 3 Trigger Stick Monopod - 1.65M
  Primos Camera Mount Plate For Gen 3 Trigger Sticks
  Hawke 6-9" Swivel Tilt Bipod
  Leapers UTG Recon Flex II M-LOK Bipod - 7"-9"
  Vortex High Country II Aluminium Tripod - Pan Head
 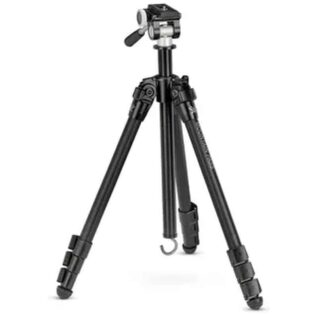 Vortex Mountain Pass Tripod Kit
 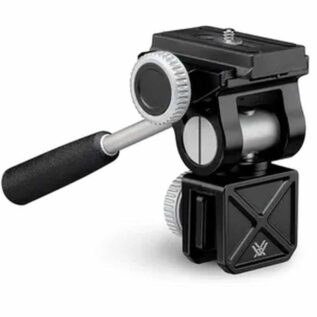 Vortex Pro Car Window Mount
 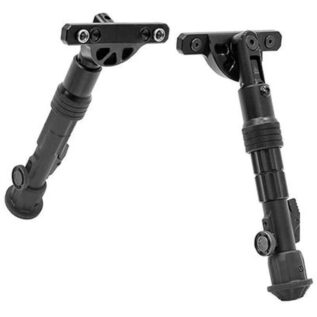 Leapers UTG 5.7"-8" Recon Flex KeyMod Bipod
 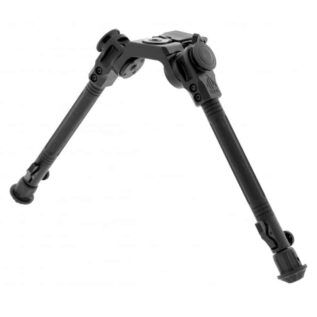 Leapers UTG 7"-11" Picatinny Over Bore Bipod
 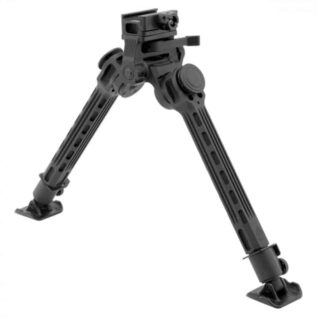 Leapers UTG 9"-14" Big Bore Full Stability Bipod
 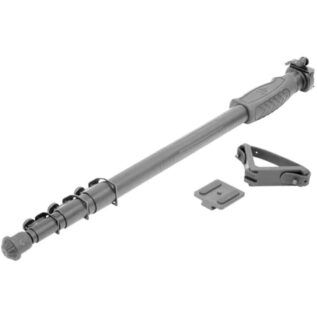 UTG 20.5"-58.75" All-Purpose Monopod
 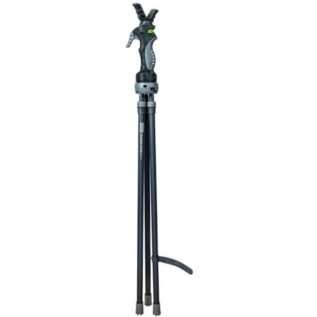 Primos Trigger Stick GEN 3 Trigger Stick Tall Tripod
 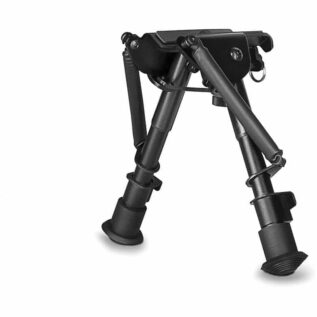 Hawke 6-9" Fixed Bipod
 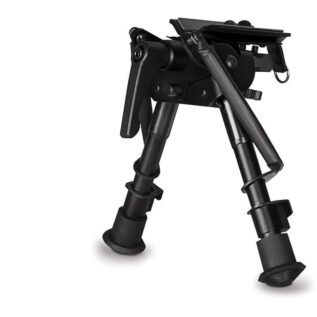 Hawke 6-9" Tilt Bipod
 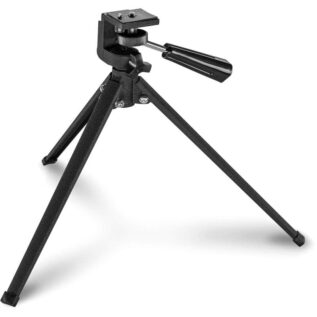 Hawke Table Top Tripod
 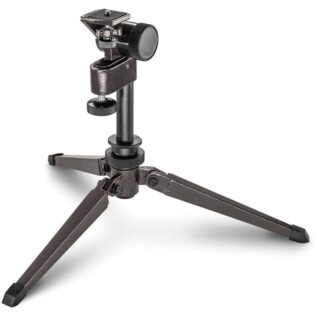 Hawke Adjustable Table Top Tripod
  Vortex Arca-Swiss Quick Release Plate
  Vortex Sport Binocular Adapter
  Vortex Pro Binocular Adapter Stud Only
  Vortex Pro Binocular Adapter
  Vortex Pro Leveling Head
  Vortex Summit Carbon II Tripod - Carbon Fiber/Pan
  Vortex Ridgeview Carbon Tripod Kit - Carbon Fiber/Pan
  Vortex Radian Leveling Head
 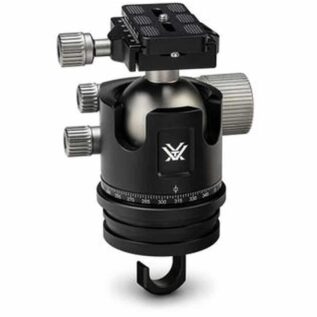 Vortex Radian Ball Head
 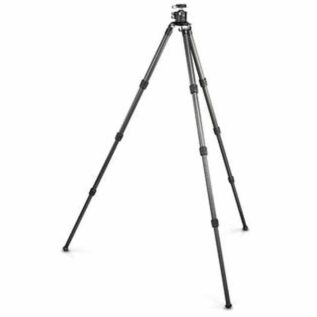 Vortex Radian Carbon Leveling Head Carbon Fiber Tripod
  Vortex Radian Carbon Ball Head Carbon Fiber Tripod
 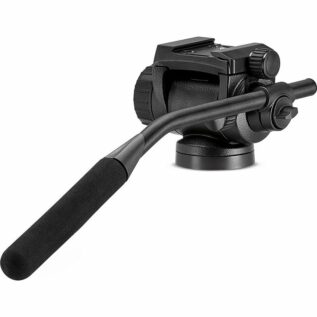 Swarovski Compact Tripod Head
 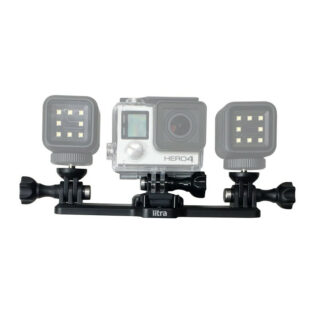 Litra Triple Mount
  Hawke Endurance 1500 6X21mm Rangefinder
  Hawke 800 Laser Rangefinder
  Nikko Stirling Range Finder - Laser - 5-800m
  Vortex Viper HD 3000 Laser Rangefinder
  Vortex Diamondback HD 2000 Laser Rangefinder
 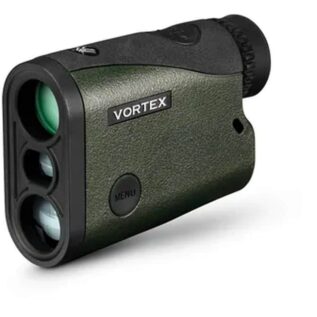 Vortex Crossfire HD 1400 Laser Rangefinder
 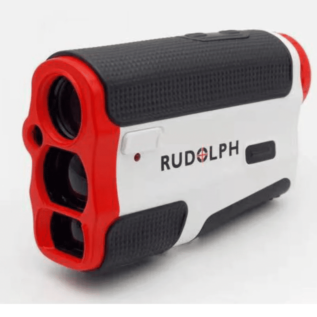 Rudolph Rangefinder - RF 1200H
 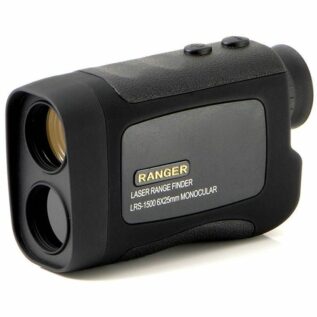 Lynx Ranger Laser Rangefinder
  Hawke Endurance LRF1000 6X21mm Rangefinder
  Hawke Endurance LRF700 6x21mm Rangefinder
  Hawke 400 Laser Rangefinder
 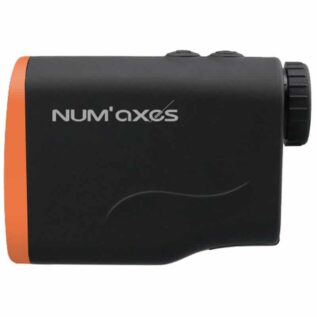 Num’axes TEL1050 Hunting Laser Rangefinder
 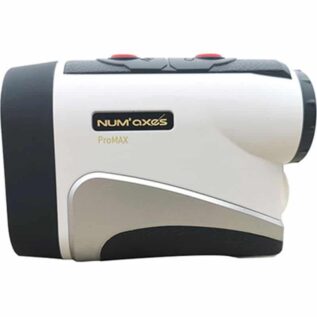 Num'axes Pro Max Laser Rangefinder
 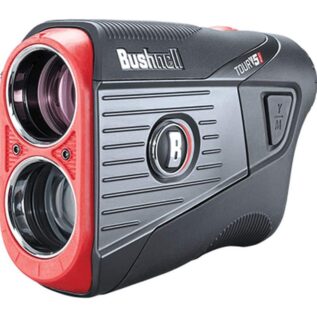 Bushnell Tour V5 Shift 2021 Laser Rangefinder
 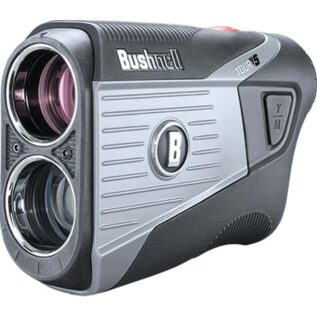 Bushnell Tour V5 Jolt Golf Rangefinder
 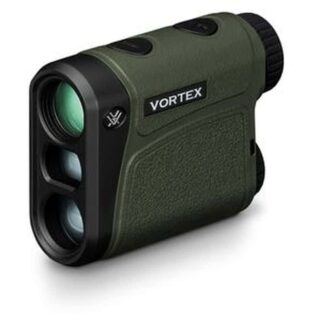 Vortex Impact 1000 Rangefinder
  Kahles Helia RF-M 7x25 Rangefinder
  Rudolph RF-1000 6x25mm Rangefinder
  Vortex Razor HD 4000 Rangefinder
  Leica Rangemaster CRF 2700-B Rangefinder
  Vortex Ranger 1800 Rangefinder
  NiteSite Rangefinder Scope Mounted Night Vision
  Nikko Stirling Rangefinder - 5-1200m
  Leica Binocular - Geovid 8x56 HD-R
  Leica Binocular - Geovid 8x42 HD-R
 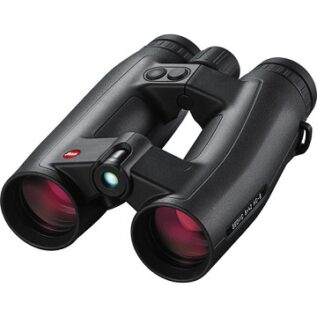 Leica Binocular - Geovid 8x42 HD-B
  Leica Binocular - Geovid 15x56
 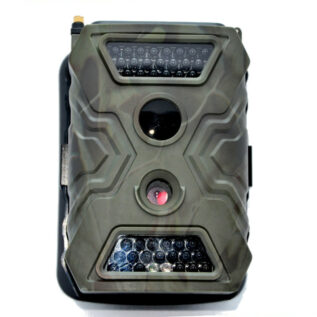 Nikko Stirling 2.1MP Trail Camera
 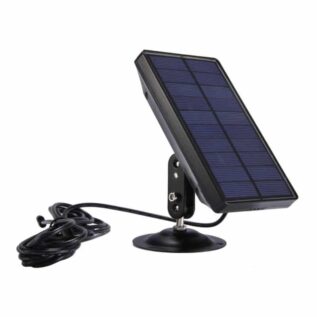 Num’axes 6V Trail Camera Solar Panel With Built-In Battery
  Num'Axes PIE1060 WiFi Solar Trail Camera
 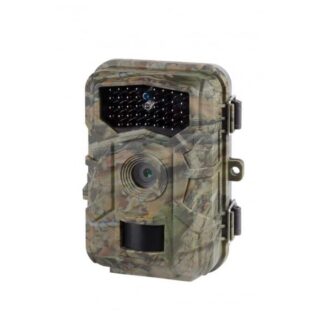 Num'Axes PIE1059 Trail Camera
 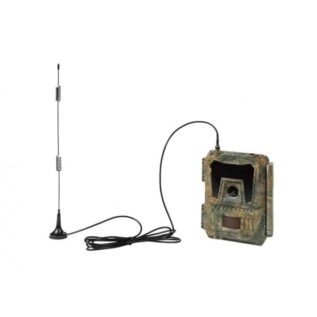 Num'Axes PIE1052 4G Trail Camera
 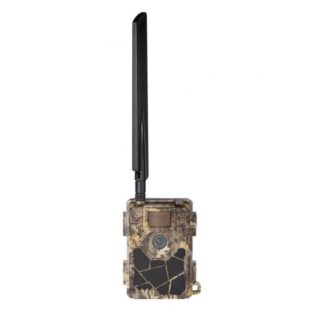 Num'Axes PIE1051 4G Trail Camera
  Num'Axes 4G Antenna For PIE1046 Trail Camera
 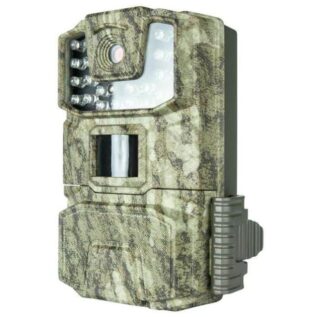 Bushnell 18MP Spot On Tree Bark Camo Trail Camera
 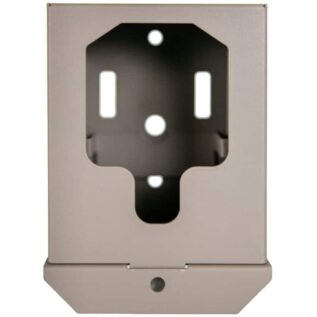 Bushnell 119950C Trail Cam Security Box
 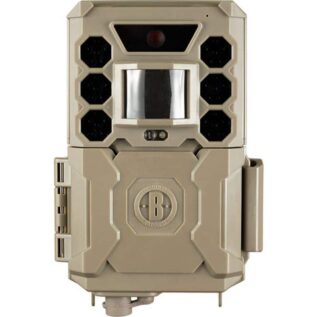 Bushnell Core No-Glow Trail Camera
 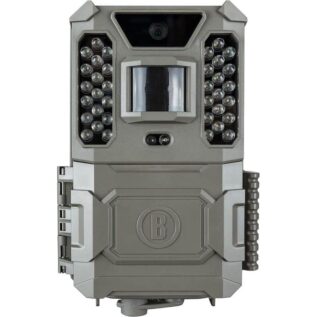 Bushnell 24MP Prime Low Glow Trail Camera
  Bushnell Vault Modular Optics Protection System LRF Pouch
  Tasco 8MP Low Glow Tan Trail Camera
  Stealth Cam Large Brown Security / Bear Box
  Stealth Cam QS20 Trail Camera
  Num’axes PIE1044 Trail Camera
  Num’axes PIE1023/PIE1037/PIE1046/PIE1051/PIE1052 Trail Camera 12V Power Pack
  Num’axes PIE1044/PIE1045/PIE1048 6V Trail Camera Power Pack
  Num’axes PIE1037 Trail Camera Metal Cap
  Num’axes PIE1023 Trail Camera Antenna
  Num'axes PIE1046 4G Trail Camera
  Num'axes PIE1035 Trail Camera
  Bushnell 1.8m Trail Camera Cable Lock – Python Adjustable
  Bushnell Camlockbox Prime Low Glow Trail Camera Security Box
 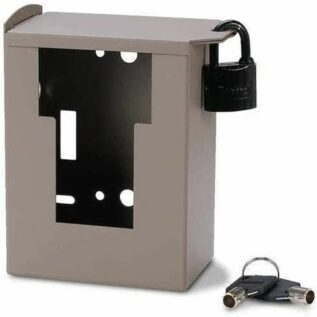 Bushnell Bear Safe Security Case For Trophy Cam Trail Cameras
 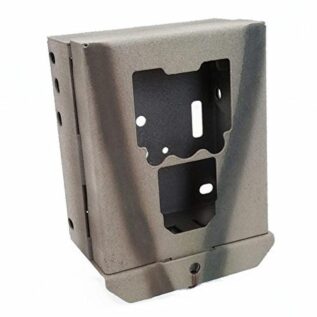 Bushnell Camlockbox Security Box - 119774C/119776C Trail Camera
 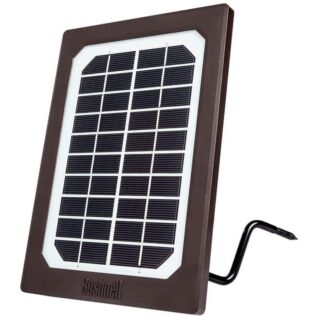 Bushnell Trail Camera Solar Panel
  Bushnell Boresighter Kit
  Bushnell Magnetic Boresighter
  Ram 9mm Cartridge Storage Box - 100
  Ram .223 Cartridge Storage Box - 50
  Lightforce Replacement Bulb for SL170 / SL240 - 12V - 100W
  Tipton Universal Bore Guide Kit
 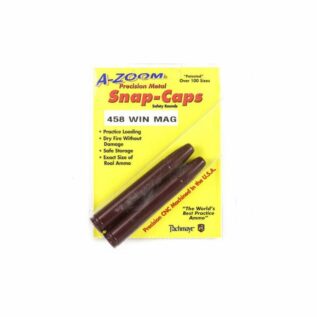 A-Zoom .458 WM Snap Cap - 2 Pack
 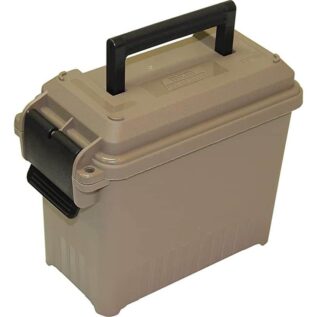 MTM AC15-72 Plastic Mini Ammo Can
 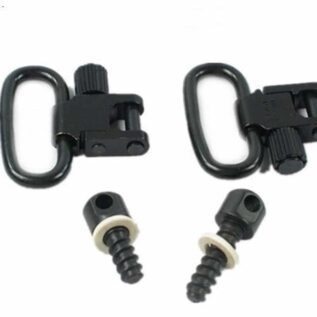 Ram 1″ QD Wood Screw Sling Swivels - Long & Short
 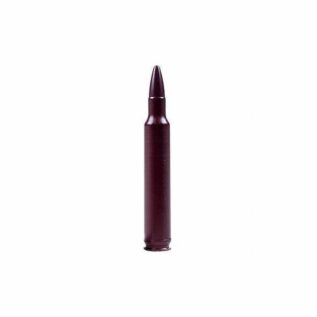 A-Zoom .375 H&H Snap Cap - 2 Pack
 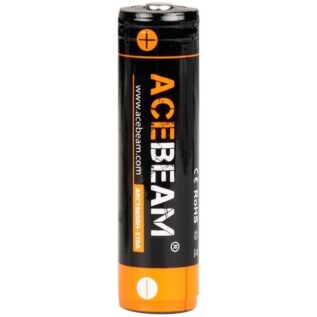 AceBeam 18650 Rechargeable Battery - 3100mAh 3.6V 20A
  Plano Pro-Max PillarLock Contoured Scoped Rifle Case
  Ram 12G Snap Caps - 2
 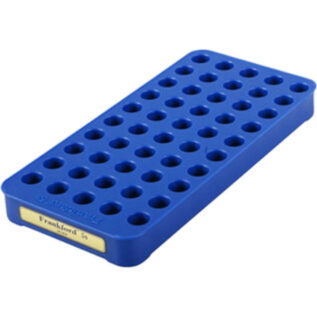 Frankford Arsenal 50 Round Universal Reloading Tray
 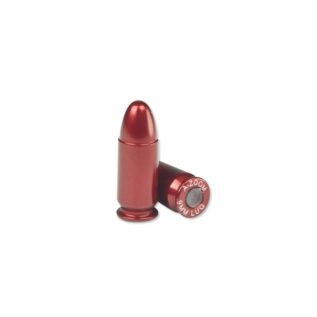 A-Zoom 9mm Snap Cap - 5 Pack
  Browning Cadence Electronic Hearing Protector - Black
 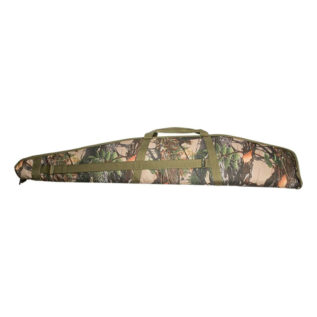 Buffalo River 48" Camo Carry PRO Deluxe II Scoped Gun Bag
  Ram .458 3 Piece Rifle Cleaning Kit
  Ampro TUFF-D1370F Double Rifle Case
  A-Zoom 12 Gauge Snap Cap - 2 Pack
  Hoppes 21/4oz Squeeze Bottle Gun Lubricating Oil
  Hoppes No. 9 5oz Gun Bore Cleaner
  Leapers UTG Swivel Stud to Picatinny Adaptor
  Caldwell Black Max Grip Rifle Sling with Swivels
  Bore Tech 1-1/2" Round Patches - 1000 Pack
  Caldwell Flat Dark Earth Max Grip Rifle Sling with Swivels
 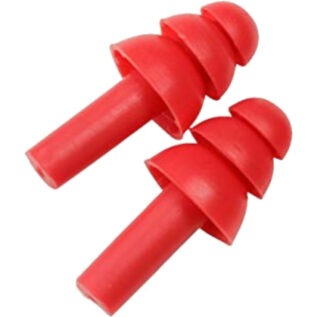 SportEar Silicone Earplugs
 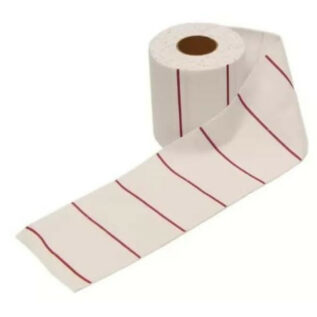 Yale 10m Roll 2x4 Flannelettes
 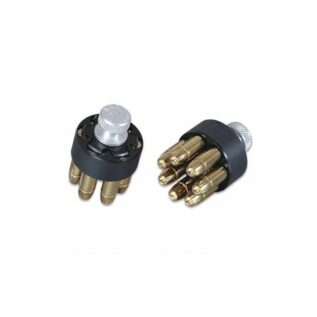 HKS 6 Shot S&W N Frame Speedloader
 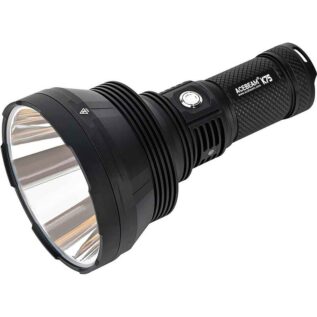 Acebeam K75 Flashlight - 6300 Lumens - 2500m
  Acebeam L35 LED 5000 Lumen Tactical Flashlight
  Olight Seeker 3 Pro Flashlight
  Olight Javelot Pro 2 Kit
  Olight X9R Marauder 25000 Lumen Flashlight
  Gamo Tactical Flashlight
  Zartek ZA-815 Laser LED Flashlight
  Olight Warrior X Turbo Flashlight
  Olight Warrior Mini 2 Flashlight
  Acebeam E10 Osram 760 Lumen LED Flashlight
  Acebeam X80 25000 Lumen LED Flashlight Combo
  Acebeam T27 IR Illuminator 2500 Lumen LED Flashlight
  Olight Freyr Dual-Switch Flashlight
  Tipton Lockdown Cordless 75 LED Vault Light
  Zartek ZA-416 Rechargeable LED Flashlight
  Zartek ZA-417 Extreme Bright Rechargeable Flashlight
  Zartek ZA-498 Rechargeable UV-C Sterilizing LED Wand
  Zartek ZA-497 Sterilizing UV-C Rechargeable LED Light
 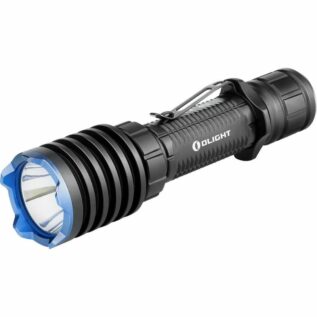 Olight Warrior X Pro Rechargeable LED Flashlight
 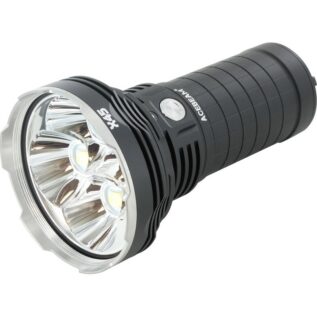 Acebeam X45 Flashlight - 18000 Lumens - 635m
 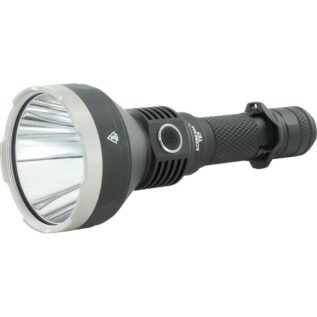 Acebeam T27 Flashlight - 2500 Lumens - 1180m
 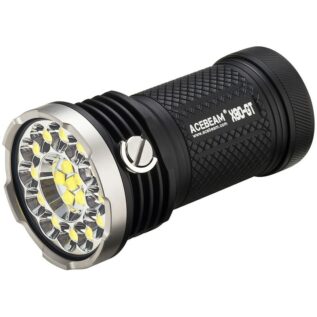 AceBeam X80-GT Flashlight - 32500 Lumens - 369m
 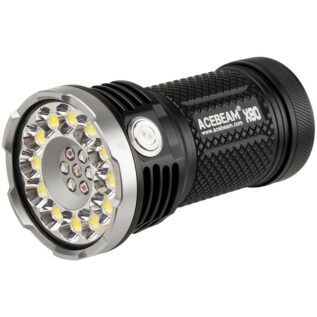 AceBeam X80 Flashlight - 25000 Lumens - 332m
 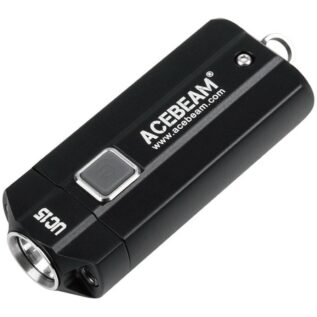 AceBeam UC15 Mini Keyring Flashlight - 1000 Lumens - 107m
  Zartek ZA-457 LED Flashlight
  Zartek ZA-455 12V Rechargeable Flashlight
  Zartek ZA-456 LED Flashlight
  ASI Budget Hiker’s Snakebite First Aid Kit
  Survival Workplace First Aid Kit
  ASI Snakebite Bandage
 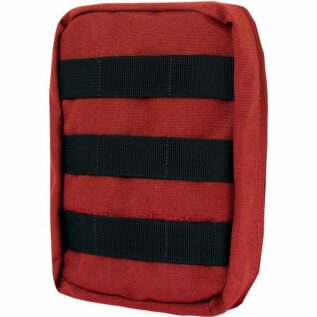 Condor EMT Pouch - Red
 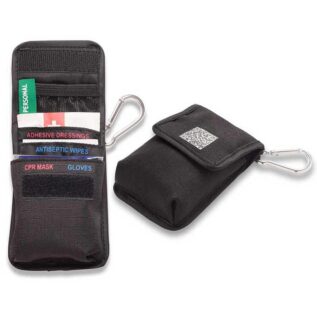 Pocket 1st Aid Kit
 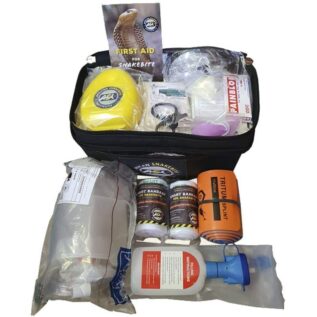 ASI Snakebite First Aid Kit
 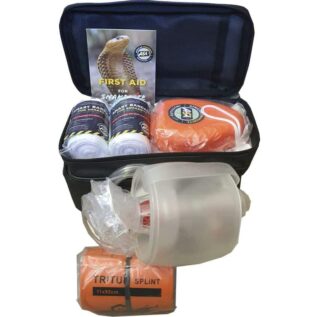 ASI Essential Snakebite First Aid Kit
 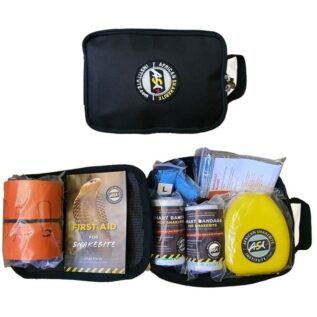 ASI Hiker’s Snakebite First Aid Kit
  ASI Smart Pressure Bandage
 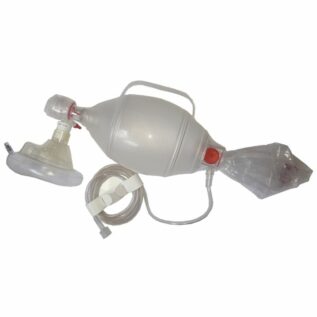 ASI Adult Resuscitator
 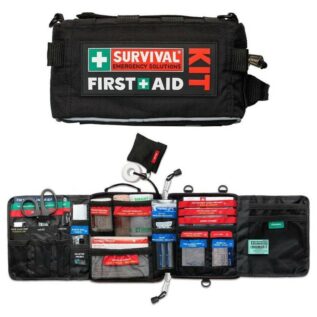 Survival Vehicle First Aid Kit
 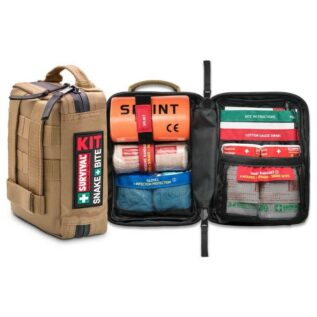 Survival Snake Bite Kit
 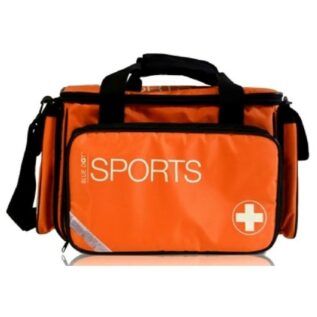 Blue Dot Premium Advanced Sports First Aid Kit - Orange
  MTM AC11 Plastic Dry Box
  Sierra .30 135gr HPBT Bullet
  Sierra 6.5mm 140gr SBT Bullet
 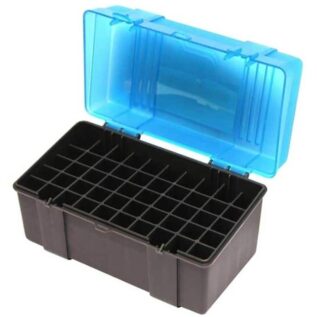 Plano 30-06 To 340 Wby Ammo Case - 50 Rounds
 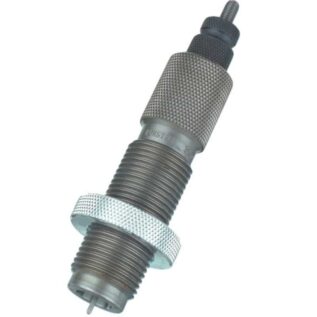 Forster 7mm Rem Saum Full Length Sizing Die
 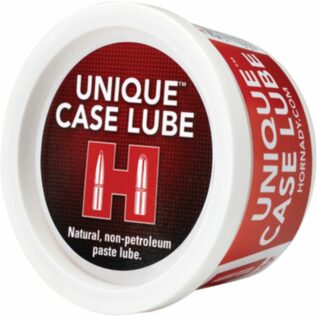 Hornady 393299 Unique Case Lube
 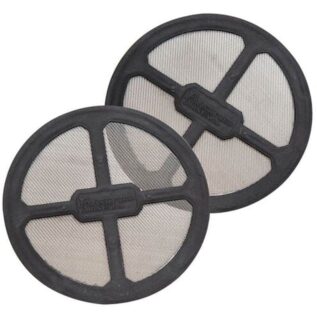 Frankford Arsenal Rotary Tumbler Straining Caps
 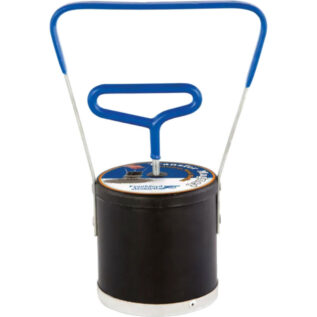 Frankford Arsenal Stainless Steel Media Transfer Magnet
  Sierra 6.5mm 100gr Hollow Point Bullet
  HKS 5 Cartridge Revolver Speedloader
  Plano 1712P Medium Field Ammo Box
  Berry's .270-.30-06 20 Round Slip-Top Ammo Box - Smoke
  Hornady B234 Bullet Comparator – Basic Set
  Forster 25-06 Rem Ultra Micrometer Seater Die
  Forster .224 3-in-1 Case Mouth Cutter
  Forster .243 Win Seater Chamber Die
  Ram .270 Cartridge Storage Box - 50
  Ram .38 Cartridge Storage Box - 100
  MTM TRB-40 Tactical Range Box
  Hornady 50069 Lock-N-Load Powder Measure
  Hornady Cam Lock Bullet Puller
  Frankford Universal Precision Case Trimmer
  SportDOG 1600m SportTrainer 1825 Remote Trainer
  Num'Axes Canicom 5.500 Remote Training Collar
  SportDOG Blue Replacement Collar Strap
  SportDOG 3-Pack Orange Canvas Puppy Dummy Trainer
  Num'Axes Canicom 5 Blue Strap Receiver Collar
  Num'Axes Canicom 5.1500 Replacement Remote Control
 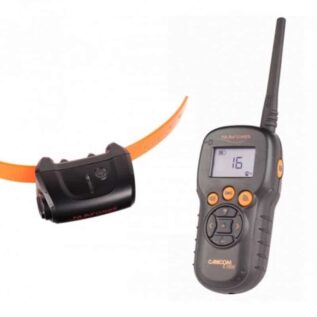 Num'Axes Canicom 5.1500 Remote Training Collar
 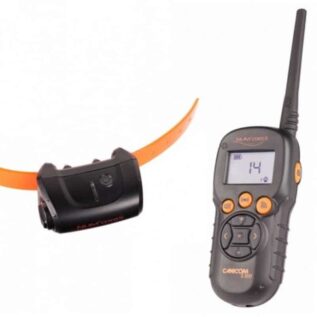 Num'Axes Canicom 5.800 Remote Training Collar
 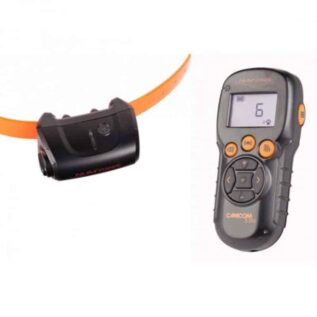 Num'Axes Canicom 5.202 Remote Training Collar
 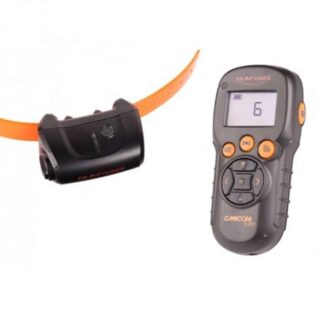 Num'Axes Canicom 5.201 Remote Training Collar
  SportDOG Green Replacement Collar Strap
  SportDOG Orange Replacement Collar Strap
  SportDOG Roy Gonia Mega Whistle
  SportDOG Roy Gonia Clear Competition Whistle
  SportDOG Orange Canvas Puppy Dummy Trainer
  SportDOG Sporttrainer 1200m / 1600m Add-A-Dog Collar
  Kestrel 3550AG Weather Meter For Spray Applications
  Kestrel Basic Series Vane Mount
  Kestrel 2700 Ballistics Weather Meter - Tan
 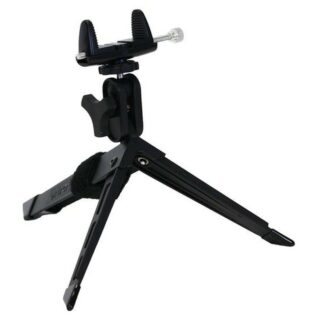 Kestrel Portable Tripod with Clamp
  Kestrel 3500 Wind / Temp / RH / Baro / DT Meter
 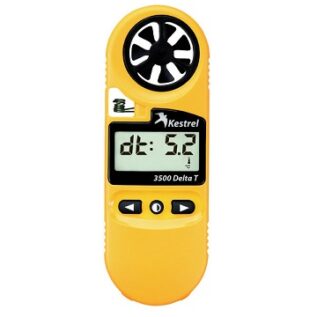 Kestrel Weather and Wind Meter - 3500 Delta T Meter
 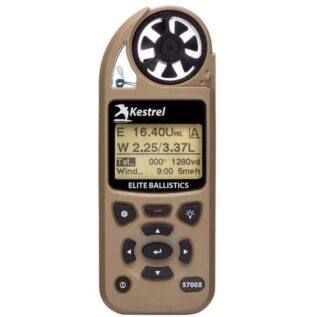 Kestrel 5700X Weather Meter With Applied Ballistics And LiNK - Tan
 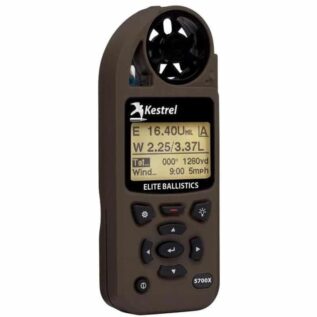 Kestrel 5700X Weather Meter With Applied Ballistics And LiNK - FDE
 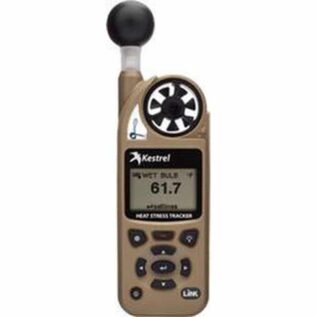 Kestrel 5400 Heat Stress WBGT Meter - Tan
 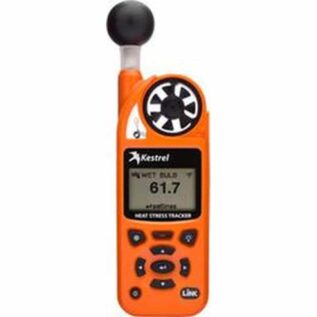 Kestrel 5400 Heat Stress WBGT Meter - Orange
 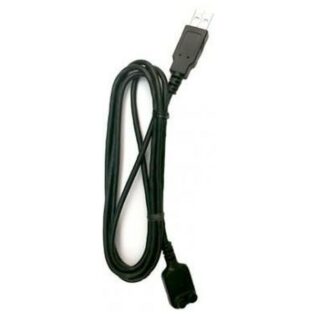 Kestrel USB Data Transfer Cable
 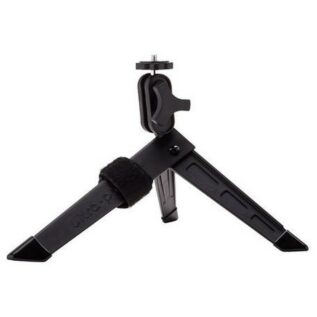 Kestrel Ultrapod Tripod
 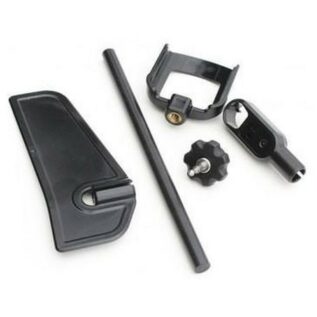 Kestrel Rotating Vane Mount and Carry Case
  Kestrel Relative Humidity Calibration Kit
  Kestrel Meters TYR Tactical Carry Case
  Kestrel LiNK Dongle (BTLE)
  Kestrel Drop 3 Fire Weather Monitor
  Kestrel Drop 3 Environmental Logger - Tan
  Kestrel Drop 3 Environmental Logger - Blue
  Kestrel 5700 Elite Applied Ballistics Weather Meter with LiNK - Olive
  Kestrel 5700 Ballistics Weather Meter with LiNK - Tan
 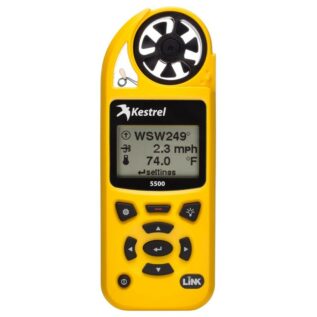 Kestrel 5500 Handheld Weather Meter with LiNK & Vane - Yellow
 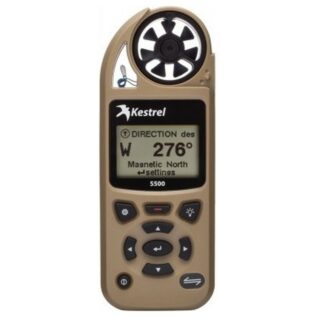 Kestrel 5500 Handheld Weather Meter with Bluetooth LiNK & Vane - Tan
 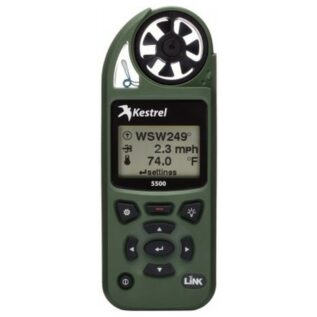 Kestrel 5500 Handheld Weather Meter with Bluetooth LiN - Olive
 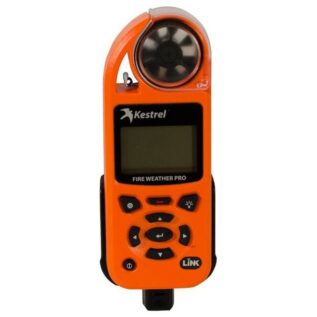 Kestrel 5500 Fire Weather Meter Pro with LiNK & Vane Mount
 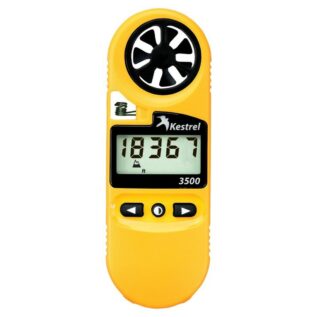 Kestrel 3500 Wind / Temp / RH / Baro Meter
 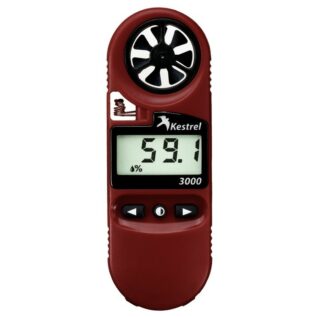 Kestrel 3000 Wind / Temp / RH Meter
 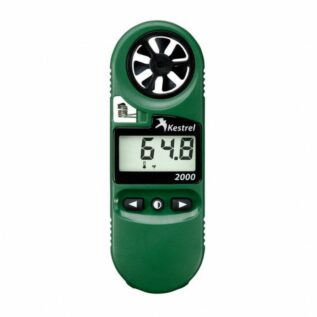 Kestrel 2000 Wind / Temperature Meter
 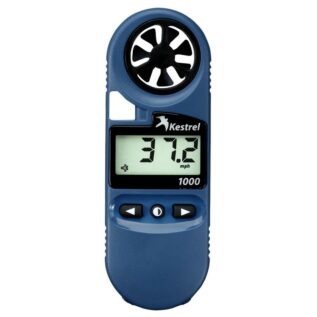 Kestrel 1000 Wind Meter
 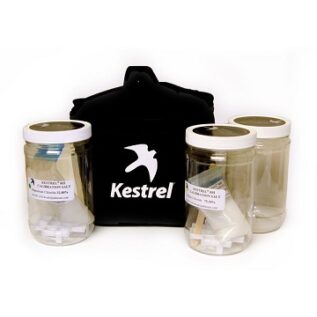 Kestrel Weather and Wind Meter - Humidity Calibration Kit
 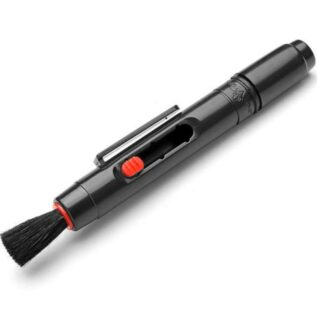 Air Chrony Cleaning Pen For Optics
 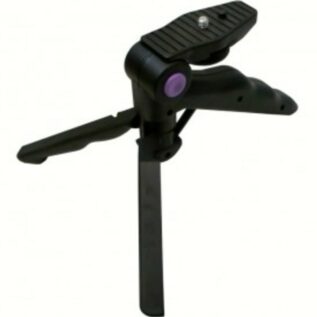 Air Chrony Star 37 Tripod
 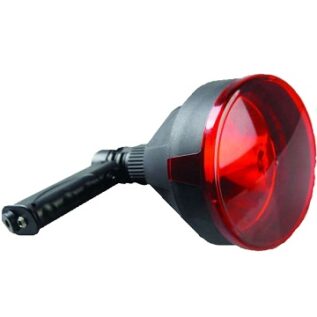 Gamepro Spotlight - Bubo XL - Rechargeable - 15W LED - 1040LUM (With Bag and Red Filter)
  Tracer Mini Pro Lithium Polymer Gunlight Kit - 250m
  LightForce SpotLight - Hand Held Enforcer 140mm 75W with Cigarette Plug & Coil Cord
  Tracer Tristar Red Spotlight Filter
  Tracer 180mm 12V Standard Remote Vehicle Mounted Spotlight - 650m
 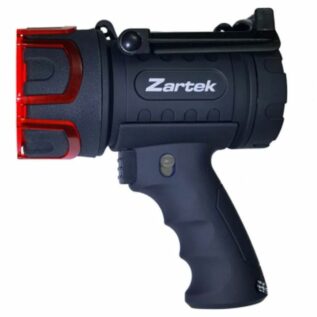 Zartek ZA-461 Rechargeable Spotlight
  LightForce Striker 170mm Red Filter
  LightForce SpotLight - Hand Held Enforcer 170mm 100W with Coiled Cord
  Gamepro Spotlight - Asio - Rechargeable - 5W LED - 300LUM (With Bag and Red Filter)
  Gamepro Spotlight - Ninox - Rechargeable - 25W LED - 2000LUM (With Bag and Red Filter)
 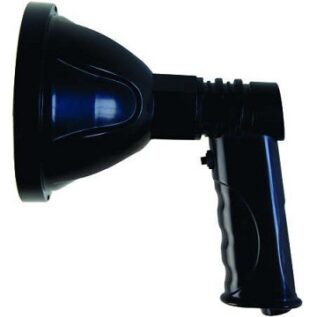 Gamepro Spotlight - Bubo - Rechargeable - 10W LED - 600LUM (With Bag and Red Lens)
  Walker's Gel Ear Pad
  Browning Claymaster Shooting Glasses
 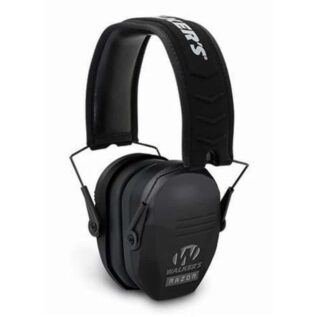 Walker's Razor Slim Passive Muff
  Caldwell E-MAX Shadows Pro Hearing Protection Earbuds
  Ram Ear-Tect DS6026 Electronic Ear Muff - Camo
  Browning Buckmark II Passive Hearing Protector - Black
  Sound Soldier Ear Muffs - Dual Muff
  Walker's Razor Electronic Comm Muff With Bluetooth
 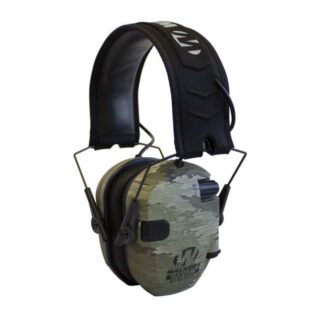 Walker's Razor Pro Digital Low Profile Ear Muff
 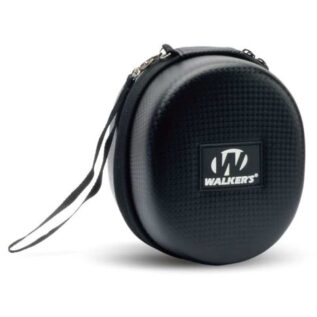 Walker's Muff Protective Case
  Ram Ear-Tect DS6001 Ear Muff - Black
 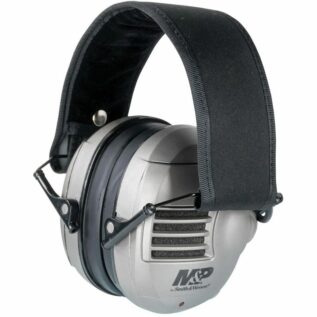 Smith & Wesson M&P Alpha Electronic Ear Muff
 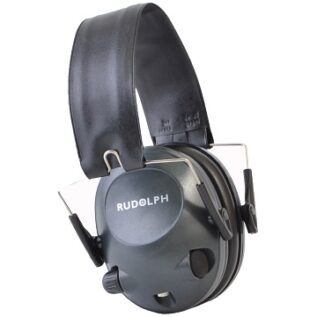 Rudolph Electronic Protective Ear Muffs
 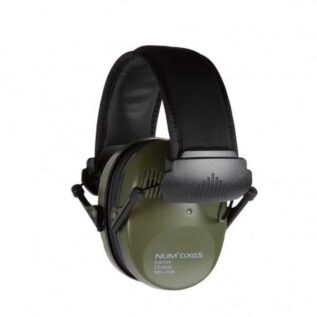 Num'Axes CAS1034 Electronic Hearing Protection
  Walker's Firemax Muff Walkie Talkie Attachment
 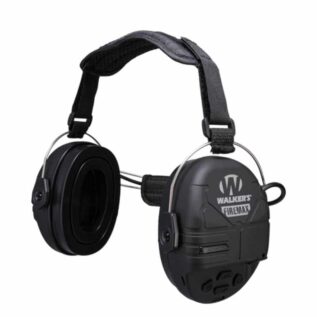 Walker's Firemax Behind The Neck Ear Muff
  Walker's Silencer Ear Buds
  Walker's Xcel 500BT Digital Electronic Muff
  Walker's Razor Walkie Talkie Attachment
  Walker's Razor Compact Electronic Muff
 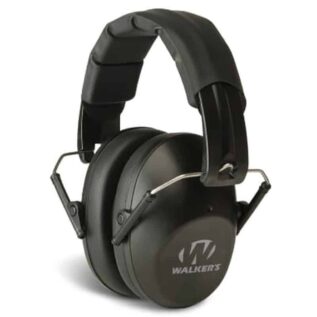 Walker's Low Profile Folding Muff
 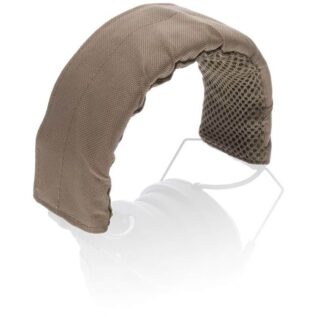 Walker's Razor FDE Headband Wrap
 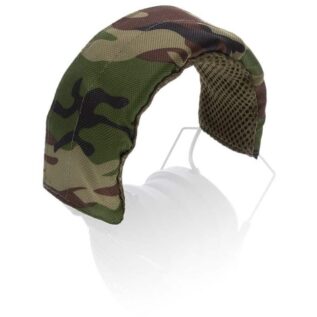 Walker's Razor Camo Headband Wrap With Hook & Loop
 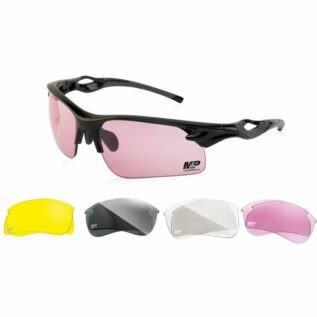 Smith & Wesson M&P Harrier Interchangeable Shooting Glasses
 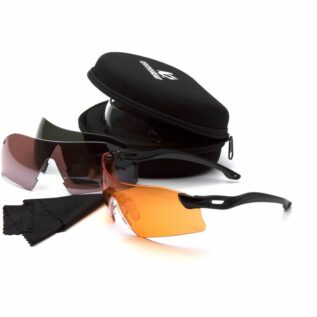 Pyramex Dropzone Multi-Lens Shooting Glasses With Black Frame
 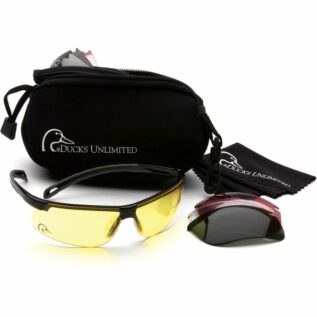 Pyramex Ducks Multi-Lens Shooting Glasses With Black Frame
 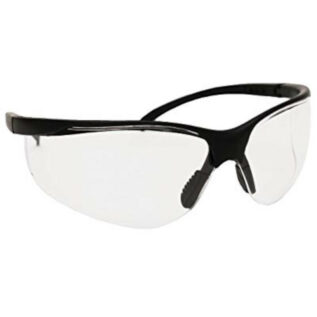 Caldwell Pro Range Clear Shooting Glasses
 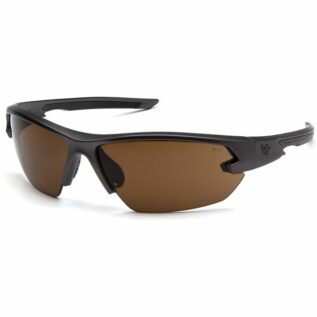 Pyramex V-Gear Semtex 2.0 Shooting Glasses - Gun Metal/Bronze
  Pyramex V-Gear Semtex 2.0 Shooting Glasses - Gun Metal/Forest Gray
 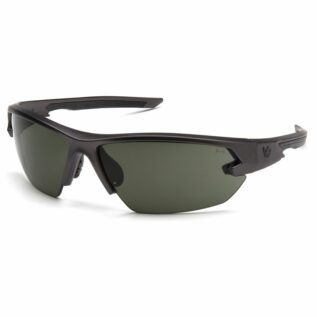 Pyramex V-Gear Semtex 2.0 Shooting Glasses - Tan
 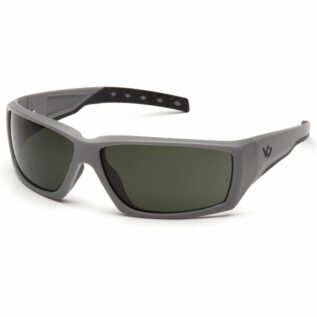 Pyramex V-Gear Overwatch Anti-Fog Shooting Glasses - Urban Grey
  Pyramex V-Gear Overwatch Bronze Anti-Fog Shooting Glasses - Black
 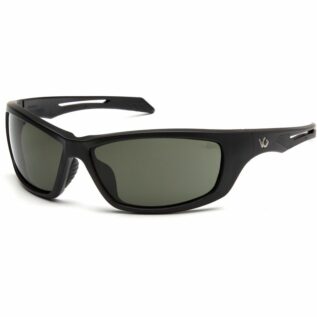 Pyramex V-Gear Howitzer Anti-Fog Shooting Glasses - Black
 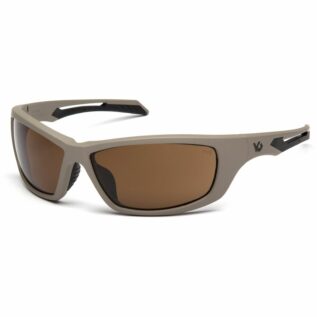 Pyramex V-Gear Howitzer Shooting Glasses - Tan
 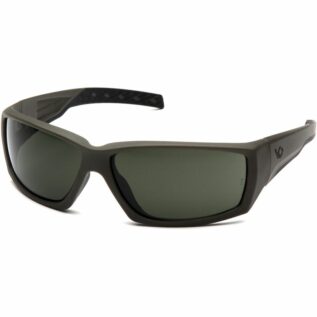 Pyramex Overwatch Anti-fog Shooting Glasses - Green
 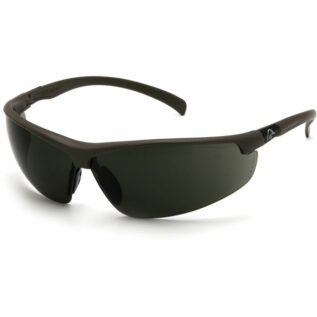 Pyramex Closeout Shooting Glasses - OD Green Frame
 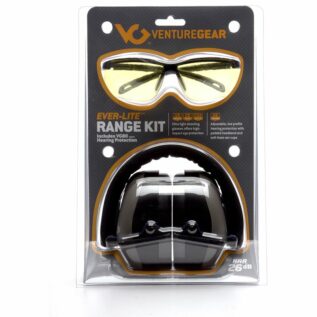 Pyramex Everlite PM80 Ear Muff & Glasses Combo - Yellow/Black
 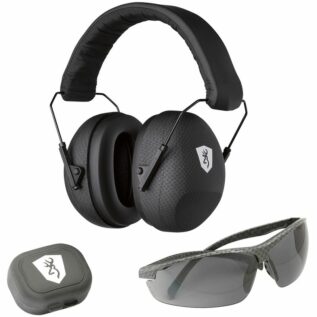 Browning Tactical Shooting Range Kit
 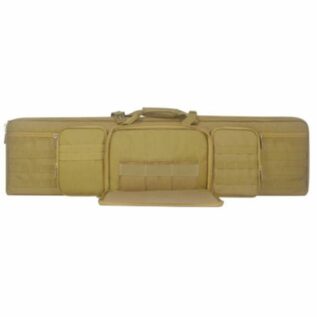 EcoEvo Pro Tactical 42" Gun Case - Tan
  Buffalo River 52" Black Carry PRO II Shotgun Bag
  Buffalo River 48" Black Carry PRO Deluxe II Gun Bag
  RAM Hardside Single Rifle Case
  Buffalo River 52" Camo Carry PRO II Gun Bag
  Ampro TF-B865F Break-down Shotgun Case
 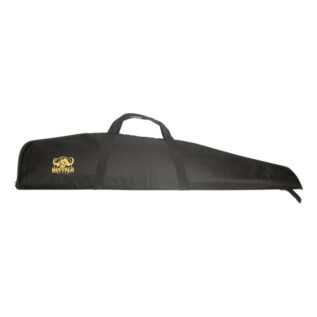 Buffalo River 52" Black Economy II Gun Bag
 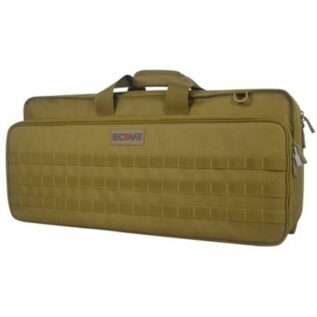 EcoEvo Pro Tactical 27" Gun Case - Tan
 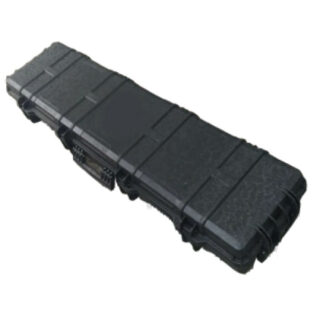 Ampro RG-D1308FW Double Waterproof Rifle Case with Easy-glide Wheels
 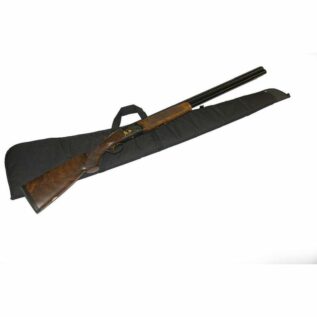 Maverick Tactical Deluxe Shotgun Bag
  Maverick Tactical Mini Rifle Rest
  UTG 34" Black Alpha Battle Carrier Rapid Deployment Pack
  Plano Pro-Max Single Rifle Case
  Hornady 99120 Soft Rifle Case
  Buffalo River 48" Camo Carry PRO II Gun Bag
  Ampro TF-S1210F Single Rifle Case
  RAM Hardside Double Rifle Case
  Maverick Tactical Large Rifle Rest
  Gamo 120cm Rifle Bag
  Leapers UTG Homeland Security Deluxe Single Pistol Case
 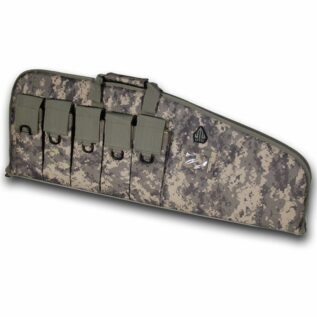 Leapers UTG 34" DC Deluxe Army Digital Tactical Gun Case
  Leapers UTG 38" DC Deluxe Army Digital Tactical Gun Case
 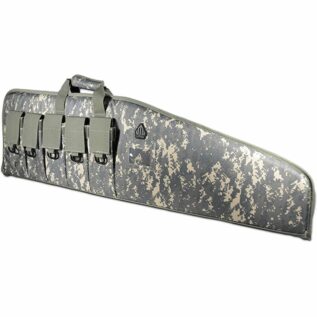 Leapers UTG 42" DC Deluxe Army Digital Tactical Gun Case
 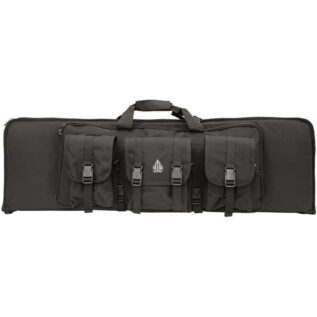 Leapers UTG 42" RC Combat Operation Web Gun Case
 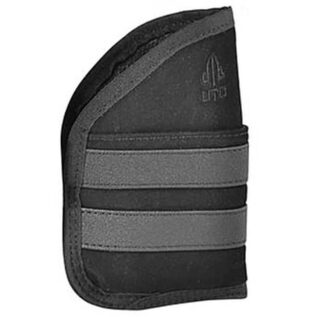 Leapers UTG 3.9" Ambidextrous Pocket Holster
 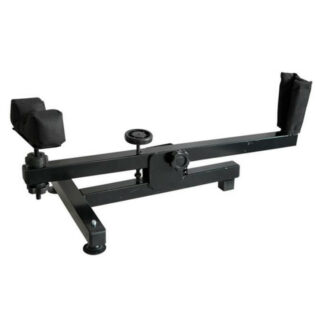 Ampro Bench Shooting Rest
  RAM Gen 3 Trigger Stick Tall Tripod
 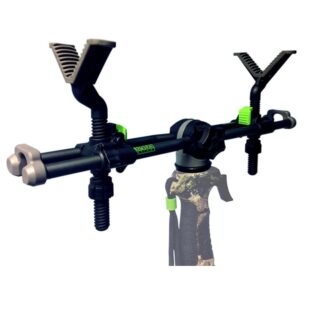 Primos 2 Point Gun Rest
 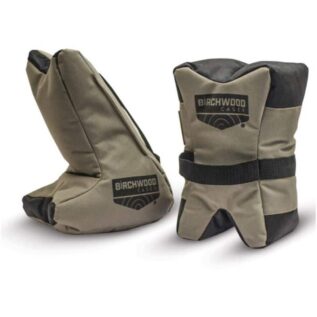 Birchwood Casey Tactical Tac-Match Set
 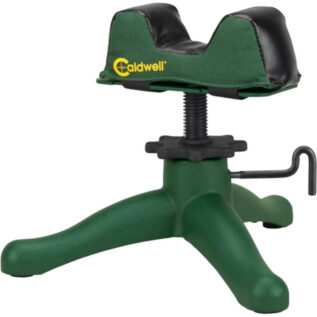 Caldwell Rock Jr. Front Shooting Rest
  Caldwell Standard Lead Sled Weight Bag
 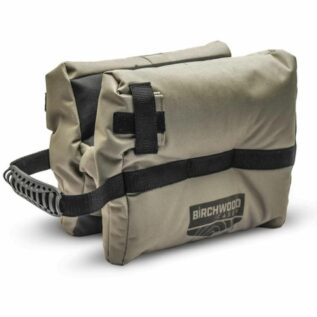 Birchwood Casey H-Bag Shooting Rest
 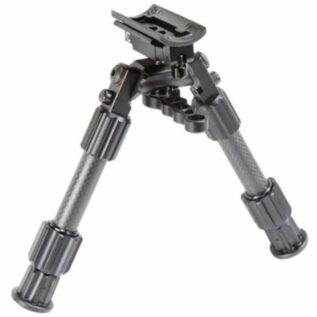 Caldwell Accumax 6"-9" Swivel Stud Bipod
  Primos Gen 3 Triggerstick V-Yoke
  Caldwell Stinger Shooting Rest
  Caldwell Lead Sled Solo Shooting Rest
  Ampro Portable Shooting Rest
 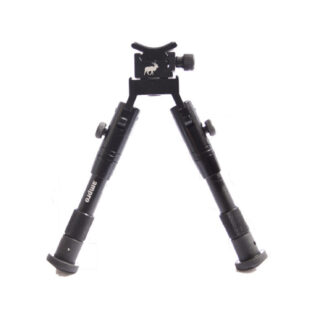 Ampro BG-0506 B-Great 5-6" Bi-Pod
 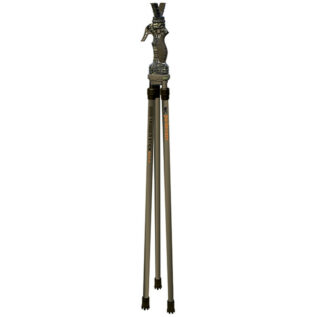 Primos Gen 3 Jimshockey Tall Tripod Trigger Stick
 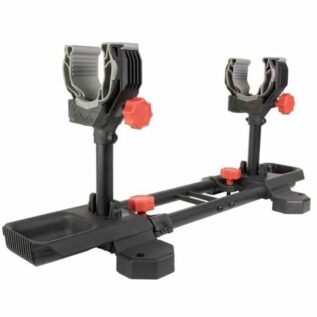 Birchwood Casey SecureLock Gun Vise
  Birchwood Casey Foxtrot Rifle/Pistol Shooting Rest
 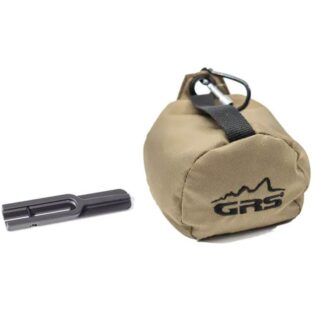 GRS Bag Rider Combo
  GRS Bag Rider
  BOGgear DeathGrip Aluminium Tripod
  Stable Sticks Bush 837g Standing Shooting
  Stable Sticks Bush Light 649g Standing Shooting
 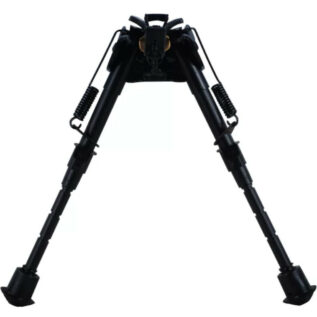 Caldwell 6-9" XLA Sling Swivel Stud Pivot Bipod
 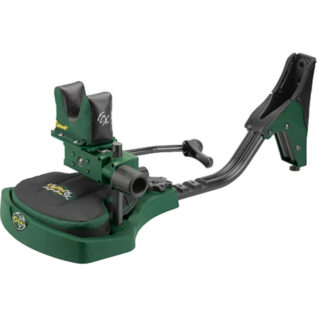 Caldwell Lead Sled FCX Shooting Rest
 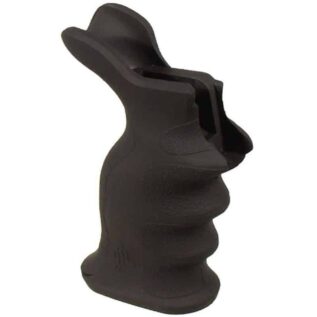 Leapers UTG RB-TPG172D AR15 Combat Sniper Pistol Grip
 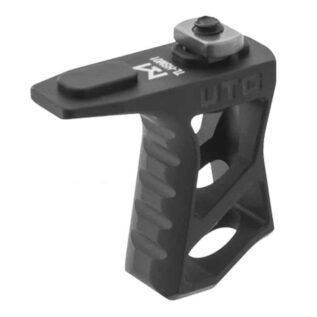 UTG M-LOK Ultra Slim Matte Black Handstop
  UTG Pro AR15 Ops Ready S1 Mil-Spec Stock Only
  Leapers UTG TL-HSM01R M-LOK Ultra Slim Handstop
  Leapers UTG TL-HSM01B M-LOK Ultra Slim Handstop
  Cervellati 213110 92mm Soft Grind To Fit Microcell Recoil Pad - Black
 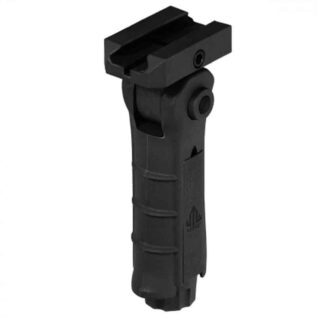 Leapers UTG Ambidextrous 5-Position Foldable Foregrip
 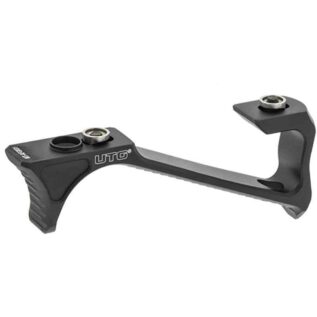 Leapers UTG Keymod Ultra Slim Angled Foregrip
  Leapers UTG SKS Shell Deflector
 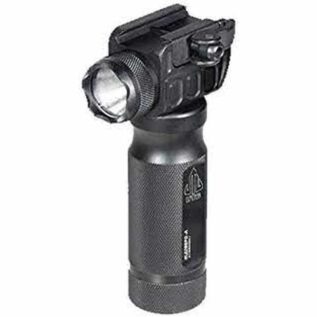 Leapers UTG 400 Lumen Quick Detach Grip Light
  Leapers UTG AK47 Ergonomic Pistol Grip
  Leapers UTG TL-HSK01R Keymod Ultra Slim Handstop
  Leapers UTG TL-HSK01 Keymod Ultra Slim Handstop
  Leapers UTG TL-HSK01B Keymod Ultra Slim Handstop
  Leapers UTG MT-FGK01 Keymod Super Slim Vertical Foregrip
 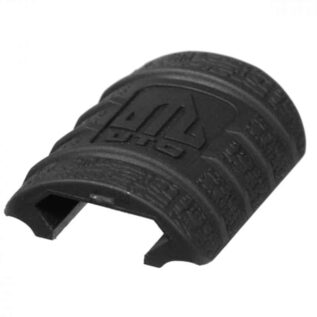 Leapers UTG Low Pro Rubber Rail Guard - 12 Piece
 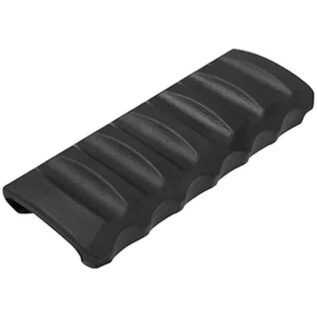 Leapers UTG 2.7" New Gen Rubber Rail Guard - 6 Piece
 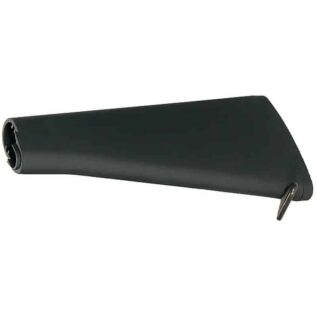 Leapers UTG AR15 A2 Fixed Stock Assembly
 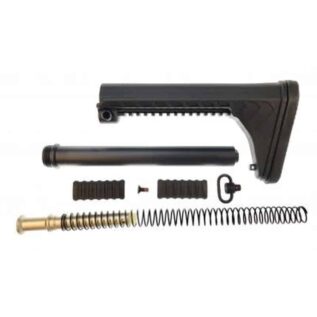 Leapers UTG PRO AR15 Ops Ready S5 Mil-Spec Stock
 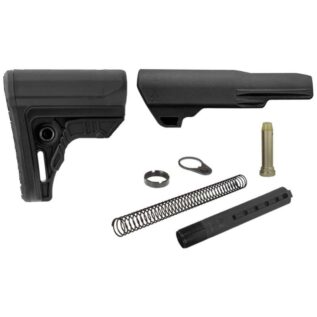 UTG Pro AR15 Ops Ready S4 Mil-Spec Stock Kit
 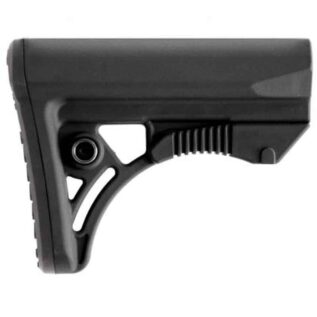 UTG Pro AR15 Ops Ready S3 Mil-Spec Stock Only
 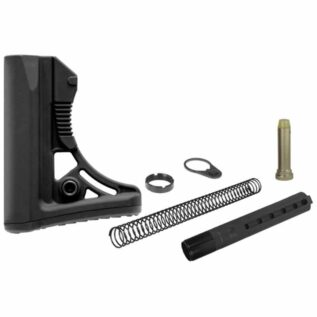 UTG Pro AR15 Ops Ready S3 Mil-Spec Stock Kit
 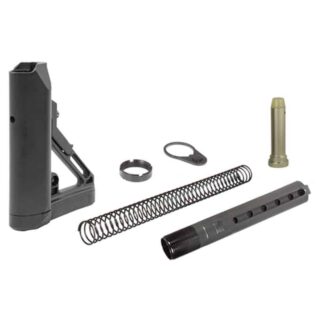 UTG Pro AR15 Ops Ready S1 Mil-Spec Stock Kit
  UTG Ultra Slim Keymod Angled Foregrip - Matte Black
  Cervellati Finger Trigger Guard
  Allen Gun Sling Swivel Set for Bolt Action Rifle
  Ampro Push-Button Swivel with Screws
  Maverick Tactical Canvas Rifle Sling
  Butler Creek Comfort Stretch Black Rifle Sling with Swivels
  Ampro SL-60C Camo 60mm Rifle Sling with Swivels
  Butler Creek Featherlight Rifle Sling With Swivels - Black
  Maverick Tactical Non Slip Cobra Rifle Sling
  Ampro SL-60BK Black 60mm Rifle Sling with Swivels
  Butler Creek Comfort Stretch Brown Rifle Sling
 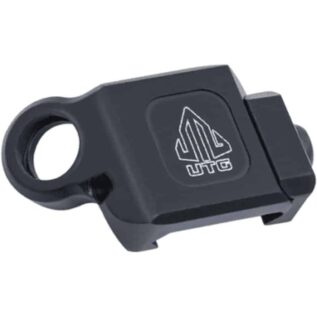 Leapers UTG Pro TL-SWPM01 Sporting Low QD Sling Swivel Adaptor
  Hornady 99107 Universal Sling
  Maverick Tactical Nylon Cobra Rifle Sling
  Leapers UTG Single Point Bungee Sling With QD Sling Swivel
 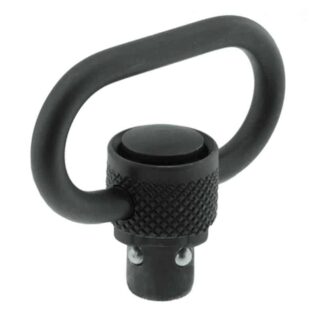 Leapers UTG Heavy Duty 1.4" Loop Steel QD Sling Swivel
  Leapers UTG Picatinny/Keymod Compatible Adaptor for QD Sling Swivel
  Maverick Tactical Single Point Sling
  Maverick Tactical 8 Loop Cobra Rifle Sling
  Butler Creek Easy Rider Black Rifle Sling
  Leapers UTG PRO M-LOK QD Sling Swivel Adaptor
  Butler Creek Featherlight Rifle Sling With Swivels - Blaze Orange
  Butler Creek Featherlight Rifle Sling With Swivels - Black/Brown
  Maverick Tactical Shotgun Nylon 25 Loop Belt
  Maverick Tactical Shotgun Closed Bottom Leather Belt
  Pro-Defense Defender Sling Mount
  Butler Creek Easy Rider Realtree Hardwoods HD Rifle Sling
  Butler Creek Comfort Stretch Black Rifle Sling
  Bore Tech 6.5mm Nylon Rifle Brush - 3 Pack
  Real Avid Gun Boss AR-15 Cleaning Kit
 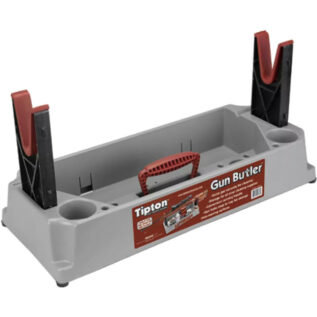 Tipton Gun Butler Cleaning & Maintenance Center
  Hoppes .280/.32cal Rifle Cleaning Swab
  Hoppes .22/.270cal Rifle Cleaning Swab
  Hoppe’s Cleaning Kit - .38/.357/9mm Pistol
 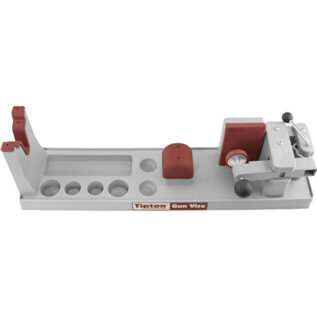 Tipton Gun Vise
  Hoppes Phosphor Bronze Utility Cleaning Brush
  Hoppes 12ga Shotgun Cleaning Swab
 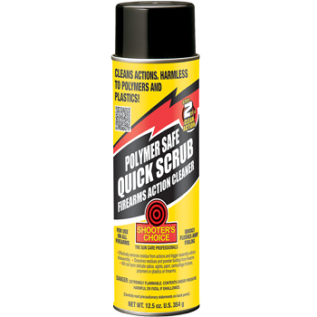 Shooter's Choice - Polymer Safe Quick Scrub - 355g
  Ram 6.5mm Quick-Clean Bore Cleaner
  Ram .30 3 Piece Rifle Cleaning Kit
 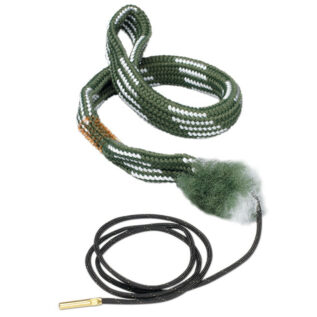 Hoppes .416, .44, .45-70, .458 and .460 cal Rifle Boresnake
  Hoppes Nylon Utility Cleaning Brush
  Bore Tech 25 Cal/6.5mm Proof Positive Patch Jag
  Bore Tech Polymer Cleaning Pick
  Bore Tech 6mm Nylon Rifle Brush - 3 Pack
 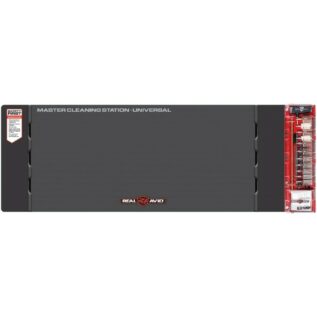 Real Avid Universal Master Cleaning Station
  Real Avid Handgun Master Cleaning Station
 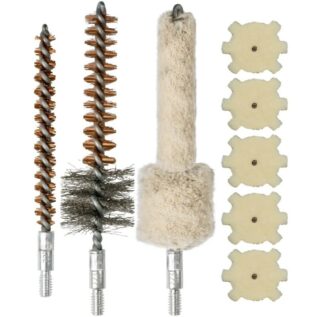 Real Avid AR-15 Brush Combo
  Ram 50mx100mm Fannel Roll
 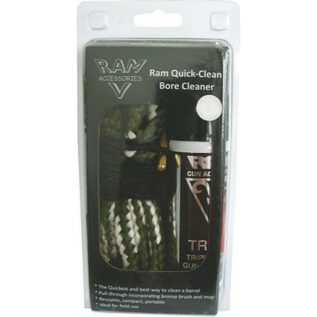 Ram 12ga Quick-Clean Bore Cleaner
 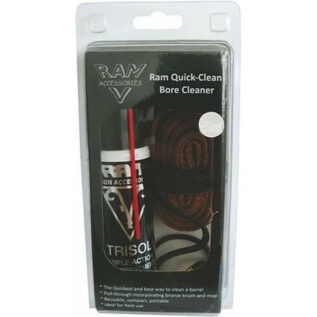 Ram .45 Quick-Clean Bore Cleaner
  Ram .30 Quick-Clean Bore Cleaner
  Ram 9mm Snap Caps - 5
 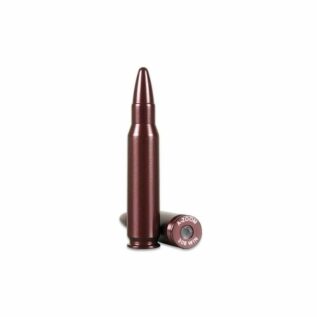 A-Zoom .308 Winchester Snap Cap - 2 Pack
 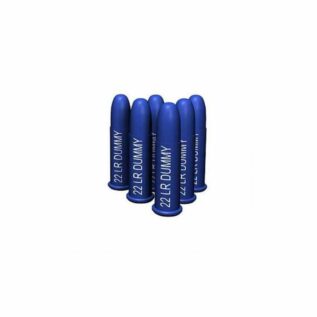 A-Zoom .22 LR Rimfire Action Proving Rounds - 6 Pack
  Ram .30-06 Red Aluminium Snap Cap
 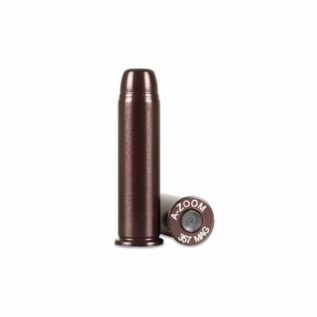 A-Zoom .357 Magnum Snap Cap - 6 Pack
 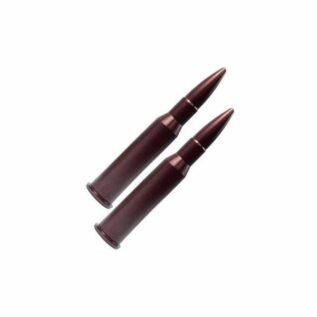 A-Zoom .300 WSM Snap Cap - 2 Pack
 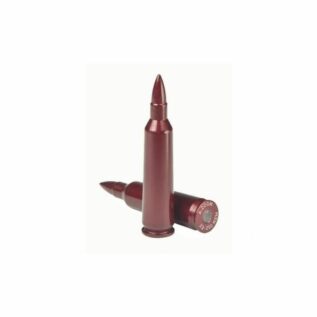 A-Zoom .22-250 Rem Snap Cap - 2 Pack
  Ram .243 Winchester Red Aluminium Snap Cap
  A-Zoom .270 Winchester Snap Cap - 2 Pack
 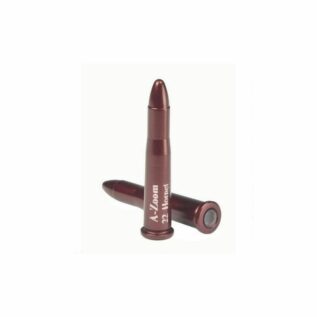 A-Zoom .22 Hornet Aluminum Snap Cap - 2 Pack
 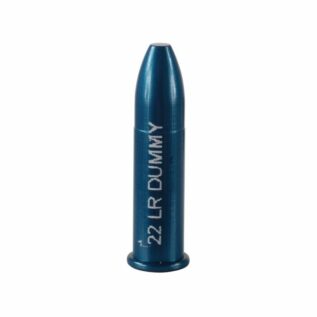 A-Zoom .22 Long Rifle Action Dummy Rounds - 12 Pack
  A-Zoom 7mm REM Snap Cap - 2 Pack
 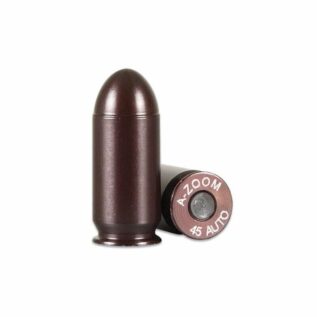 A-Zoom .45 Auto Snap Cap - 5 Pack
  A-Zoom 416 Rigby Snap Cap - 1 Pack
  A-Zoom .40 S&W Snap Cap - 5 Pack
  A-Zoom .380 Auto Snap Cap - 5 Pack
  A-Zoom .338 Lapua Snap Cap - 2 Pack
  A-Zoom .260 Rem Snap Cap - 2 Pack
  A-Zoom .223 WSSM Snap Cap - 2 Pack
  Ram 16G Snap Caps - 2
  Ram .45 Snap Caps - 5
  Ram .38 Snap Caps - 6
  Ram .38 - .357 Red Aluminium Snap Cap
  A-Zoom 9.3x74 Snap Cap - 2 Pack
  A-Zoom 600 NE Snap Cap
  Ballistic Paintball Pepper Balls - Self Defense
 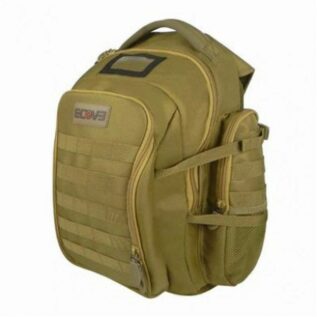 EcoEvo Tactical Backpack - Tan
  Steel Baton
 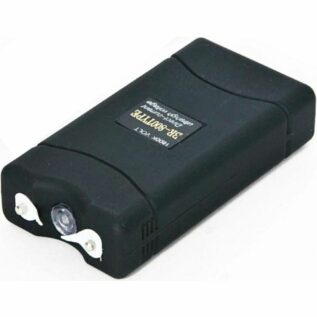 Taser 800
  Condor Emblem PVC Patch
  DEFCON Tactical QuickDraw Gun Magnet
  CAA Thumb Rests (Right & Left)
 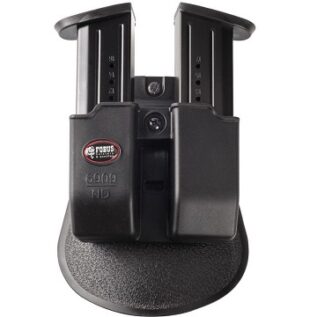 Fobus Magazine Pouch - Double - 6909ND
 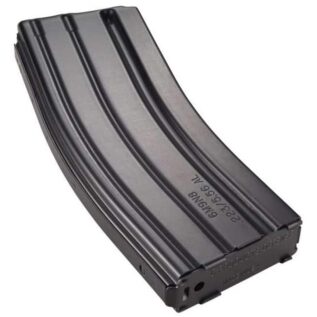 DuraMag .223 Rem Aluminium 30 Round AR Magazine
  Byrna 12gram CO2 Cartridge - 10 Pack
 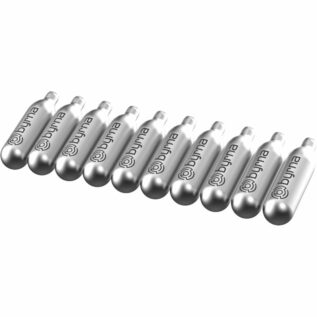 Byrna 8gram CO2 Cartridge - 10 Pack
 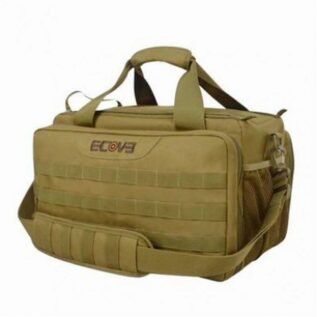 EcoEvo Pro Range Bag - Tan
  Sabre Black Pocket Pepper Spray Refill Canister
  Magpul Black AR/M4 GEN M3 Nato 30 Round PMAG
  RAM Defense 20ml Fog Keyring Pepper Spray with Holster
  Fobus Glock 17/19 Rotating Paddle Holster
  Ampro TP-06 Tactical Pen
 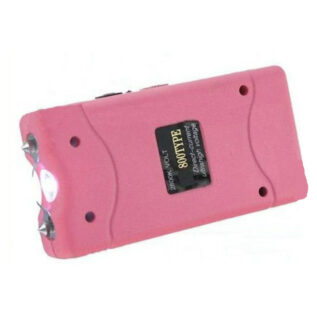 Yale JSJ-800 Pink Stun Gun
 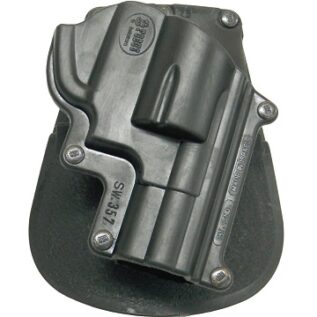 Fobus Holster - Paddle - RH - SW-357
  UTG GL933 33 Round 9mm Polymer Glock Magazine
  CAA Glock 17 10 Round Magazine Extension
 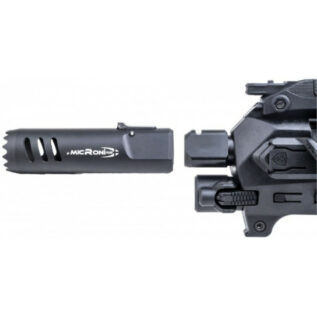 CAA Plus Muzzle Device for Micro Roni Gen 4
 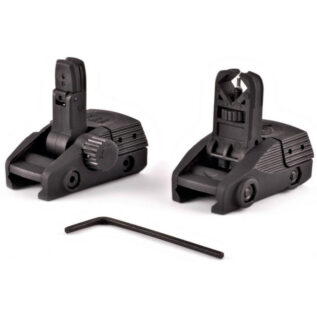 CAA Picatinny Front and Rear Flip-Up Sights (BGF + BGR)
 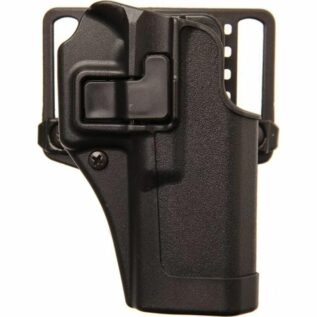 Blackhawk Serpa Glock 17,22,31 RH CQC Concealment Holster
 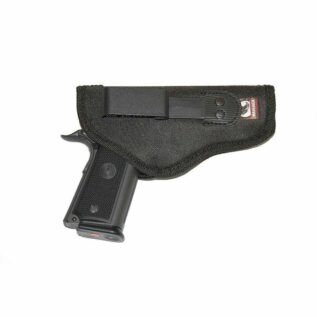 Maverick Tactical Tuck Away Holster
 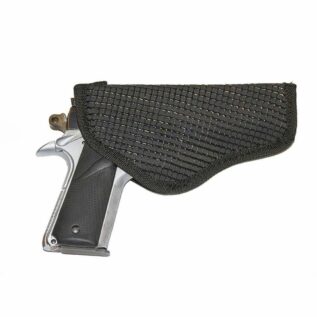 Maverick Tactical Clip-On Sticky Holster
 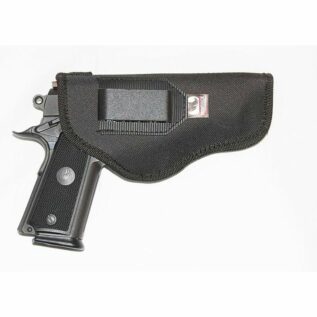 Maverick Tactical Inside High Back Clip-On
  Maverick Tactical Ankle Holster
 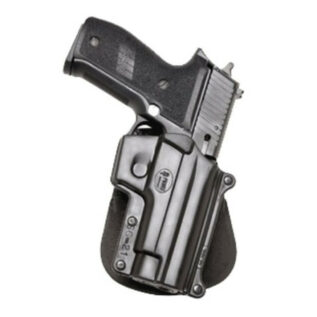 Fobus SG-21 Left Paddle Holster
 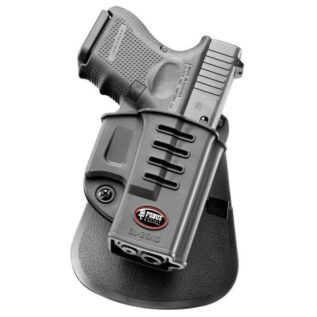 Fobus Glock 26 Rotating Variable Belt Holster
 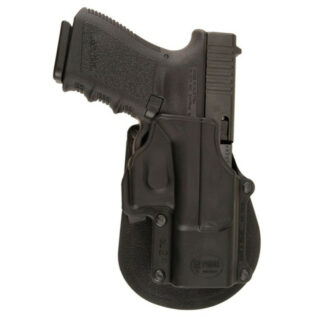 Fobus Glock 17/19 Belt Holster
 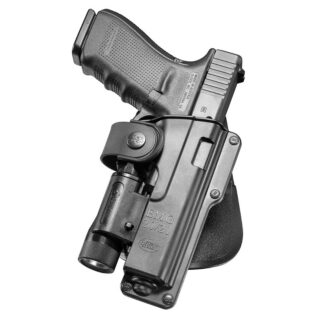 Fobus EMG20/21 Tactical Holster
 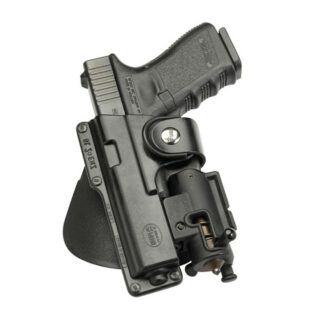 Fobus EM17 Left Tactical Holster
  Fobus Magazine Pouch - Double - 6900
 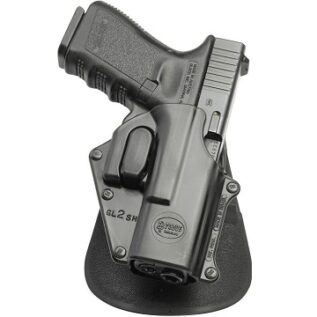 Fobus Holster - Safety - RH - GL-2 SH
  Fobus Holster - Paddle - RH - S&W M&P
  Fobus Holster - Paddle - RH - SWBG
  Sticky Holsters Accessory - Travel Mount Strips
 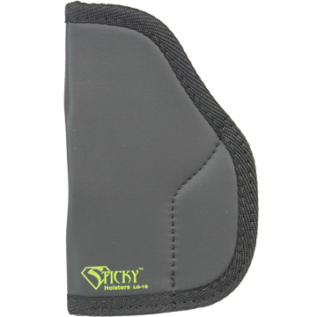 Sticky Holsters Holster - LG-2
  Leapers UTG Special Ops Tactical LH Thigh Holster
  Leapers UTG Special Ops Tactical RH Thigh Holster
  Phalanx H60170 RH Standard Leather Holster
  Phalanx H60053 RH Twin Mag Holster - Coyote
  Magpul XTM Enhanced Rail Panels - 8 Sections Flat Dark Earth
  Nordiske Bladder Coyote - 2.5l
  EcoEvo Light Weight Range Bag - Tan
  EcoEvo Assault XL Backpack - Tan
  Maverick Tactical Bum Bag
  Condor GPS Pouch - Black
  Nordiske Small Bladder - Olive
 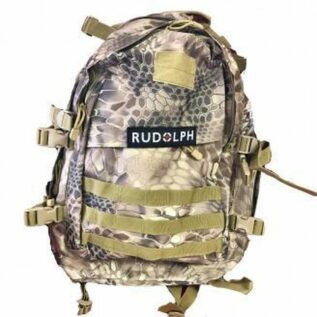 Rudolph Kryptek Mandrake Camo Tactical Bag
 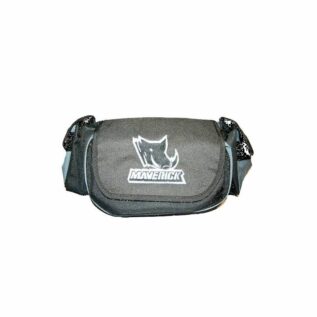 Maverick Tactical 7 Day Bum Bag
  Maverick Tactical Military Water Bottle
  Maverick Tactical Camping Water Bottle
  Condor Elastic Keeper - Black
  Condor VT Holster - Coyote
  Condor Black Single Pistol Mag Pouch
  Condor Rip Away EMT Lite Pouch - Black
  Condor Hand Cuff Pouch
  Condor H-Harness - Black
 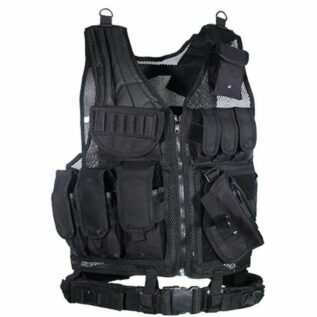 Leapers UTG Sportsman Tactical Scenario Vest
 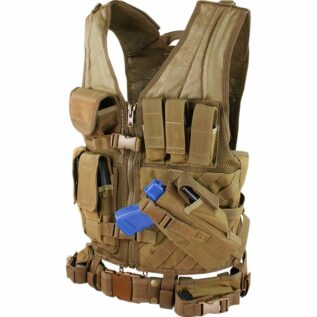 Condor (M/L) Cross Draw Vest - Coyote
 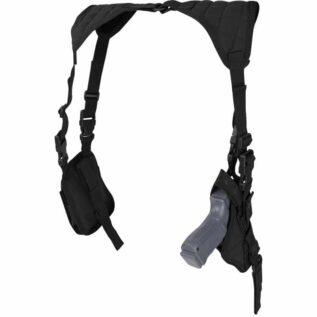 Condor Vertical Shoulder Holster - Black
 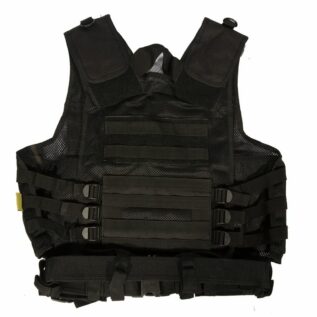 Nordiske Tactical Vest Black
  Maverick Tactical Pro Pistol Bag
 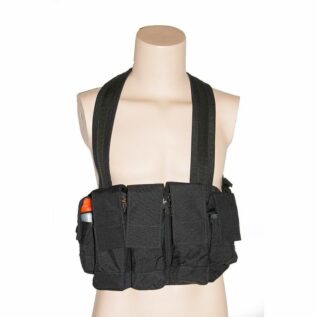 Maverick Tactical Chest Webbing
 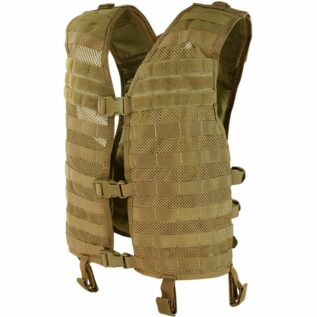 Condor Mesh Hydration Vest - Coyote
 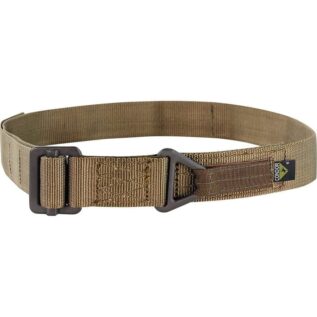 Condor M/L Rigger's Belt - Tan
 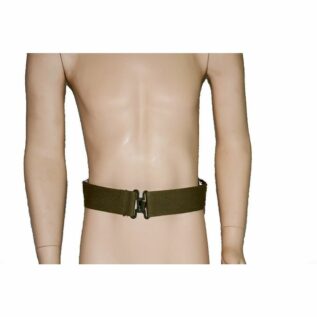 Maverick Tactical Military Web Belt
  Condor Pistol Belt - Black
  Empire LE Thornz EVS Thermal Clear Paintball Mask
  Empire LE Steampunk EVS Thermal Clear Paintball Mask
  Empire Tiger Stripe EVS Thermal Clear Paintball Mask
  Empire White & Black EVS Thermal Clear Paintball Mask
 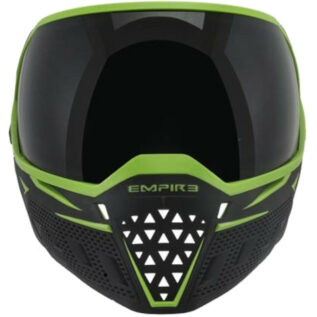 Empire Black & Lime EVS Thermal Clear Paintball Mask
 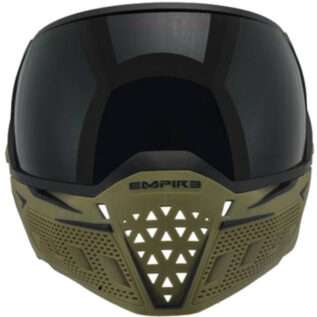 Empire Olive & Black EVS Thermal Clear Paintball Mask
 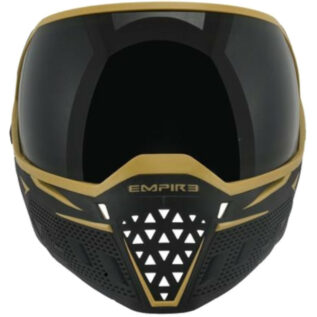 Empire Black & Gold EVS Thermal Clear Paintball Mask
 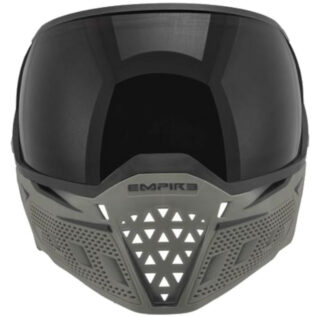 Empire Grey & Black EVS Thermal Clear Paintball Mask
 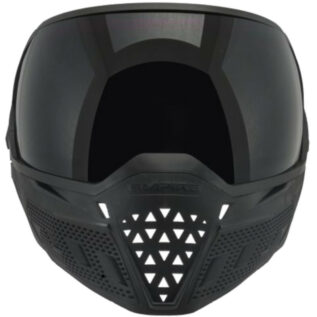 Empire Black EVS Thermal Clear Paintball Mask
 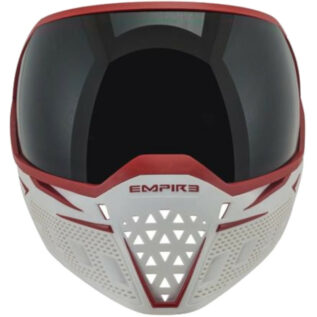 Empire White & Red EVS Thermal Clear Paintball Mask
 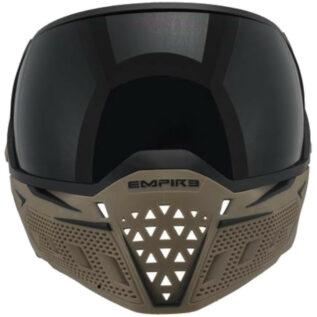 Empire Tan & Black EVS Thermal Clear Paintball Mask
 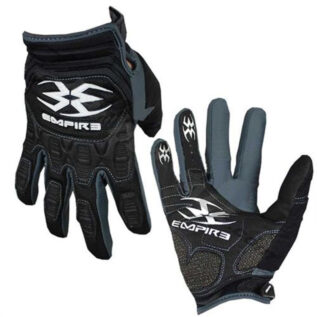 Empire Contact Zero Full Finger Paintball Gloves
  Ballistic Half Finger Hard Gloves
  Condor Black Elbow Pads
  Condor Helmet Pad - Black
  Condor Whiskey Foxtrot PVC Patch
  Condor PVC Flag Patch - Olive Drab
  Condor Punisher PVC Patch
  Hard Head Veterans Combat Helmet Bag - Black
  Hard Head Veterans Combat Helmet Bag - Tan
 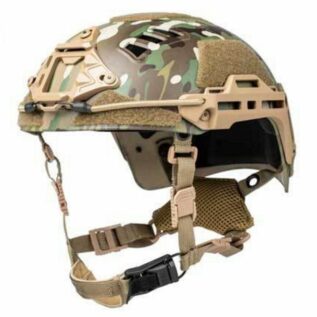 Hard Head Veterans Tactical ATE Bump Helmet - L-XL/Multicam
  Hard Head Veterans Tactical ATE Bump Helmet - M-L/Multicam
  Hard Head Veterans Tactical ATE Bump Helmet - L-XL/Black
 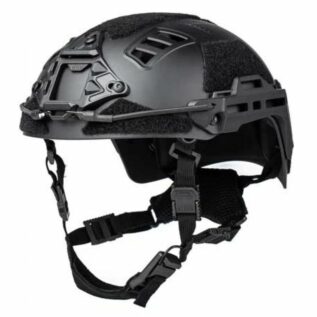 Hard Head Veterans Tactical ATE Bump Helmet - M-L/Black
  Hard Head Veterans Tactical ATE Bump Helmet - L-XL/Tan
 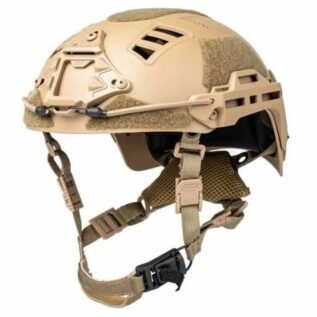 Hard Head Veterans Tactical ATE Bump Helmet - M-L/Tan
  Hard Head Veterans Tactical ATE Bump Helmet - L-XL/Olive Dab
 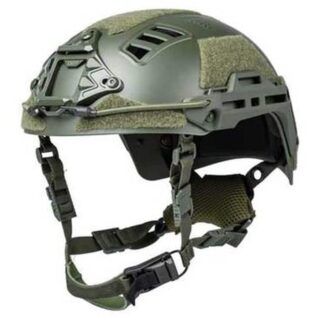 Hard Head Veterans Tactical ATE Bump Helmet - M-L/Olive Dab
 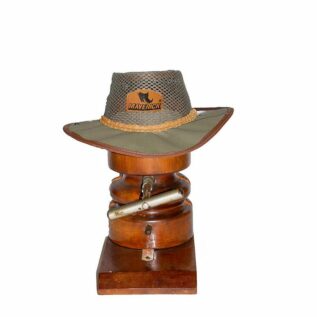 Maverick Tactical Panama Mesh Hat
 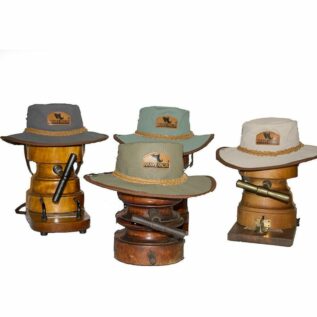 Maverick Tactical Canvas Bush Hat
  Byrna HD XL Concealed Holster
  Byrna Maintenance Kit
  Byrna Eco-Kinetic Projectiles - 95 Count
 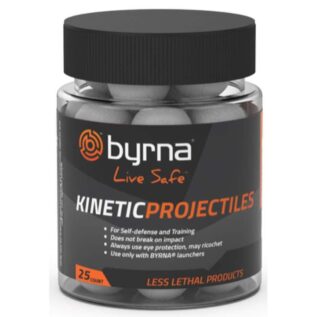 Byrna 25 .68 HD Kinetic Solid Projectiles
 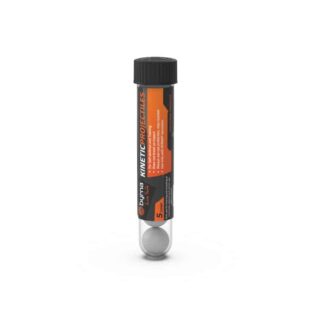 Byrna 5 .68 HD Kinetic Solid Projectiles
 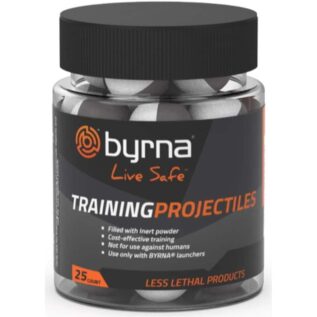 Byrna 25 .68 HD Inert Projectiles
  Byrna Max Projectiles - 95 Count
 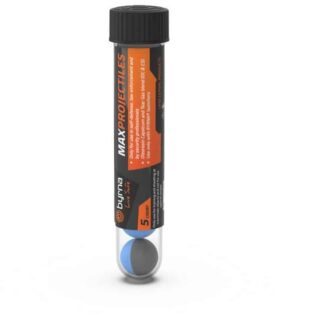 Byrna Max Projectiles - 5 Count
 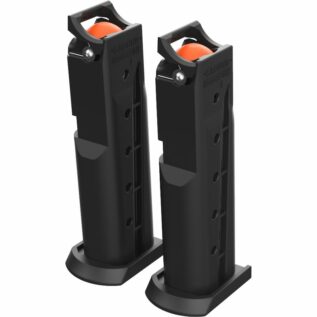 Byrna HD Spare Magazine - Set Of 2
 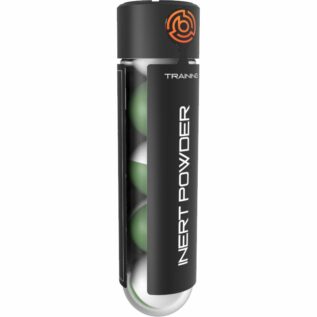 Byrna 5 .68 HD Inert Projectiles
 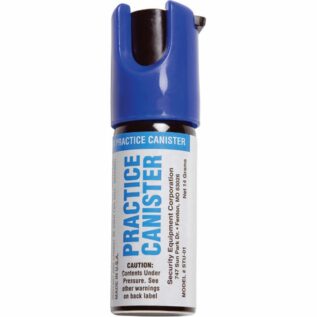 Sabre Practice Pepper Spray
  ASP Concealable Baton Keyring Clip
 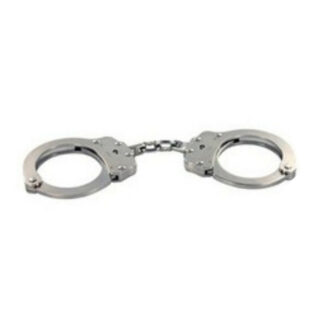 Yale Chain Handcuffs
 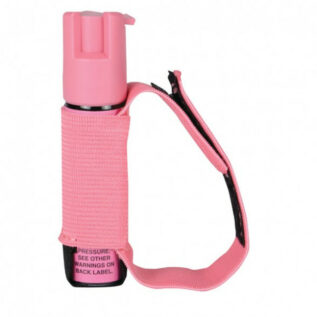 Sabre 0.75oz Pink Runner Pepper Spray Gel with Adjustable Hand Strap
 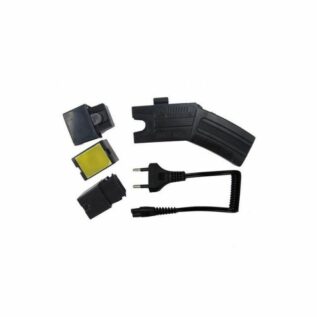 Shoot Out Taser
  Taser 809
  Taser 106 with Torch and Pouch
  Umarex T4E HDX 68 Pump Action Training Marker - 40J
 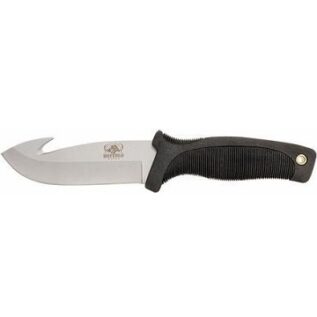 Buffalo River Hook Skinner - Maxim (4.5")
 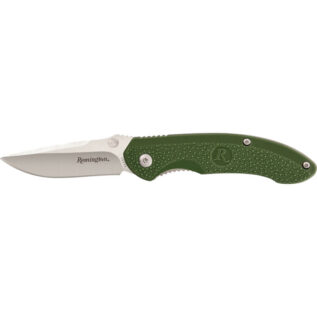 Remington 10005 Green Sportsman Series Folding Knife
  Warthog Knife Sharpener - Curve
  Buck 110 Hunter Folding Knife
 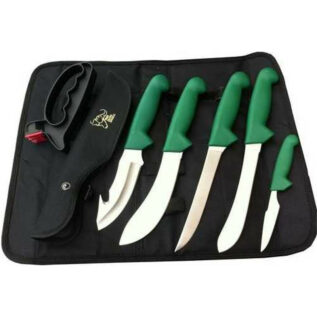 Buffalo River Slagbok 6 Hunting Knife Set
 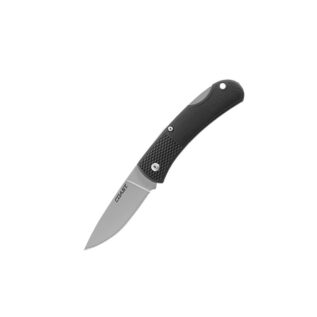 Coast BX213 Lock Back Small Folding Knife - Brown
  Puma Metal Polish
  Coast DX320 Ghost II Double Lock Knife
  Lansky Deluxe Kit 5 Stone
  Warthog Knife Sharpener - V-Sharp Extreme Edge
  Work Sharp Pivot Pro Knife & Tool Sharpener
 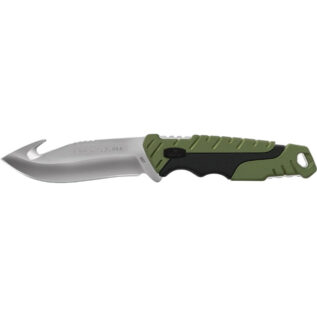 Buck 657 Green Large Persuit Knife with Guthook
 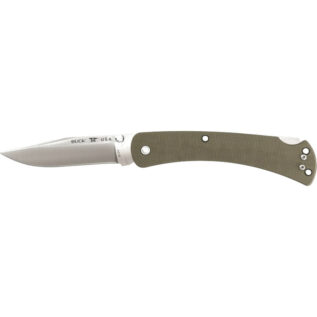 Buck 110 Green Slim Pro Folding Knife
  Warthog Knife Strop - Leather (220mm)
 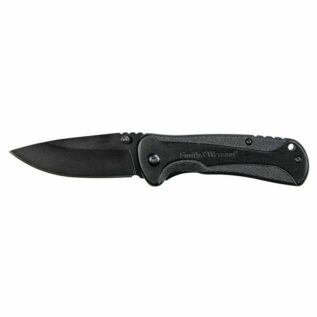 Smith & Wesson 1084305 Drop Point Folding Knife - Black
  Smith & Wesson M&P Bodyguard Connect Tanto Folding Knife
  Puma IP La Ola Knife - Olive Wood
  Honey Badger Small Wharncleaver Folding Knife - Green
  Buck 285 Mossy Oak Large Bantam Folding Knife
  Buck 656 Green Large Persuit Knife
  Ruike Silver BetaPlus P108-SF Pocket Knife
  Coast LX237 Tuff-Task Folding Knife
  Coast DX315 Ghost I Double Knife
  Lansky Blademedic Knife Sharpener
  Warthog Knife Sharpener - Classic II
 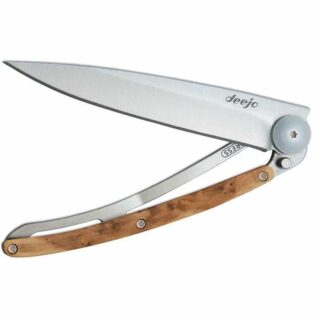 Deejo 37G Juniper Wood Pocket Knife
  Honey Badger Flipper Folding Knife - White/Small
  Honey Badger Flipper Plain Folding Knife - Orange/Small
 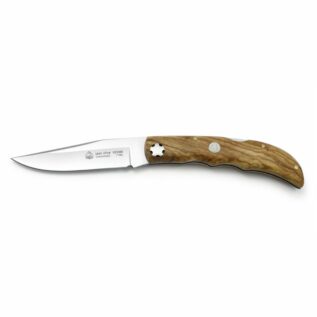 Puma IP Jaen Folding Knife
 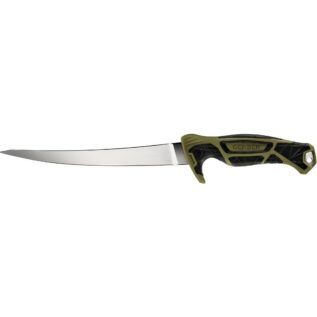 Controller 20cm Freshwater Fish Fillet & Boning Knife & Sheath with Built In Sharpener
 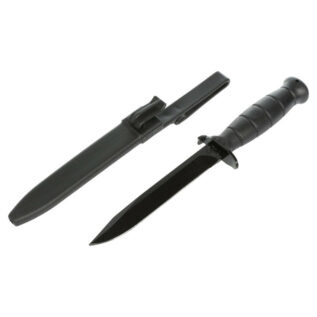 Glock Field Knife - FM78
 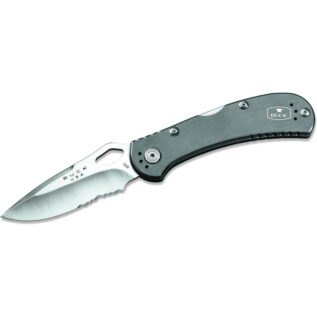 Buck 722 Grey Spitfire Folding Knife
  Buck 500 Rosewood Duke Folding Knife
  Buck 389 Woodgrain Canoe Pocket Knife
  Lansky Universal Kit 4 Stone
  Lansky Universal Mount
  Lansky Super C-Clamp
  Lansky Ultra Fine Hone
 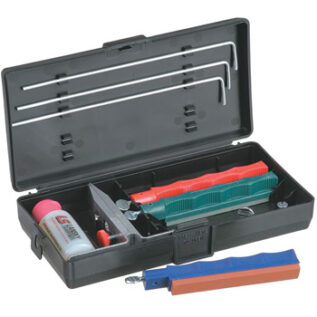 Lansky Sharpening System - Standard Controlled-Angle
  Warthog Knife Sharpener Stone - V-Sharp Classic II (Pair) - Course
  Warthog Knife Sharpener Stone - Serrated (with Handle)
 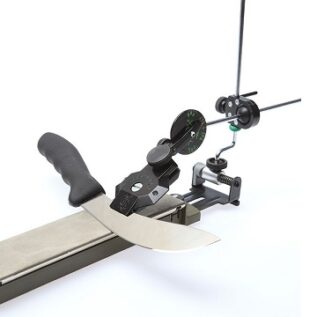 Warthog Knife Sharpener - Multi-Edge 220
 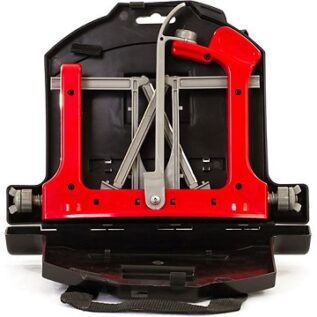 Warthog Knife Sharpener - V-Sharp Extreme Edge - Case
  Browning 3220010 Knife Sharpener
  Lansky Pedestal Mount
  Lansky Medium Hone
 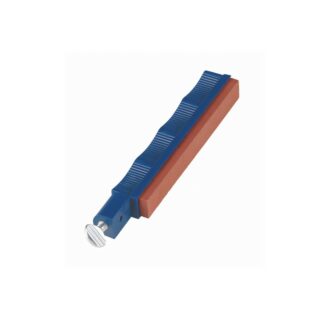 Lansky Fine Hone
 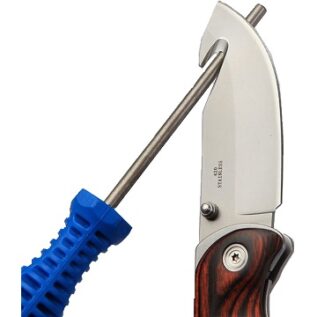 Warthog Knife Sharpener - Gut Hook
  Warthog Knife Strop - Leather (150mm)
 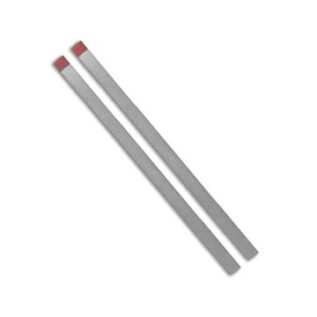 Warthog Knife Sharpener Stone - V-Sharp Extreme Edge (Pair)
  Warthog Knife Sharpener Stone - Serrated
  Warthog Knife Sharpener Stone - Multi-Edge - 220mm x 50mm
  Warthog Knife Sharpener Stone - Multi-Edge - 150mm x 50mm
  Warthog Knife Sharpener - Curve - Pouch
  Warthog Knife Sharpener Pouch - Classic
  Smith & Wesson M&P Tactical Axe
  UltraEdge Green 352mm Axe & Saw
  Kit Rae Anathar Sword of the Power
  Kit Rae Black Legion War Axe
 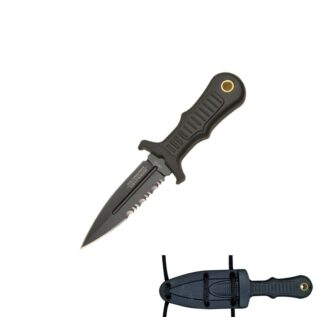 United Cutlery Combat Sub Commander Mini Boot Black Knife
 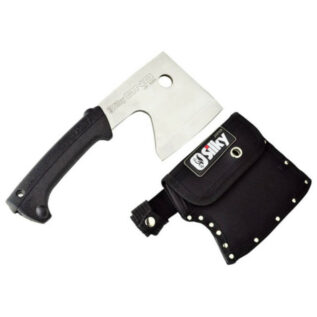 Silky Ono 120mm Axe
 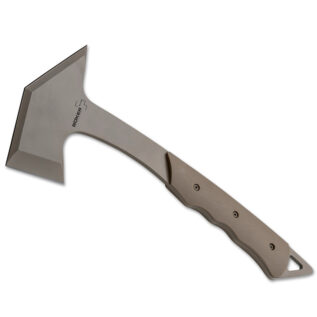 Boker Axe - Carnivore
  ASG 12g CO2 Cartridge
 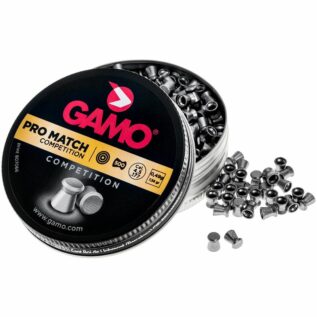 Gamo Pro-Match Pellets - 4.5mm (Pack of 500)
 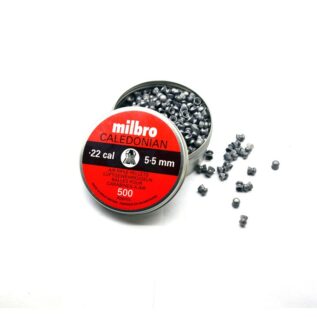 Milbro Caledonian .22 Pellets
 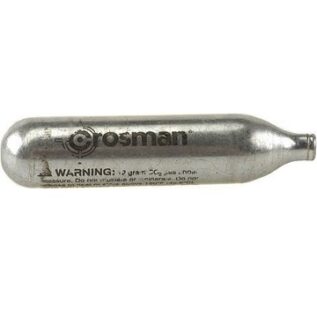 Crosman - CO2 Cylinder - 12g
 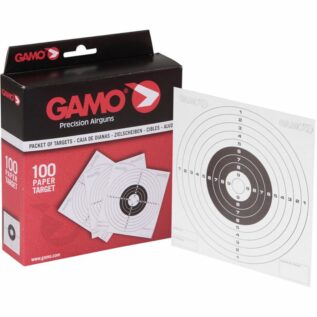 Gamo Standard Paper Targets (Pack of 100)
  Gamo Viper Express 25 Pellets - 5.5mm
  Caldwell Resetting Air Gun Target System
  Stoeger X-Power Pellets - 5.5mm/200
  Gamo Redfire Pellets - 4.5mm (Pack of 125)
 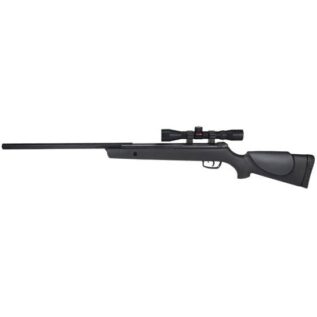 Gamo Big Cat 1250 Air Rifle - 4.5mm (With 4x32 Riflescope)
 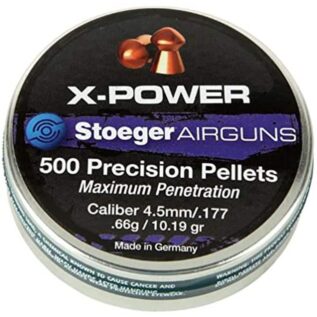 Stoeger X-Power Pellets - 4.5mm/500
 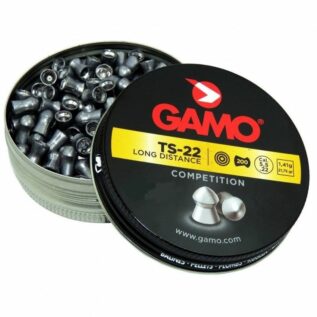 Gamo TS-22 Pellets - 5.5mm (Pack of 200)
 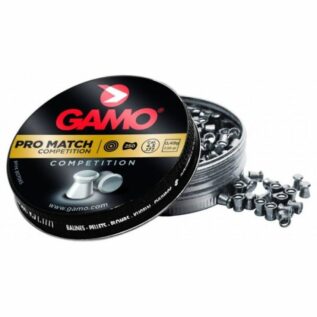 Gamo Pro-Match Pellets - 4.5mm (Pack of 250)
  Gamo Magnum Pellets - 5.5mm (Pack of 250)
  Artemis CP2 4.5mm Air Pistol - Black
  Umarex 4.5mm Colt M4 Air Rifle
  Gamo Red Fire Pellets - 5.5mm (Pack of 100)
  ASG 1000 4.5mm 13g Plastic BB Pellets
  ASG Revolver - Dan Wesson (4")
 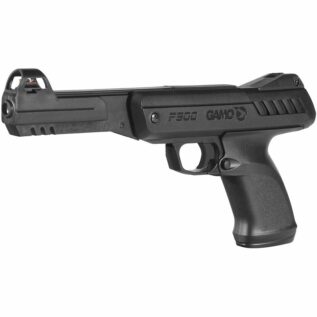 Gamo P-900 Air Pistol - 4.5mm
  Umarex G19 Air Pistol Magazine
 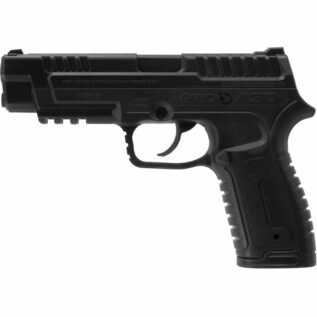 Gamo 4.5mm P430 CO2 Dual Ammo Air Pistol
 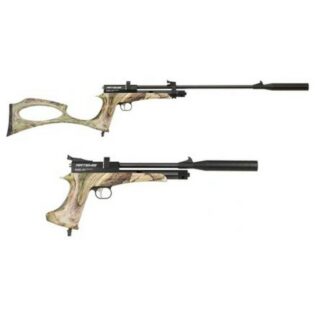 Artemis CP2 5.5mm Air Rifle - Air Pistol - Camo
 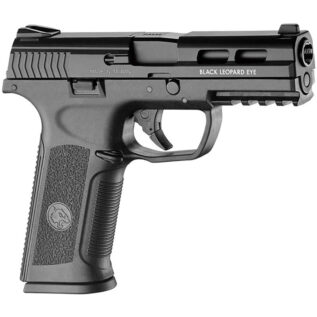 ICS BLE-006-SB XAE 6mm Air Pistol
 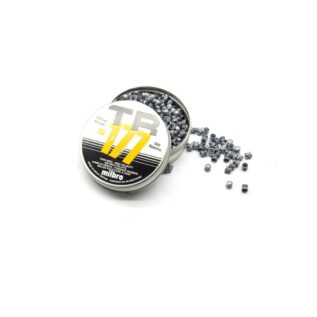 Milbro Twin Ring .177 Pellets
 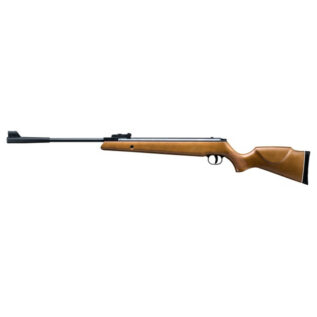 Artemis SR1250 5.5mm Air Rifle IGT
 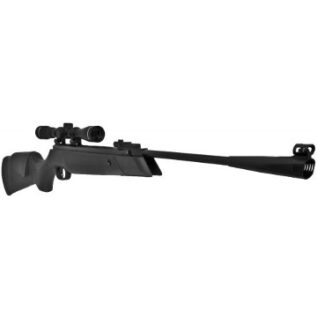 Cometa Airgun - Model 220 Galaxy .177
 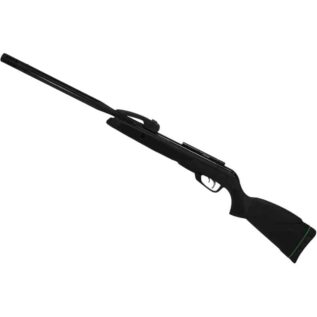 Gamo Swarm Maxxim 4.5mm Air Rifle
 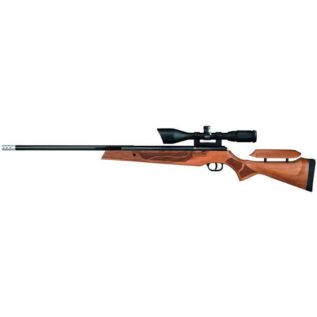 Cometa Fusion 4.5mm Air Rifle With 3-9X40 Mildot Riflescope
  Artemis M11 5.5mm M22 Air Rifle Spare Magazine
 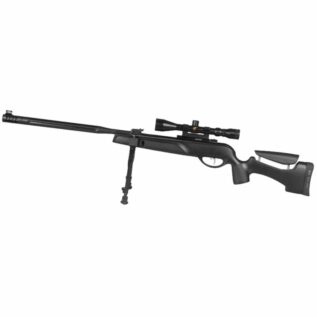 Gamo HPA Mi-Maxxim IGT 4.5mm Air Rifle (With 3-9x40WR Riflescope)
 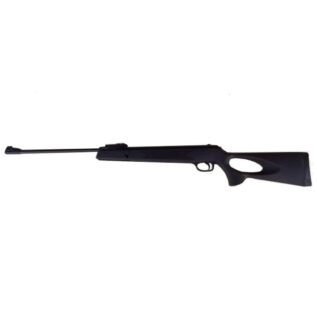 SPA B11P 5.5mm Air Rifle
 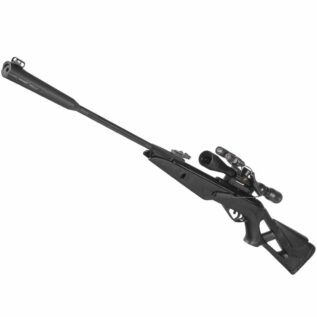 Gamo Whisper-X Vampir 4.5mm Air Rifle (With 3-9X40 WR Riflescope)
 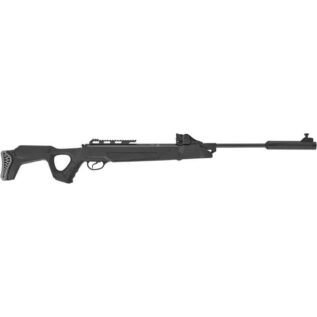 Hatsan Speedfire 1250 5.5mm Air Rifle
 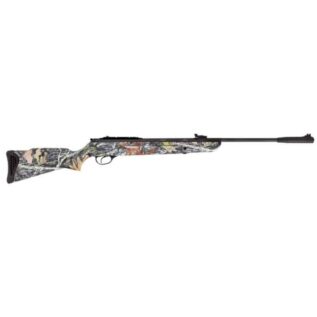 Hatsan MOD 125 5.5mm Camo Air Rifle
 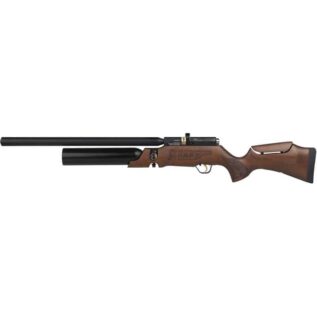 Cometa Lynx V10 4.5mm PCP Air Rifle
  Cometa Fusion 4.5mm Air Rifle
 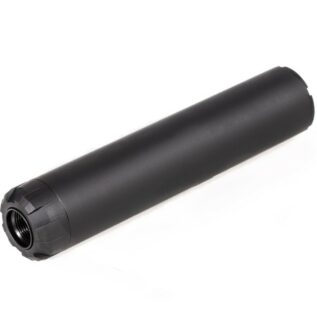 Tango Rimfire Silencers 1/2x28
  Littleton MK65 Shot Maker
  Gamo Hunter 440 Air Rifle - 4.5mm
  Artemis P15 5.5mm Air Rifle Magazine
  Palco Sports Kalashnikov 60th Anniversary AK-47 Air Rifle
  SPA B11 4.5mm Air Rifle
  Gamo G-Magnum 1250 4.5mm Air Rifle
  ASG Air Pistol - CZ 75 P-07 Duty
  Umarex ASG Colt SAA .45 Replica 4.5mm Air Pistol
  Gamo C-15 Blowback Air Pistol - 4.5mm
  ASG Revolver - Dan Wesson (2.5")
 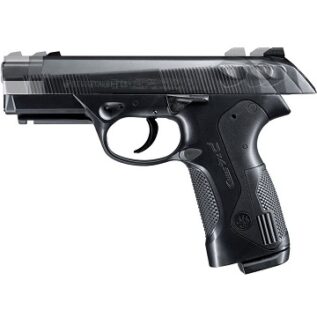 Umarex Air Pistol - Walther PX4 Storm 377fps
 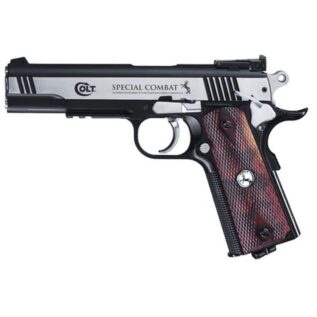 Umarex Colt Special Combat Classic BB Pistol - 4.5mm
 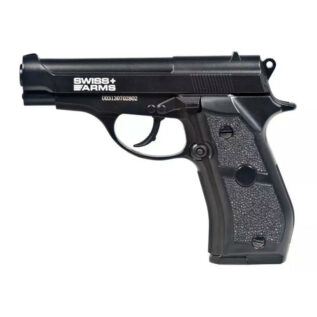 Swiss Arms P84 4.5mm Blowback CO2 Pistol
 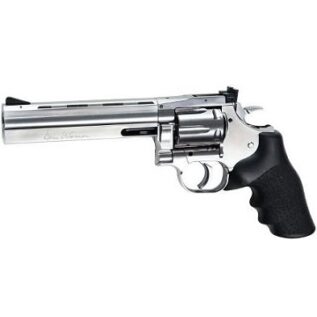 ASG Air Pistol - DW 715 (6")
 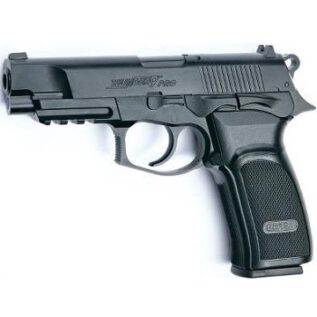 ASG Air Pistol - Bersa Thunder - 9 Pro
 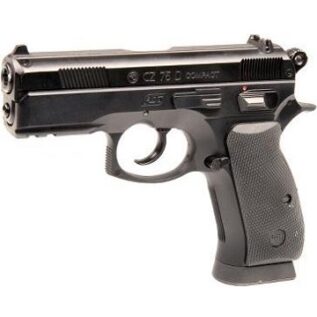 ASG Air Pistol - CZ 75D Compact
 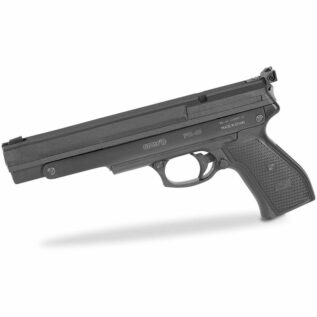 Gamo PR-45 4.5mm Air Pistol
  Umarex G17 Air Pistol Magazine
 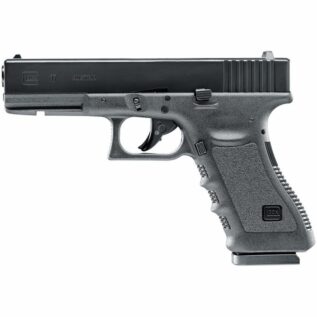 Umarex Glock 17 CO2 BB Air Pistol - 4.5mm
 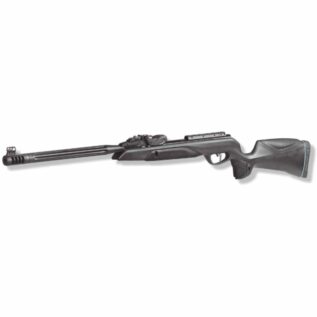 Gamo Speedster 10X Gen 2 IGT Air Rifle - 5.5mm
 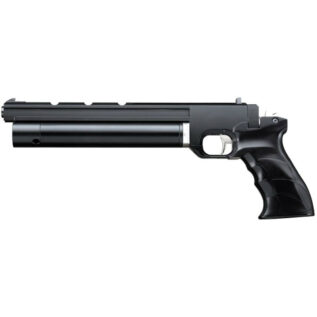 Artemis PP700S-A 5.5mm Air Pistol
 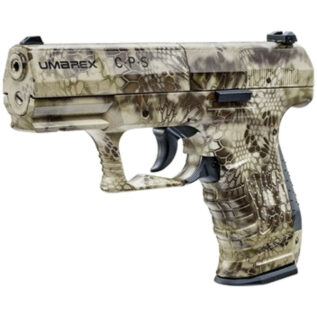 Umarex Walther Camo CP99 Kryptec 4.5mm Air Pistol
 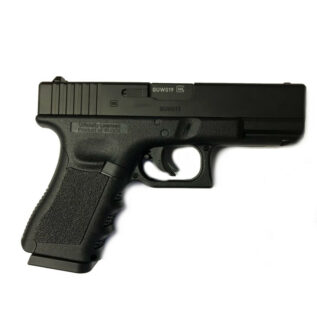 Umarex Glock 19 Replica 4.5mm Air Pistol
 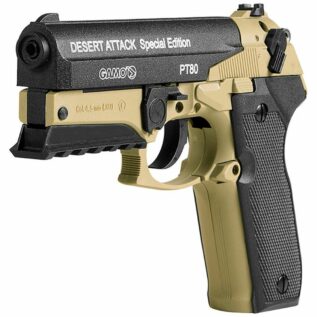 Gamo PT-80 Desert Attack CO2 Air Pistol - 4.5mm
  Umarex Air Pistol Walther PPS M2
 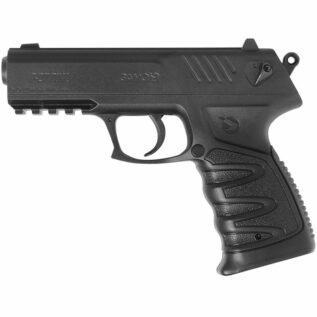 Gamo P-27 CO2 Air Pistol - 4.5mm
 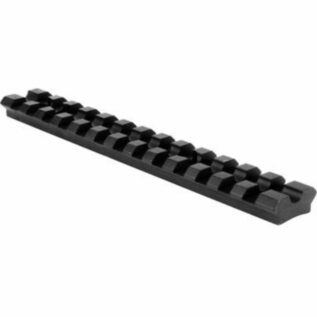 Gamo Riflescope Rail Weaver-Picatinny
 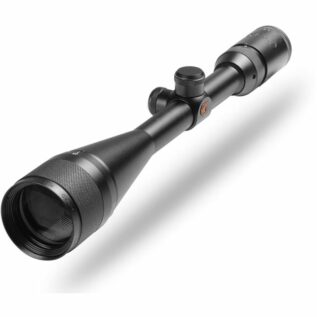 Gamo 6-24x50 MDAO Riflescope
 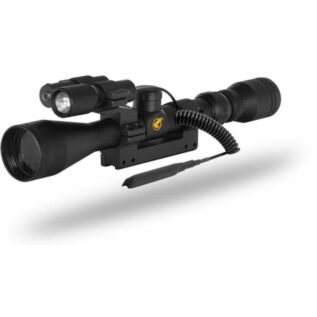 Gamo 3-9x40 Vampir Riflescope (With Rings)
 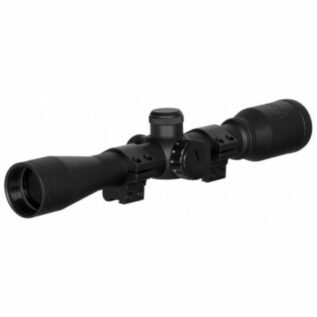 Gamo 4x32 IR Riflescope (With Rings)
 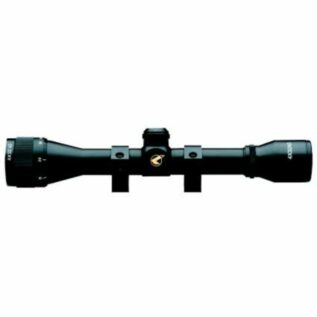 Gamo 4x32 AO Riflescope (With Rings)
 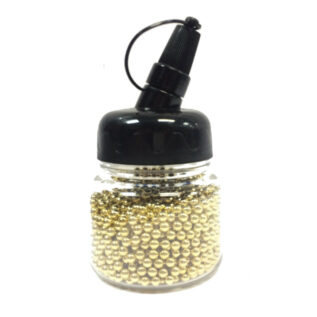 ASG 1500 4.5mm Gold Steel BB Pellets
 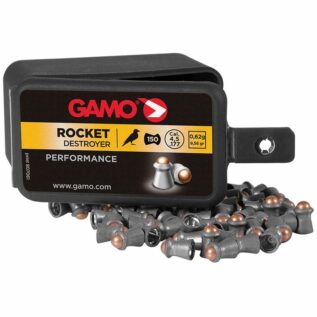 Gamo Rocket Pellets - 4.5mm (Pack of 150)
 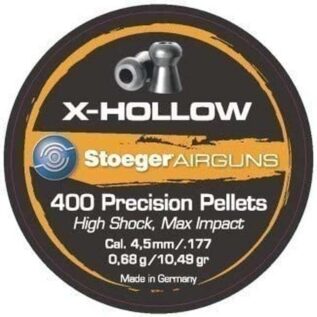 Stoeger X-Hollow Pellets - 4.5mm/400
 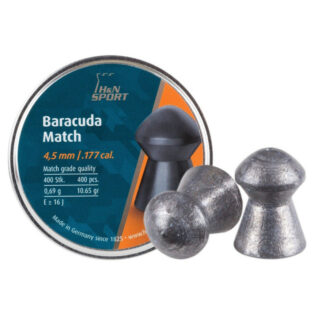 H&N 4.5mm 400 Baracuda Match Pellets
 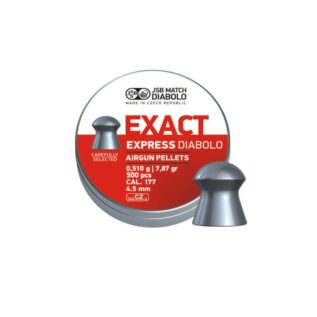 JSB Match Diabolo Express .177 Pellets
 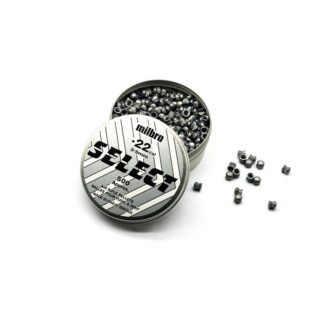 Milbro Select .22 Pellets
 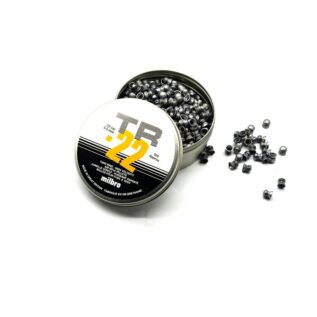 Milbro Twin Ring .22 Pellets
 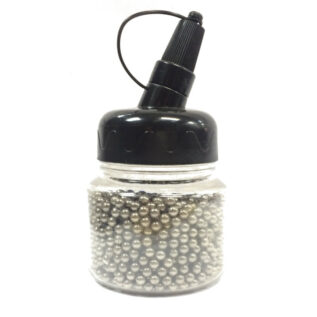 ASG 1500 4.5mm Gun Metal BB Pellets
  ASG 1500 4.5mm Copper Steel BB Pellets
 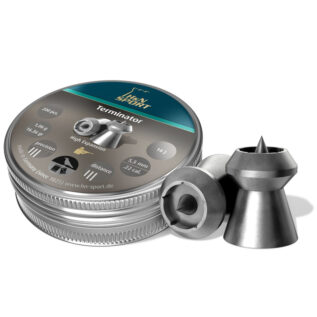 H&N Sports Terminator 4.5mm Pellets
  Gamo Hunter Pellets - 6.35mm (Pack of 200)
  Gamo PBA Platinum Pellets - 5.5mm (Pack of 75)
  Gamo Lethal Pellets - 4.5mm (Pack of 100)
  Gamo 4.5mm Hollow Point Pellets - (Pack of 500)
  Stoeger X-Magnum Pellets - 5.5mm/200
  Stoeger X-Magnum Pellets - 4.5mm/300
 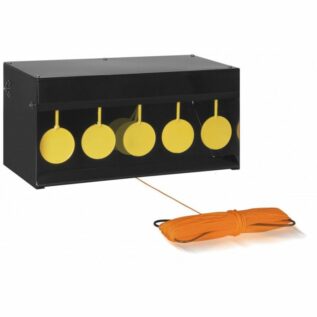 Gamo 5 Circle Pellet Trap
  Garipani Springbok Target - 10 Pack
 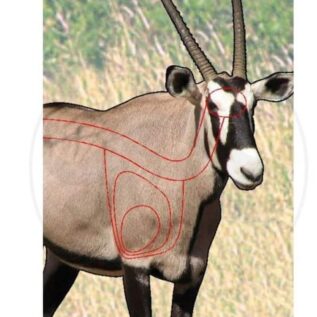 Garipani Gemsbok Target - 10 Pack
 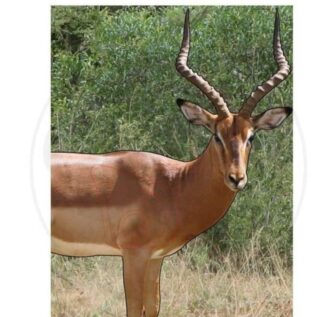 Garipani Rooibok .22 Target - 10 Pack
  Garipani Chasa .22 Target - 10 Pack
  Garipani Blesbok Target - 10 Pack
 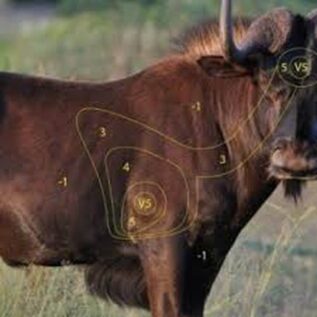 Garipani Blouwildebees Target - 10 Pack
 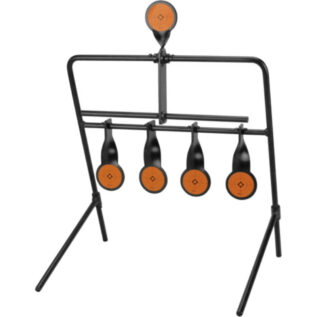 Caldwell Resetting 22 Caliber Rimfire Target System
 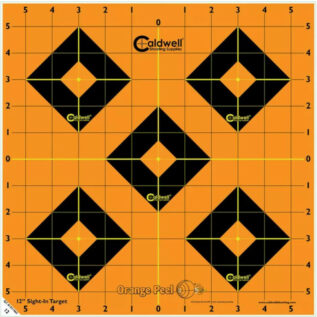 Caldwell Orange Peel 5-Pack 30cm Sight-in Target
 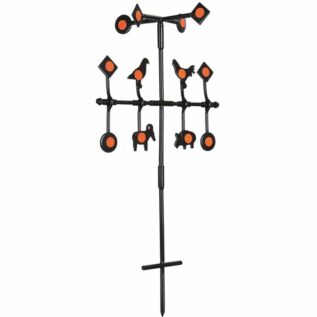 Gamo Spinner Deluxe Target
 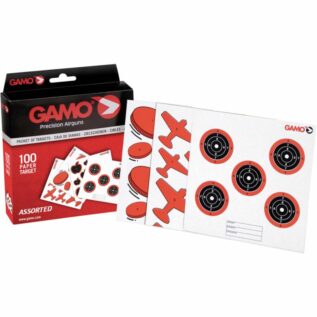 Gamo Assorted Targets (Pack of 100)
  CCI Auto Rabbit Clay Targets - 150 Case
  Garipani Buffalo Target - 10 Pack
  Caldwell 2-Pack Ultimate Target Stand Replacement Backer
  Caldwell Orange Peel 25-Pack 20cm Bullseye Target
  Caldwell Orange Peel 5-Pack 20cm Sight-in Target
  Caldwell Orange Peel 10-Pack 10cm Bullseye Target
  Caldwell Orange Peel 10-Pack 30cm Bullseye Target
  Yale Target Stand
  Ampro 8" Round 20 Reactive Splatter Target - 50 Pack
  Gamo Corkscrew Competition Target
  Gamo Squirrel Field Target Trap
  CCI Supermini Clay Targets - 250 Case
  CCI Midi Clay Targets - 150 Case
  CCI Battue Clay Targets - 180 Case
  Gamo Recoil Reduction Rail
 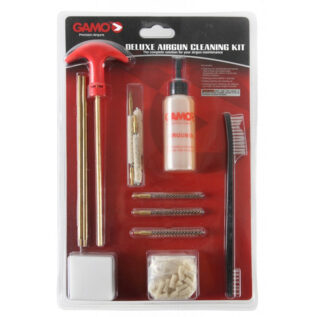 Gamo Gun Cleaning Kit
  Gamo Scuba Charging Kit
 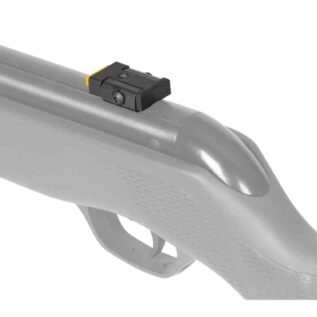 Shock Absorbing Scope Block
  Yale 100 Pack 12g CO2 Cartridges
 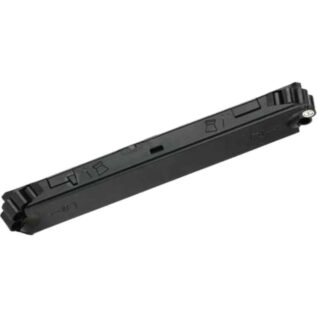 Gamo P-25 + PT-85 Blowback Magazine
 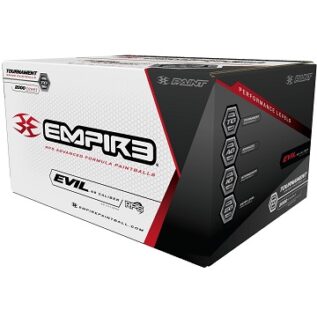 Empire - Evil Paintballs
 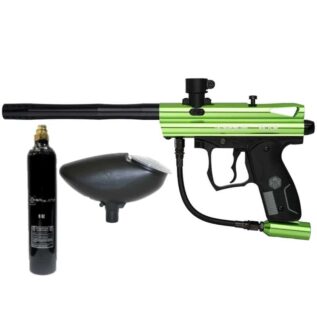 Spyder Victor Paintball Marker Combo - Green
  Tippmann Custom Replacement Springs 4 Pack
  Gen-X Global 50 Round Hopper
  Tippmann Paintball Barrel - Sniper 16"
  Tippmann Stormer Basic Marker .68 Cal
 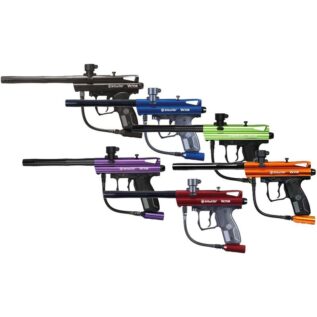 Spyder Victor Paintball Markers - Various Colour 7 Pack
 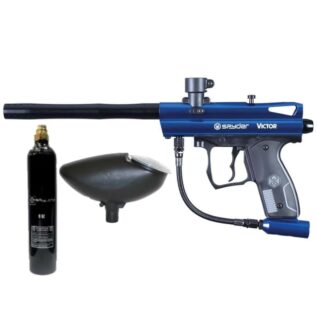 Spyder Victor Paintball Marker Combo - Blue
 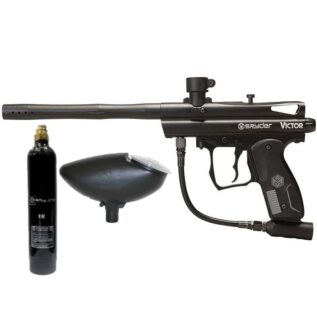 Spyder Victor Paintball Marker Combo - Black
  Spyder Victor Paintball Marker Combo - Orange
 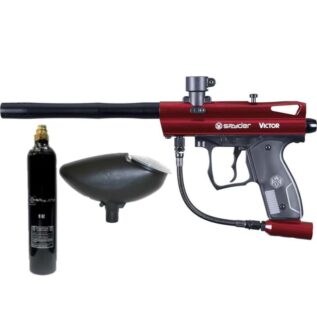 Spyder Victor Paintball Marker Combo - Red
 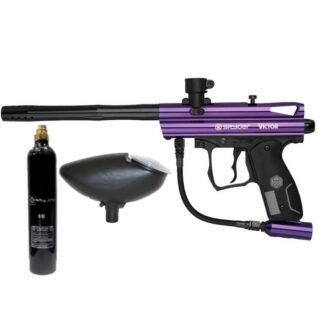 Spyder Victor Paintball Marker Combo - Purple
 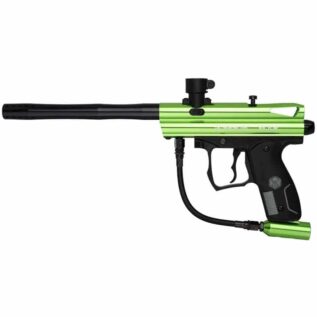 Spyder Victor Paintball Marker - Green
 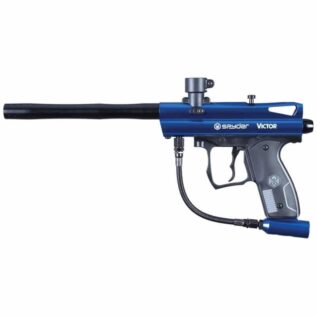 Spyder Victor Paintball Marker - Blue
 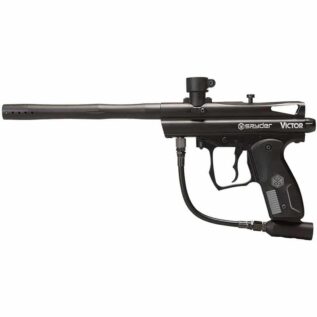 Spyder Victor Paintball Marker - Black
 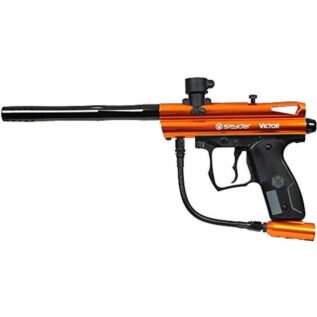 Spyder Victor Paintball Marker - Orange
 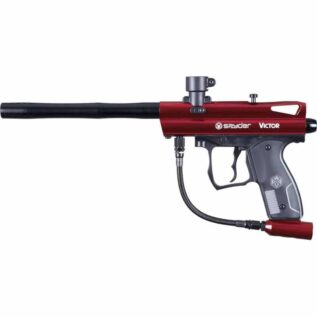 Spyder Victor Paintball Marker - Red
 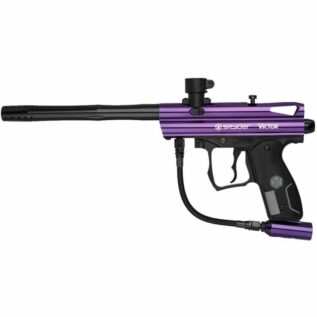 Spyder Victor Paintball Marker - Purple
 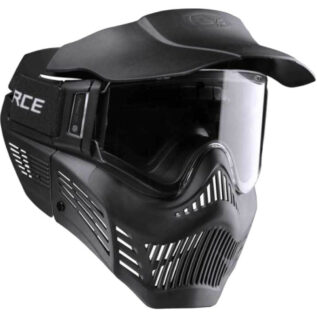 VForce Armor Field Vision Gen3 Paintball Mask
 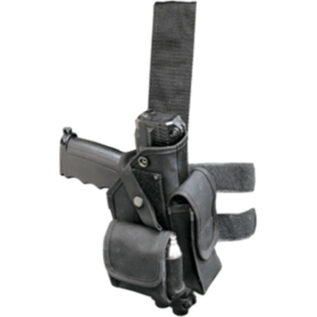 TipX paintball Pistol Leg Holster
 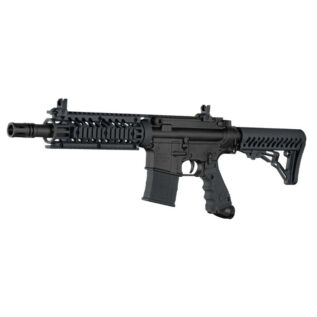 Tippmann TMC Magfed and Hopper Fed Paintball Marker
  Mission TPR Semi-Auto Pepper Pistol
  Tiberius Paintball Marker - Tac 8.1
  Tiberius Paintball Marker - T15
  Tiberius Paintball Marker - 9.1 CQB
  Planet Eclipse Paintball Marker - Etha 2 Black
  Planet Eclipse Paintball Marker - Etha 2 HDE Earth
  Planet Eclipse Paintball Marker - Etek 5 Stretch Poison
  Planet Eclipse Paintball Marker - Etek 5 Stretch Fire
  Planet Eclipse Paintball Marker - Etek 5
  Empire Paintball Marker - GS Mini Dust Grey and Orange
  Empire Paintball Marker - GS Mini Dust Silver and Yellow
 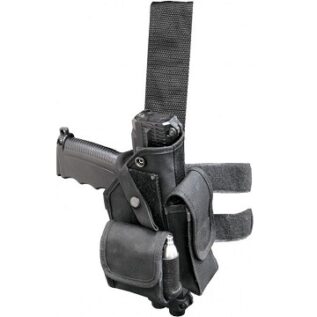 Tippmann TiPX Paintball Pistol Holster
  Tippmann Paintball Ammo - Connex Remote Line
 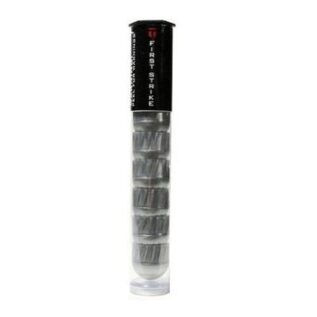 Tiberius Paintball Rounds - First Strike (8)
 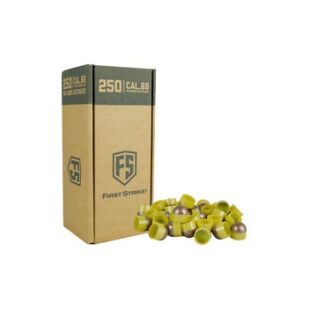 Tiberius Paintball Rounds - First Strike (40CT)
  Tiberius Paintball Rounds - First Strike (100CT)
  Ballistic Paintball Solid Balls - Self Defense
  HK Army Fracture Arctic TFX Paintball Hopper Loader
  HK Army Fracture Vivid TFX Paintball Hopper Loader
  Tippmann Tan TMC Paintball Gun Magazines - 2 Pack
  Gen-X Global 200 Round Hopper
  Tippmann Trufeed 12 Ball Extended Magazines
  Tippmann TiPX Paintball Pistol Extended Magazines (2 Pack)
  Tippmann TiPX Paintball Pistol Spare Magazines (2 Pack)
  Planet Eclipse Paintball Barrel - FR Back Piece Silver
  Planet Eclipse Paintball Barrel - FR Back Piece Red
 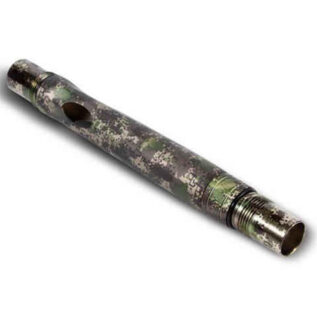 Planet Eclipse Paintball Barrel - FR Back Piece Earth
 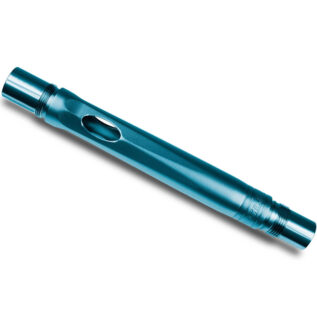 Planet Eclipse Paintball Barrel - FR Back Piece Blue
 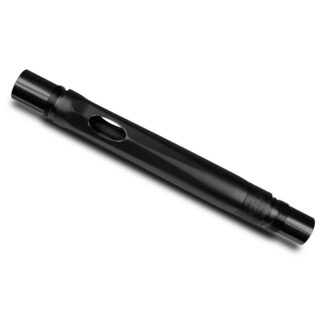 Planet Eclipse Paintball Barrel - FR Back Piece Black
  Planet Eclipse Paintball Barrel - FR Back Piece Green
 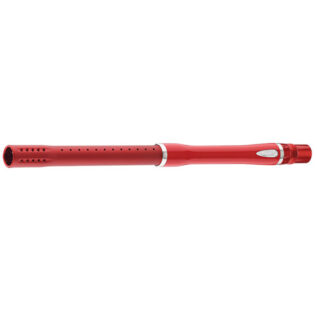 DYE Paintball Barrel - Glass Fiber Boomstick Red
  DYE Paintball Barrel - Glass Fiber Boomstick Olive
  Vortex Recon - Tactical Scope 15x50
  Celestron LandScout 60 Spotting Scope
  Leica Spotting Scope - Straight Scope Case 65
  Celestron Ultima 100 Spotting Scope
 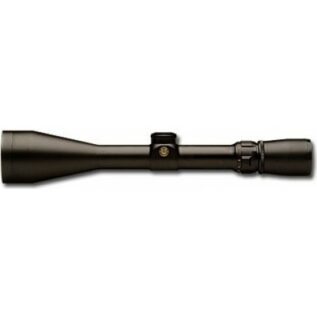 Lynx Riflescope - LX2 3.5-10x50mm - SA Hunters
  Lynx Riflescope - LX 3-9x38D - Professional Series
 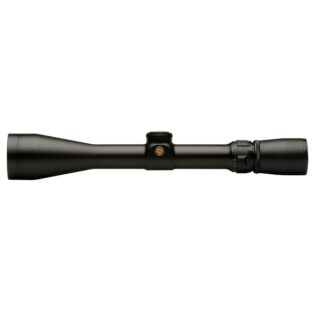 Lynx Riflescope - LX2 3-9x40 - Plex
 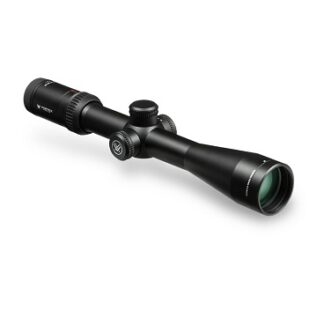 Vortex Riflescope - Viper HS 4-16x44 BDC-2
 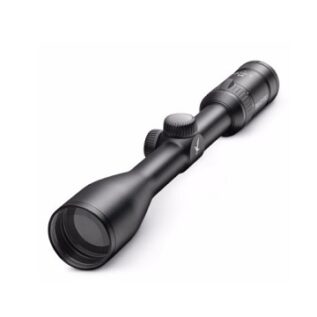 Swarovski Riflescope - Z3 3-10x42 4A
 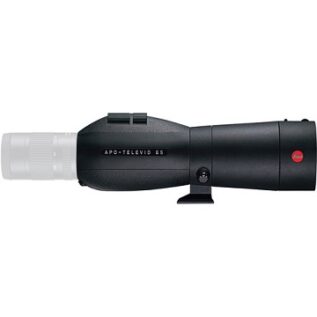 Leica Spotting Scope - Televid 65mm Straight
 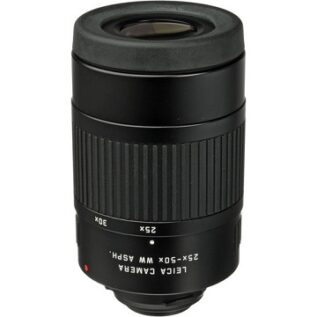 Leica Spotting Scope - Televid 25-50x Eyepiece
 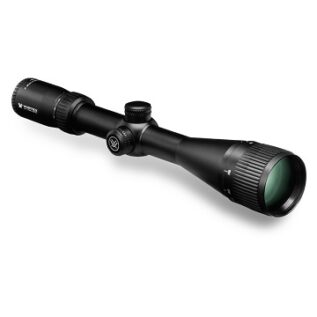 Vortex Rifle Scope - Crossfire II 4-16x50 AO Dead-Hold BDC (MOA)
 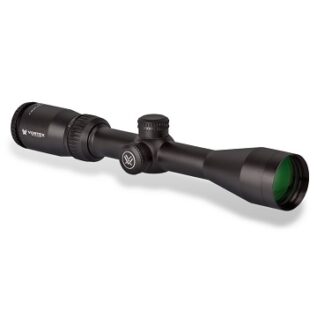 Vortex Rifle Scope - Crossfire II 3-9x40 V-Brite
 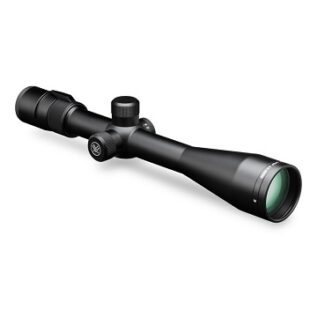 Vortex Rifle Scope - Viper PA 6.5-20x50 Mil Dot
 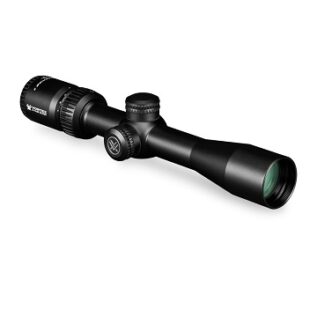 Vortex Rifle Scope - Crossfire II 2-7x32 Scout V-Plex
 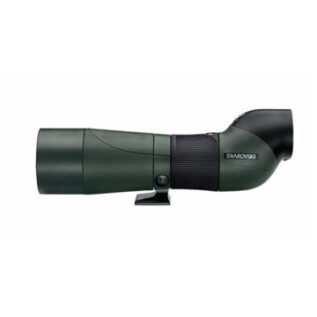 Swarovski Spotting Scope - STS 65
  Swarovski Spotting Scope - ATS 80
 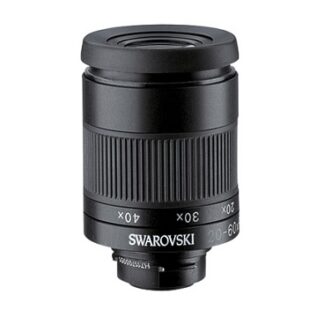 Swarovski Spotting Scope - Eyepiece 20-60x
  Swarovski Spotting Scope - STX Eyepiece Module
  Nikko Stirling Scope - Panamax - 6-18x50mm - HMD
  Leica Spotting Scope - Angled Scope Case 82
  Swarovski Spotting Scope - STS 80
  Leica Spotting Scope - Televid 65mm Angled
  Swarovski Spotting Scope - 95mm Objective Module 30-70x
  Leica Spotting Scope - Angled Scope Case 65
  Tasco Essentials 10x25mm Black Binocular
 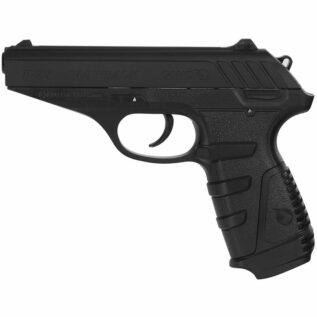 Gamo P-25 Blowback Air Pistol - 4.5mm
 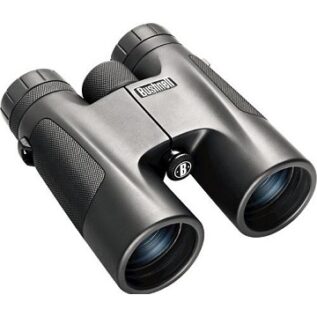 Bushnell Binocular - PowerView (10mm x 42mm)
 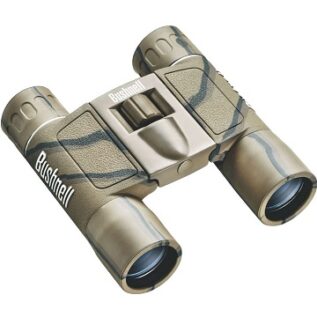 Bushnell Binocular - PowerView (10mm x 25mm)
 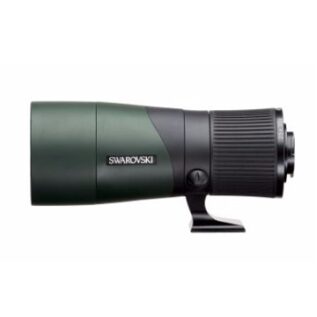 Swarovski Spotting Scope - 65mm Objective Module 25-60x
  Leica Spotting Scope - Televid 82mm Angled
  Leica Spotting Scope - Straight Scope Case 82
  ATN 3-14x X-Sight 4K HD Pro Digital Night Vision Riflescope
  Burris XTR II 5-25x50mm Riflescope - Illuminated SCR MOA
 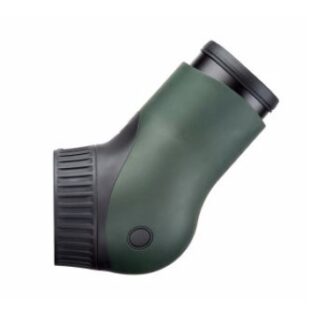 Swarovski Spotting Scope - ATX Eyepiece Module
 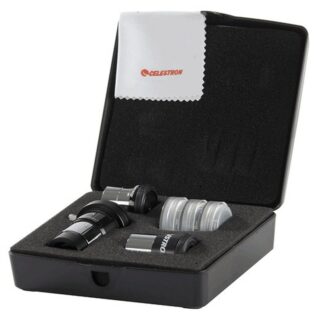 Celestron AstroMaster Accessory Kit (1.25″)
 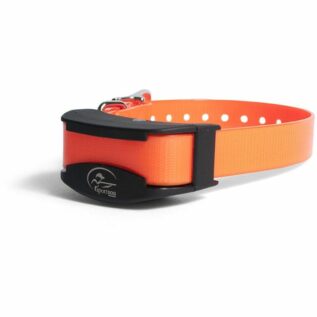 SportDOG SportTrainer 450 m / 700 m Add-A-Dog Collar
 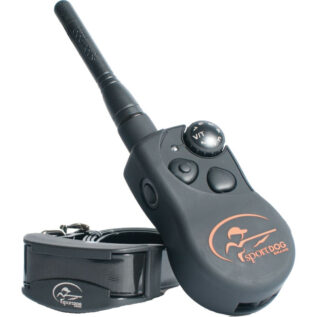 SportDOG SportTrainer 700m Remote Dog Trainer
  Garmin Forerunner 15 - Charging/Data Clip
  Eagleye Dash Cam v2 - Full HD with GPS
  RAM 8cm Diameter Suction Cup Base with Twist Lock
 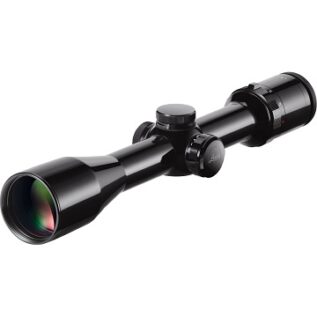 Leica Riflecope - Visus iLW L-4A (3-12x50)
 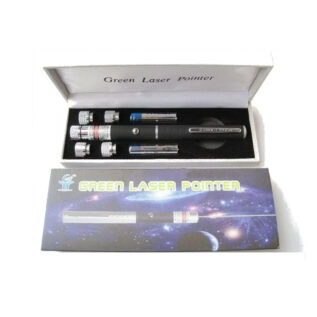 Green Laser - <1000mW
  BullWhip Long Handle
 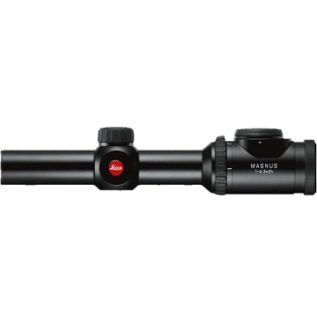 Leica Riflecope - Magnus i L-PLEX (1-6.3x24)
 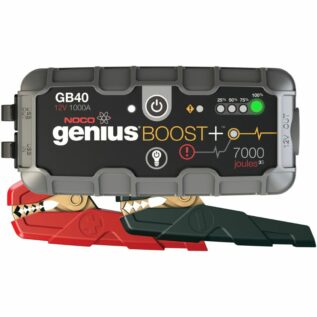 Noco Jump Starter - Boost Plus - Ultrasafe Lithium Battery - 12V 1000A
 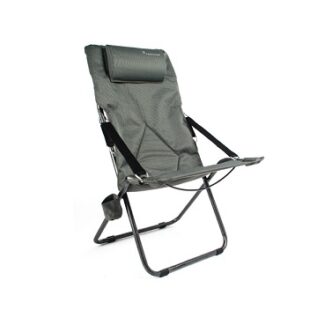 Kaufmann Chair - Deluxe Outdoor
  RAM 6cm x 3cm Composite Diamond Base with 2cm Ball
  RAM V-Shape Base with 2cm Ball for Rails and Yokes
 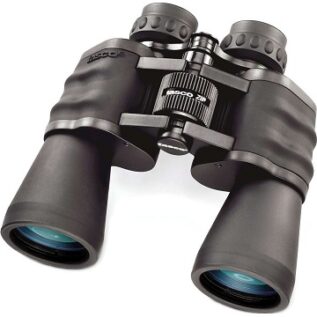 Tasco Binocular - Essentials - 10mm x 50mm
 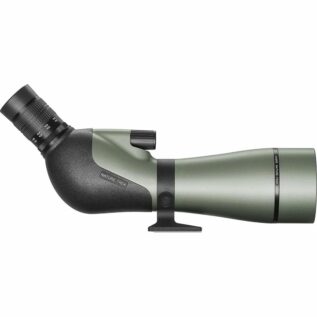 Hawke Nature-Trek 20-60x80mm Spotting Scope
 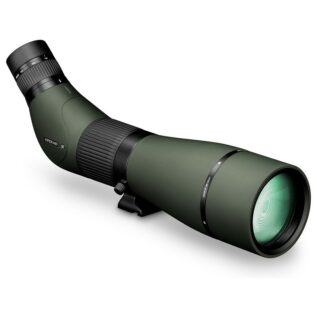 Vortex Viper HD 20-60 X 85 (Angled) Spotting Scope
 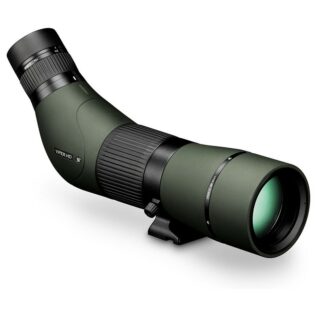 Vortex Viper HD 15-45x65 (Angled) Spotting Scope
 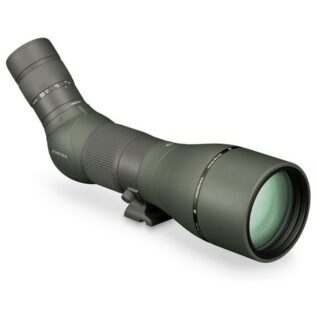 Vortex Razor HD 27-60x85 Spotting Scope
 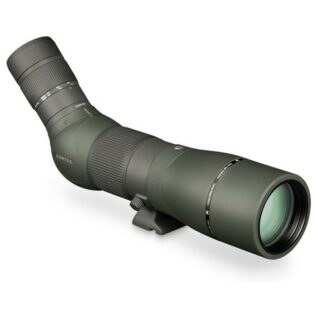 Vortex Razor HD 22-48x65 Spotting Scope
 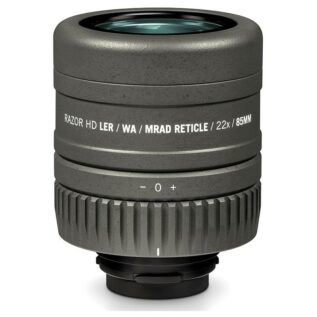 Vortex Razor HD Reticle Eyepiece with Ranging Reticle MRAD
 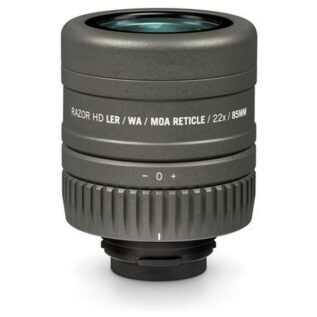 Vortex Razor HD Reticle Eyepiece with Ranging Reticle MOA
 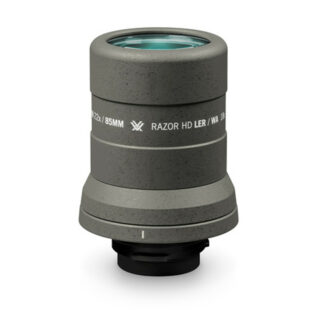 Vortex Razor HD 18x/23x Wide LER Eyepiece
  Vortex Car Window Mount
  Swarovski T2 Sony Camera Adapter
  Swarovski T2 Nikon Camera Adapter
  Swarovski T2 Micro 4/3 Camera Adapter
  Swarovski T2 Canon Camera Adapter
  Swarovski Spotting Scope Rail II
  Swarovski BTX Spotting Scope Eyepiece Module
  Swarovski Spotting Scope Balance Rail
  Swarovski Spotting Scope 1.7x Magnification Extender
  Swarovski STR 80 Spotting Scope MRS Picatinny Mounting Rail Set
 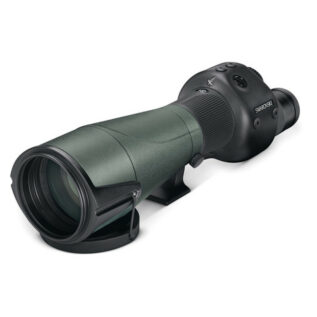 Swarovski 25-50x80mm STR 80 Spotting Scope
 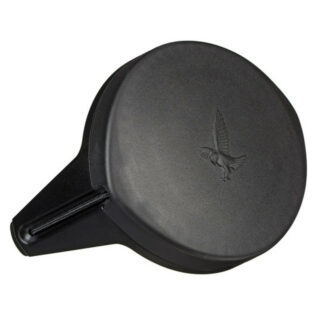 Swarovski 80mm Spotting Scope Cap
  Swarovski 65mm Spotting Scope Cap
 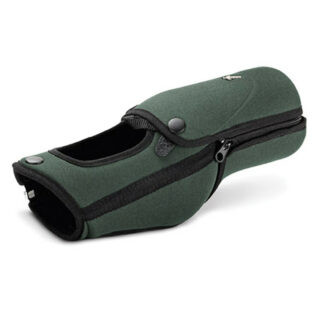 Swarovski STX Ocular Spotting Scope Eyepiece Stay On Case
 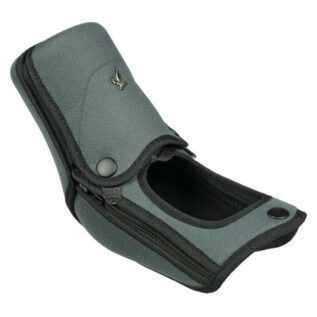 Swarovski ATX Ocular Spotting Scope Eyepiece Stay On Case
  Swarovski 95mm Objective Spotting Scope Eyepiece Stay On Case
  Swarovski 85mm Objective Spotting Scope Eyepiece Stay On Case
  Swarovski 65mm Objective Spotting Scope Eyepiece Stay On Case
 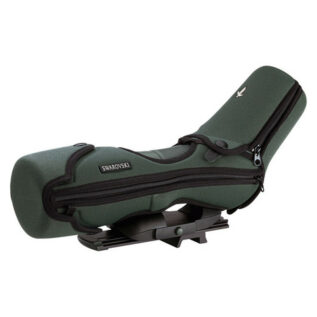 Swarovski ATS 65 Spotting Scope Eyepiece Stay On Case
 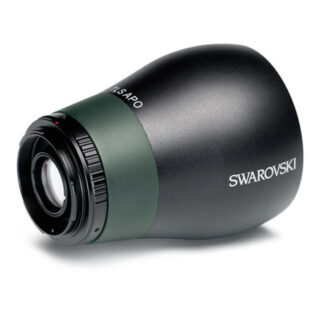 Swarovski 23mm ATX Spotting Scope Digiscoping Lens
  Swarovski 23mm ATS Spotting Scope Digiscoping Lens
  Swarovski 25-50x Spotting Scope Wide-Angle Zoom Eyepiece
  Vortex Spotting Scope - Razor HD 11-33-x50
  Kowa Spotting Scope - Eyepiece 25x
  Kowa Spotting Scope - Eyepiece Wide Angle 30x
  Kowa Spotting Scope - Straight Through Eyepiece Mount - Diameter Lens 60mm 45°
  Kowa Spotting Scope - Viewing Eyepiece Mount - Diameter Lens 60mm 45°
  Celestron Hummingbird 9-27×56 ED Micro Spotting Scope
  Rudolph Optics - Lens Pen Cleaner
  Leica Spotting Scope - Televid 82mm Straight
  Swarovski Spotting Scope - ATS 65
 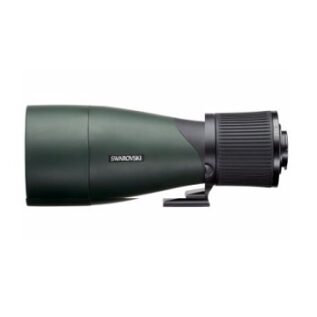 Swarovski Spotting Scope - 85mm Objective Module 25-60x
 If you own a night vision scope, you know how important it is to have an accurate aim when hunting or shooting in low-light conditions. However, sighting in a night vision scope is a bit different than sighting in a regular scope. In this article, we will walk you through the steps of how to sight in a night vision scope.

Introduction to Night Vision Scopes
Night vision scopes work by amplifying the available light in the environment, allowing you to see clearly in low light conditions. They are widely used by hunters and shooters for night-time activities, and they come in different types and models.
Understanding the Basics of how to sight In a Night Vision Scope
Before you start sighting in your night vision scope, you need to have a basic understanding of its parts and functions. Here are some key terms you need to know:
Eye Relief
Eye relief is the distance between the eyepiece of the scope and your eye when you are looking through it. It is important to adjust the eye relief to prevent eye strain and to get a clear image.
Zeroing
Zeroing is the process of aligning the reticle of the scope with the point of impact of the bullet. It is crucial to zero your night vision scope properly to ensure accurate shooting.
MOA and Mil-Dots
MOA and Mil-dots are units of measurement used to adjust the elevation and windage of the scope. Understanding these units of measurement will help you make accurate adjustments to your scope.
Steps to Sighting In a Night Vision Scope
Now that you understand the basics, let’s dive into the steps to properly sight in your night vision scope.
Step 1: Mount the Scope Properly
Before sighting your scope, you need to mount it properly on your rifle. Make sure it is securely attached and aligned with the bore of the rifle.
Step 2: Adjust the Eye Relief
Adjust the eye relief of the scope to a comfortable position, making sure that you have a clear and focused image.
Step 3: Boresight the Rifle
Boresighting is the process of aligning the bore of the rifle with the reticle of the scope. This helps to get you on paper faster and is especially useful when sighting in at longer distances.
Step 4: Set the Zero
Once you are on paper, you can start the process of zeroing the scope. This involves making small adjustments to the scope’s windage and elevation until the point of impact is in line with the reticle.
Step 5: Fine-Tune the Zero
After you have set the zero, you need to fine-tune it by shooting groups and adjusting the scope accordingly. This will help to ensure that your shots are consistently accurate.
Step 6: Test in Low Light Conditions
Finally, test your scope in low light conditions to make sure that it is performing well. Adjust the brightness of the reticle if necessary to get the best image.
Frequently asked questions
What is the difference between a night vision scope and a regular scope?
A night vision scope amplifies the available light in low light conditions, while a regular scope does not.
What is eye relief, and why is it important when sighting in a night vision scope?
Eye relief is the distance between the eyepiece of the scope and your eye when you are looking through it. It is important to adjust the eye relief to prevent eye strain and to get a clear image.
How often should I sight in my night vision scope?
It depends on how often you use your scope and how much you bump it around. Generally, it’s a good idea to check your zero before each hunting or shooting session.
Can I use the same process to sight in a thermal scope?
The process is similar, but thermal scopes have some unique features that require special consideration. It’s important to read the manufacturer’s instructions before attempting to sight in a thermal scope.
What is boresighting, and why is it useful when sighting in a night vision scope?
Boresighting is the process of aligning the optical sight on top of the gun barrel with your bore’s axis. It should be prioritized after mounting your scope. Boresighting not only gives you a reference point from which to actually start sighting in your gun but saves time as well as ammunition expenses.


